Crochet Amigurumi Mermaid Ice Princess Pattern
Elegance meets fantasy with Mermaid Ice Princess pattern, perfect for making a graceful doll that adds a touch of magic in your crocheting.
This project captures the essence of fantasy, featuring sparkling scales and an elegant tail that mesmerizes with its beauty. With user-friendly instructions, it’s perfect for crocheters of any skill level, turning simple yarn into an exquisite work of art. It’s bushy check with smile make it more attractive.
Crochet Amigurumi Mermaid Ice Princess
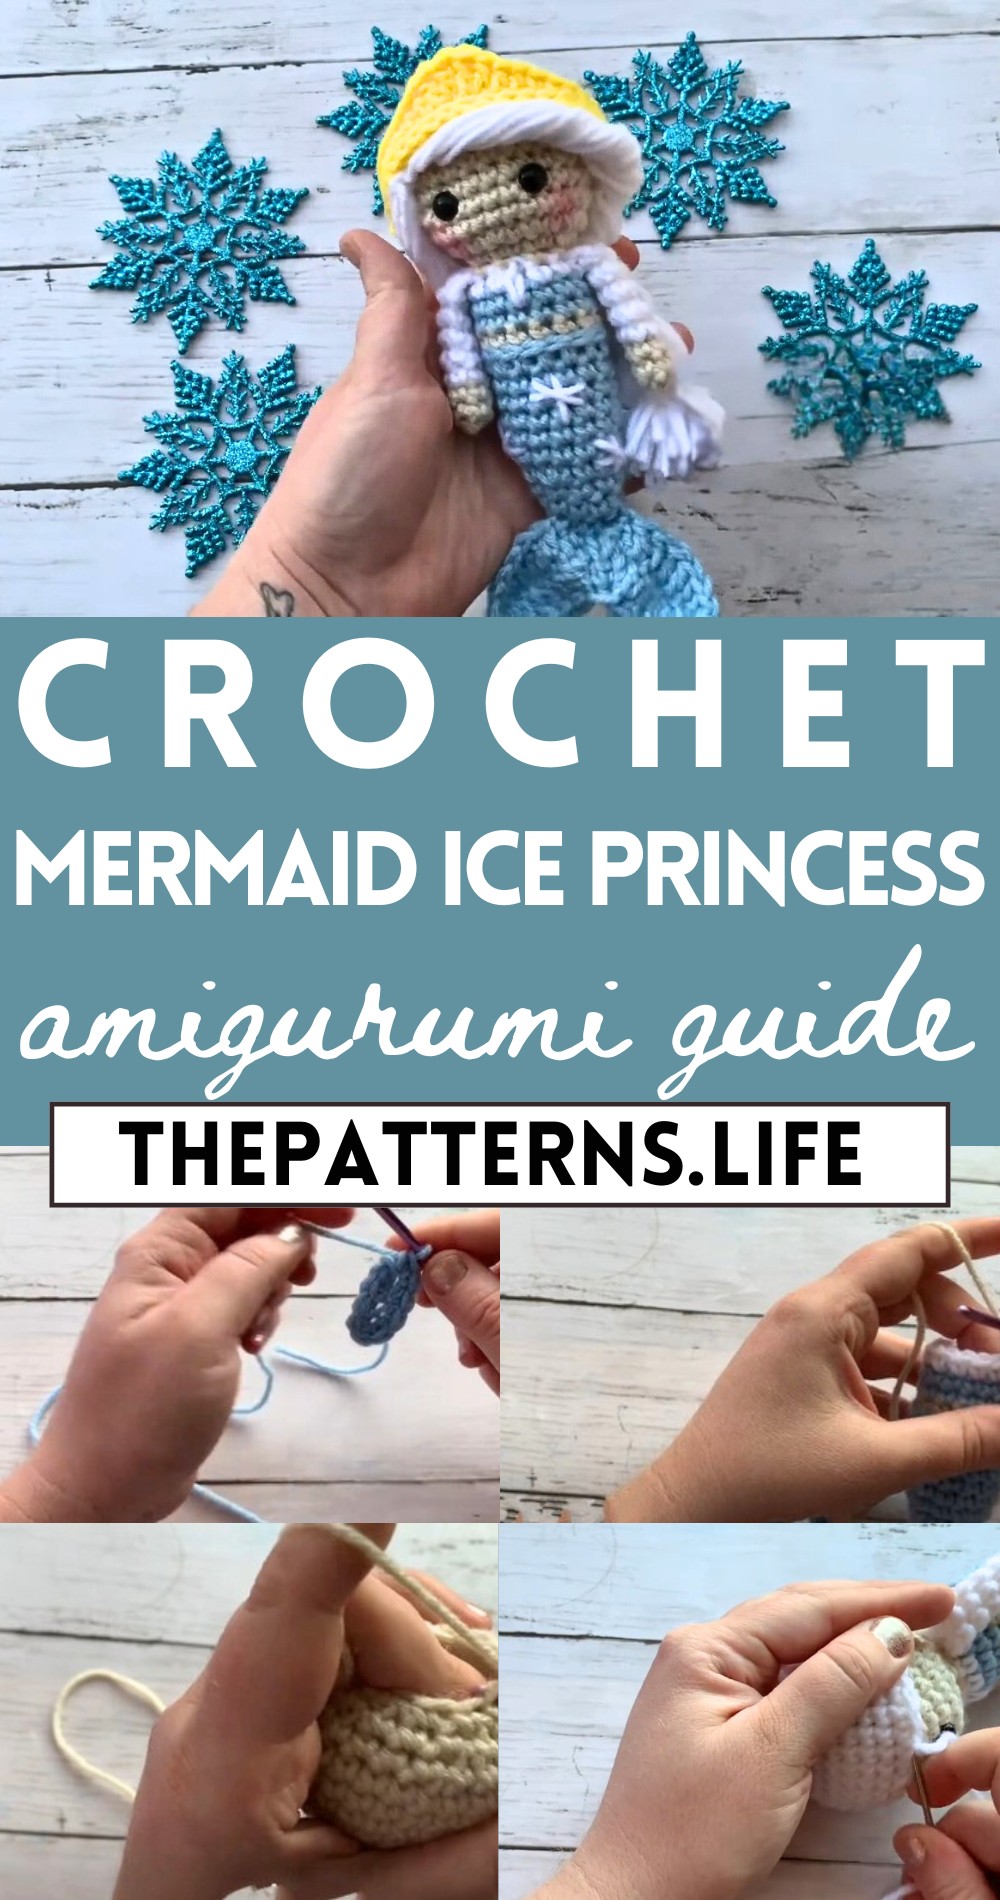
The completed Mermaid Ice Princess isn’t just a doll; it’s a testament to creativity and dedication, destined to enchant anyone who sees it. Whether it becomes a unique gift or a cherished addition to your own collection, this pattern seamlessly marries artistry and relaxation. It’s more than just a crochet project; it’s a stylish and magical experience woven into every loop.
Materials Needed:
- Crochet hook
- Yarn in various colors (specific colors for the tail, bikini top, and hair)
- Stitch marker
- Safety eyes
- Yarn needle
- Scissors
- Stuffing
Abbreviations:
- ch – chain
- sc – single crochet
- hdc – half double crochet
- dc – double crochet
- inc – increase (2 sc in one stitch)
- dec – decrease (sc two together)
- sl st – slip stitch
- CL – refers to ‘single crochet’ in the context provided
Tail:
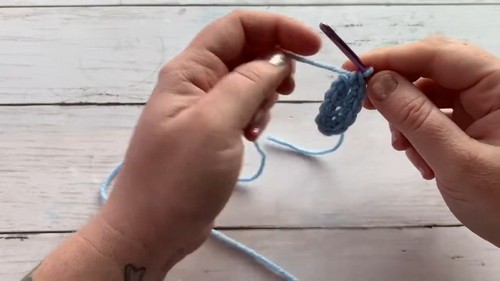
- Start with a ch 5
- sc in the second chain from hook, sc in the next 2, 2 sc in the last stitch
- Work around to the other side of the chain
- sc in the next 3 stitches (through back loop only), 2 sc in the last
- You should now have 10 sc total
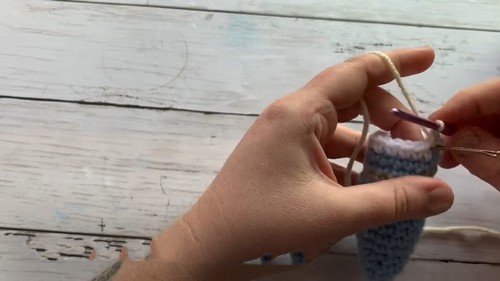
- For rounds 2-3: sc in each st around (10 sc)
- Round 4 (Increase Round): sc in first st, then sc inc in the next (Total 15 stitches)
- Rounds 5-9: sc in each st around (15 sc)
- Round 10: hdc in each st around, join with a sl st in next stitch, cut off yarn and pull through
Body/Tummy:
- Perform a color change for the tummy, making sure to work into the 3rd loop from the hdc
- Do 14 evenly spaced sc around (after the chain one which counts as 15th st)
Bikini Top:
- Join bikini top color (same as tail)
- Rounds 11 and 12: sc in each st around (15 sc)
Neck/Head:

- Round 13: Continue with sc in each st around
- Perform color changes as needed for the skin tone
- Increase the number of stitches in subsequent rounds for the head (follow increase pattern provided in the video/text)
- Rounds 15 – 22: sc in each st around
- Place safety eyes between rounds 15 and 16
- Decrease the number of stitches for the head shape (follow decrease pattern provided in the video/text)
- Stuff the head with filling
- Close the head with a “magic circle” finish
Arms:
- 6 sc into a Magic Circle, and work in rounds
- Increase and/or decrease as necessary for shaping
- Color change for the sleeves
- Finish the arms and sew onto the body

Fin:
- Chain nine, sc, hdc, and dc in prescribed pattern for shaping the fin
- Use the “peacock stitch” to create a tip of the fin
- Work the opposite side of the fin
- Create a second fin
- Attach both fins together and sew onto the tail

Hair and Crown:
- Create a hair cap starting with 6 sc in a Magic Circle and follow an increase/decrease pattern to fit the head.
- Attach yarn strands to the hair cap for the hair.
- Braid the hair as desired.
- Make a crown with ch 21, and follow the sc, hdc, and dc pattern to shape the crown.
- Finish off with a slip stitch around the edge.
- Attach crown to the head with hot glue or by sewing.
Finishing Touches:
- Apply blush for the cheeks.
- Sew on any additional details like bikini straps or decoration.