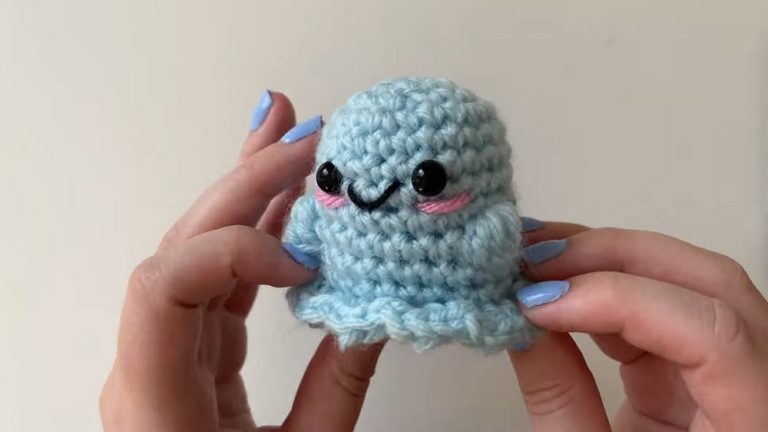
Crochet Blue Elephant Amigurumi Pattern – Free
Poncy keepsake with our free crochet Blue Elephant Amigurumi, an enchanting project to create a lovable, timeless treasure!
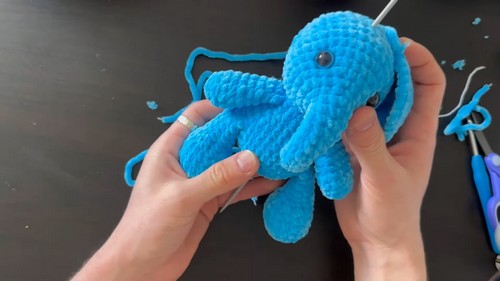
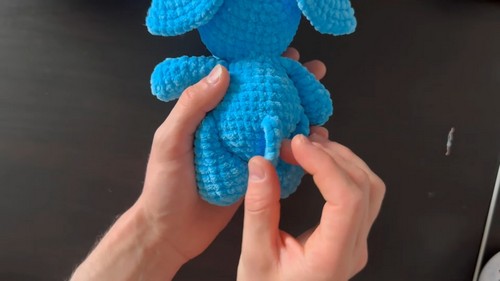
Imagine a charming blue tiny creature blends cuteness with creativity—this is the magic of your hand! Standing small yet proud, this adorable amigurumi features big floppy ears, a tiny trunk, and lovely detailing that brings a smile to anyone’s face. Perfect for gifting to children, it can be used as a delightful toy or even a unique accessory.
Crochet Blue Elephant Tutorial

The pattern is beginner-friendly yet detailed enough to engage more experienced crocheters. Its timeless style ensures that it will be a cherished piece for years to come, adding a touch of whimsy and handmade elegance to any space.
Tip: Adding a small bell inside the elephant gives it an extra playful jingle!
Materials Needed:
- Yarn: Blue yarn (Not Dolce color: 785)
- Hook: Number 4
- Scissors
- Needle
Head:
- Start with a magic ring.
Round 1:
- 6 SC into the ring.
Round 2:
- Increase by doing 5 SC and then 2 SC in the last stitch (7 stitches total).
- Continue increasing each round by 1 SC until you have 12 stitches in a round.
Next Rounds:
- Continue with 2 SC and then 6 slip stitches tightening to form the trunk. Proceed with normal SC around.

Increasing:
- Start increasing with 1 SC then an increase (2 SC in the same stitch), repeat around. Then, for every row increase the number of SC between increases (2 SC and an increase, then 3 SC and an increase, up to 4 SC and an increase) until you have 36 stitches.
- Work 6 rounds with 36 stitches with no increases to shape the head.
Eyes Placement:
- Between rows 12 and 13, add eyes 7 stitches apart.
Decreasing for Top of Head:
- Start decreasing by doing 4 SC and then a decrease (crochet 2 stitches together) around the circle. Then proceed with 3 SC and a decrease, followed by 2 SC and a decrease, and 1 SC and a decrease until you are left with 6 stitches. Close the hole with a needle, weaving and hiding the yarn end inside the head.
Ears (Make 2):
Round 1:
- 6 SC in a magic ring.
For Round 2:
- 2 SC in each stitch around (12 stitches).

Round 3:
- [1 SC, 1 Increase] x6 (18 stitches).
- Continue with the pattern, increasing the number of SC between increases in each round: [2 SC, 1 Increase], [3 SC, 1 Increase], [4 SC, 1 Increase], to shape the ear into a larger circle.
- Finish and leave a long tail for sewing. Attach the ears to the side of the head.
Legs (Make 2):
For Round 1:
- 6 SC into a magic ring.
Round 2:
- 2 SC in each stitch around (12 stitches).
Round 3:
- [1 SC, 1 Increase] x6 (18 stitches).
- Work three rounds with 18 stitches.
- Begin decreasing rounds to shape the leg, then work 4 rows up (10 stitches each) without decreasing. Fold the piece and crochet through both sides to close the leg.

Body:
- Start as with the head and legs, begin with a magic ring, and SC 6 times into it.
- Increase in the same manner as the head until you reach 36 stitches around.
- Work several rounds without increase to build up the body.
- Attach the legs and continue working on the body, incorporating decreases to shape it.
Arms (Make 2):
- Similar to legs, start with a magic ring.
- Work increases and straight rounds to get the arm length, then decrease to shape the arm.
Finishing Touches:
- Sew all the parts together following the placement in the video.
- Use the remaining yarn for the eyes, mouth, or any additional detailing.
Tail:
- Chain 8, starting from the second loop from the hook, work 7 SC back down the chain.
- Attach the tail to the body.
Assembly:
- Sew the head, arms, and ears to the body.
- Add facial features by using black yarn for the eyes or embroidery for the mouth.