Crochet Mega-pudgy Penguin Amigurumi Free handiwork Pattern
Plunge into fun and smiles with the free Crochet Mega-pudgy Penguin Amigurumi Pattern—create your own cuddly, charming penguin buddy today!
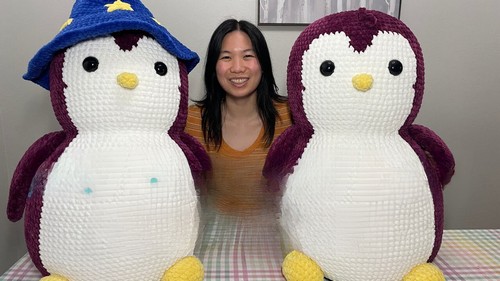
With its adorably round and huggable appearance, is an absolute must-have for any crochet enthusiast. This plush, oversized penguin is perfect for adding a touch of whimsy to any room, making it an ideal gift for children and adults alike who adore cute and cuddly companions.
Crochet Mega-pudgy Penguin Amigurumi

The pattern is accessible for beginners, yet engaging enough for advanced crafters, offering a soothing and enjoyable project that results in a delightful, squishy friend. Blue hat with star on it make it the buddy of sky. The penguin’s large eyes, flappy wings, and quirky feet give it a personality that is hard to resist. Its considerable size makes it great for use as a cozy pillow, a quirky décor piece, or a snugly bedtime buddy. Handmade with love, this amigurumi provides both comfort and joy in every stitch.
Tip:
Use chunky yarn to give your mega-pudgy penguin an extra plush and cuddly feel!
Materials Needed:
Crochet Hook Needed:
- Size 10 mm
Yarn:
- Size 7 jumbo Chenille yarn (1,400g for the body, 330g for the white parts, 80g for the yellow parts)
Safety Eyes:
- 40 mm
Additional Materials:
- Stitch marker, needle, scissors, worsted weight yarn for sewing, and stuffing (6-10 lbs)
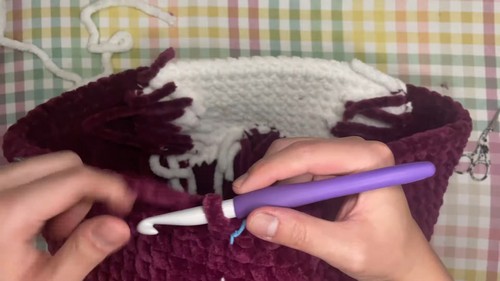
Pattern Steps
Round 1:
- Begin with a magic ring.
- Make 8 single crochets (sc) in the ring. Close the loop.
Round 2:
- 8 increases (inc). You will have 16 sc in total.
After Round 3:
- 1 sc, 1 inc – Repeat 8 times.
- Total of 24 stitches.
Rounds 4-7: (Body Expansion)
- Continue increasing in each round to shape the body. Follow the video for exact stitch counts per round.
Color Change for the White Part:
- Follow the instructions for adding white yarn to create the facial and belly details. The pattern involves precise location switching between the body color and white yarn for the desired effect.
Adding Features:
Round 13:
- Begins the addition of the white part of the face.
Wizard Hat:
- Instructions for the hat will follow in the subsequent video.
Safety Eyes:
- Place between rounds 19 and 20, approximately 11 stitches apart.
Continue Body:
- Continue following the pattern for body expansion and contractions for the penguin’s shape. This will involve several rounds of sc, increases, and decreases strategically placed to achieve the pudgy form.
Neck and Head:
- Detailed instructions are provided from rounds 30-35 for shaping the neck inward and then expanding outward for the head portion, using combinations of sc, inc, and invisible decreases.
Final Rounds:
- Continue to follow the video for closing up the head, attaching the features (including the beak and feet), and other final touches.
Additional Notes:
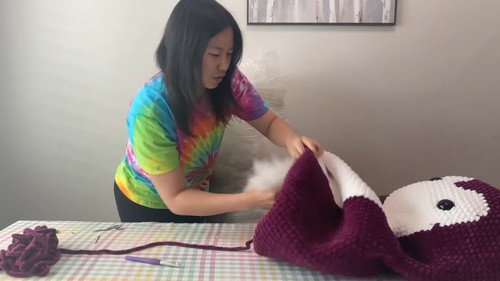
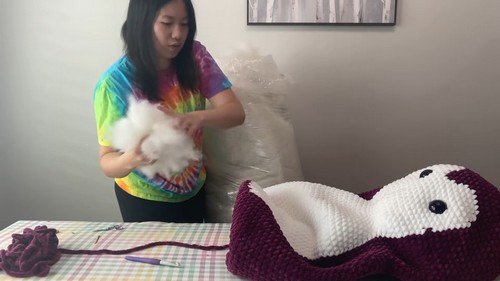
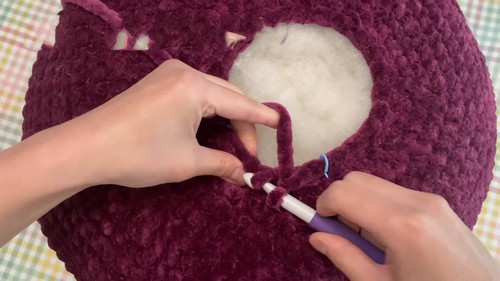
Stuffing:
- Begin stuffing as the shape forms, ensuring an even and firm fill.
Finishing Touches:
- Sew on the beak and feet, made with yellow yarn. Attach the safety eyes before fully closing the head.

Wizard Hat:
- This is an additional accessory for your Mega Pudgy Penguin. For detailed steps, look out for the dedicated tutorial in a subsequent video.