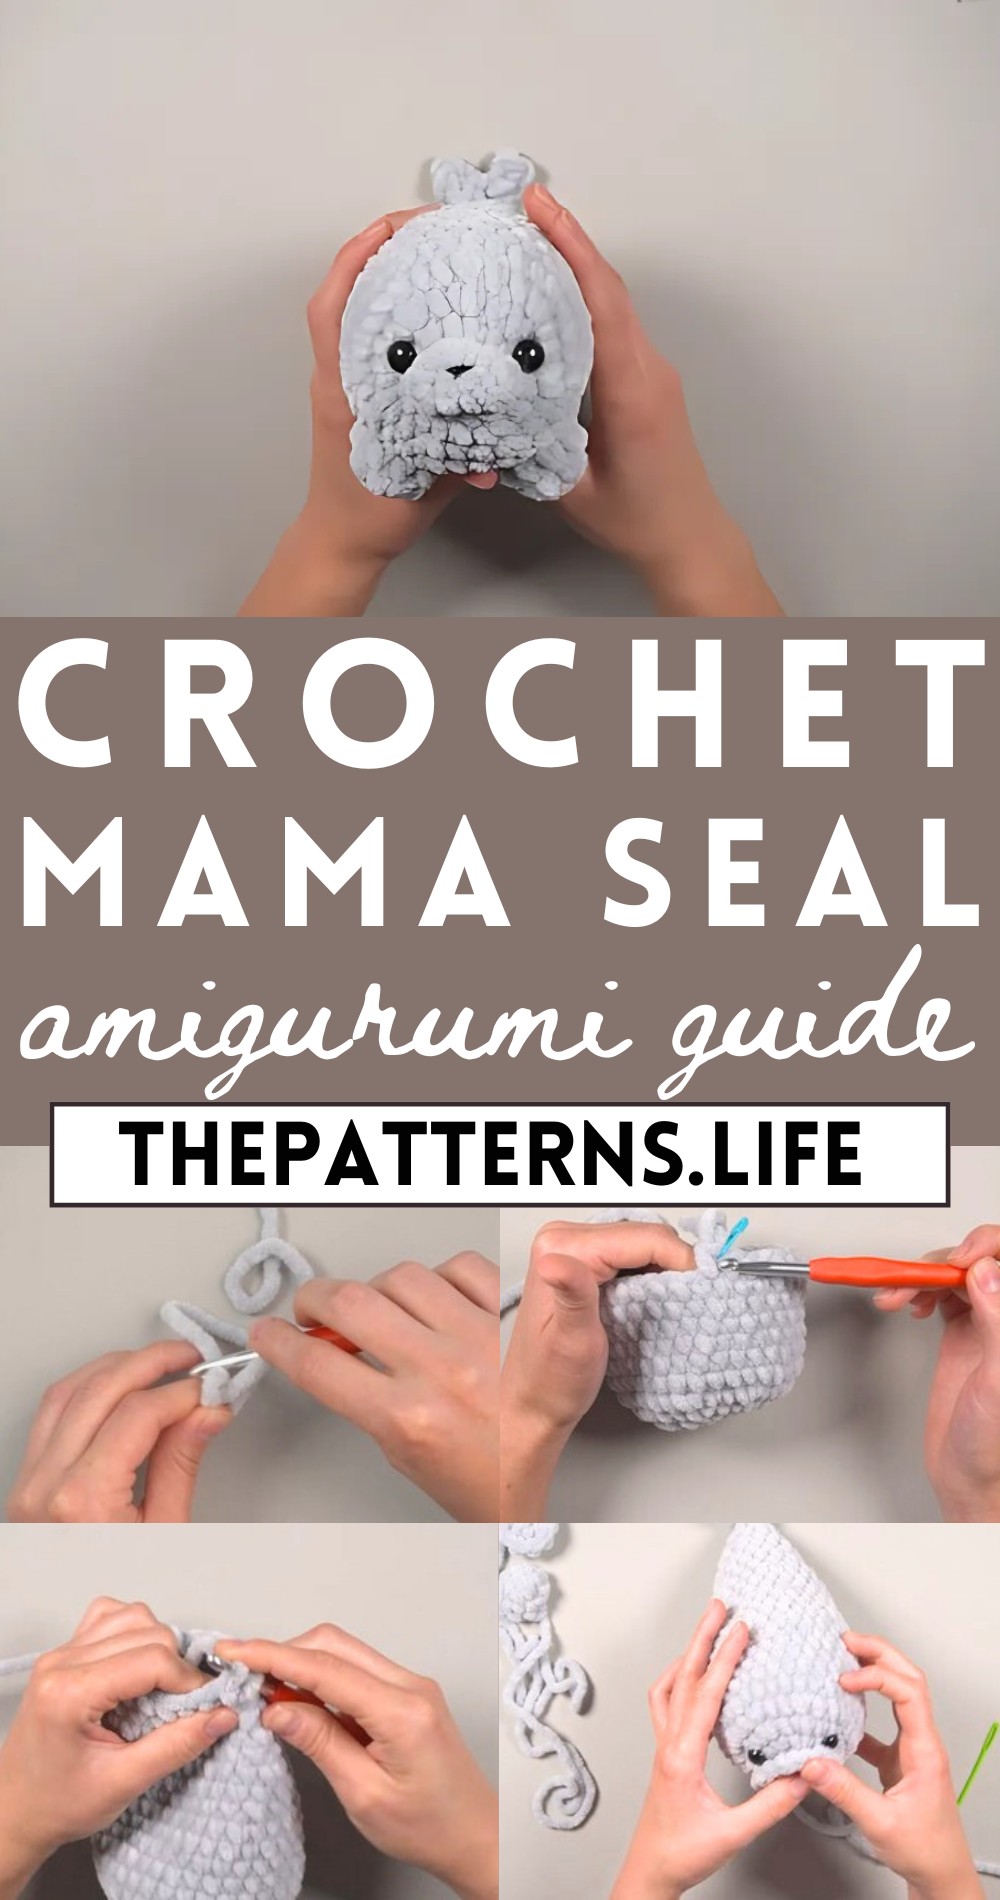
Cute and Chubby Mama Seal Crochet Pattern
Advance your crochet skills with the free Cute and Chubby Mama Seal pattern, a charming and delightful crochet project perfect for heartfelt gifts.
To crochet this amazing sea buddy give much joy like waves. This charming creation captivates the hearts with its adorably plump and cuddly design, characterized by its rounded body, expressive eyes, and playful flippers. The pattern itself is thoughtfully detailed, making it accessible for beginners crocheters.
Crochet Amigurumi Mama Seal
As you stitch each loop, you’ll find the process both relaxing and rewarding, leading to a sense of accomplishment as the mama seal takes shape. Beyond the joy of making, this amiable sea creature serves as a perfect gift to spread smiles or as a whimsical addition to your collection of handcrafted treasures. The endearing design not only brings a touch of marine magic into any space but also showcases the charm of handmade artistry, adding a personal and unique touch to your decorative endeavors.
Materials Needed:
- Super Bulky (size 6) Yarn (e.g., Sweet Snuggles light in silver), though you can adjust yarn sizes for different sizes of the project.
- Crochet Hooks: 6.0 mm for the body (though an 8.0 mm is recommended for the yarn used), and potentially smaller or larger based on yarn choice.
- Safety Eyes: 12 mm (though initially mistaken for 10 mm in your notes).
- A bit of Black Yarn for the snout details.
- Polyester Fiber Fill for stuffing.
- Scissors, Darning Needle or Yarn Needle, Stitch Markers, Pins for assembly, Glue for eyes (optional), and possibly some basic sewing tools
Pattern Overview:
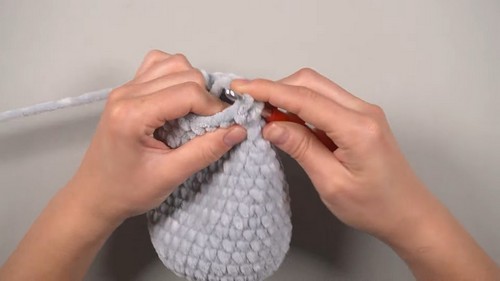
- The project involves creating a mama seal, with the process covering the crochet of individual parts like the snout, arms, and the main body, before assembly. The design features continuous rounds and utilizes mostly the single crochet stitch, specifically employing the “yarn under” technique for a distinct texture.
Pattern Steps:
Snout:
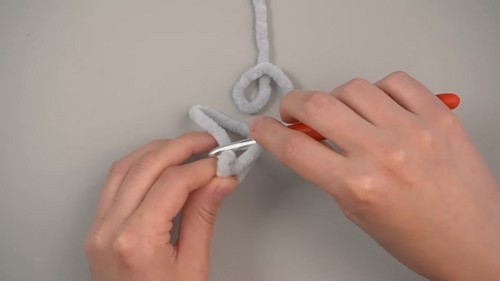
- Start with a slip knot then chain six.
- Single crochet in the second chain from the hook, then one more single crochet.
- In the next stitch, increase by making two single crochets in the same stitch.
- Single crochet in the next two stitches.
- Without turning, continue single crocheting down the other side of your foundation chain to create an oval shape.
- Finish by cutting a length of yarn and pulling through the last loop on your hook, then sew this part to the main body later.

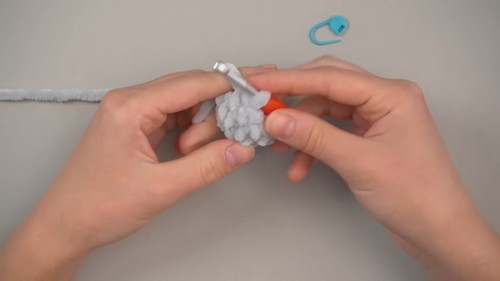
Arms (Make Two):
- Begin with a magic circle or chain 2 method, then work 5 single crochets into the first chain/magic circle.
- Increase in each stitch around for a total of 10 stitches.
- Single crochet in each stitch around for one or more rounds to create a small cylinder.
- Finish off, leaving a tail for sewing, and stuff lightly if desired.

Body:
- Start with a magic circle or chain 2, then work 8 single crochets into the circle/first chain.
- Likely involving standard amigurumi body shaping techniques (increasing in a pattern to achieve the desired body size, then working even, followed by decreases to shape the tail end).
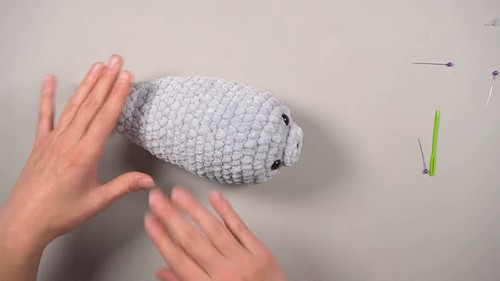
- For the tail, decrease according to a pattern that would create a gentle tapering.
- Finish with creating the tail flukes with chain stitches and single or half-double crochets
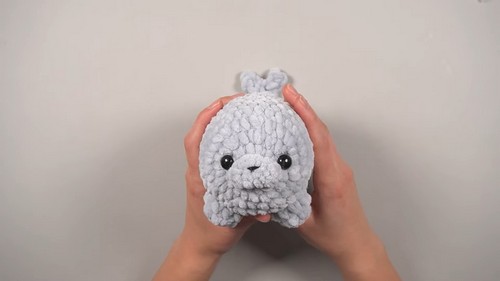
Assembly:
- Attach snout, arms, and sew on the eyes (or attach safety eyes before closing the body fully if not using glue).
- Optionally embroider additional facial details or other decorations as desired.