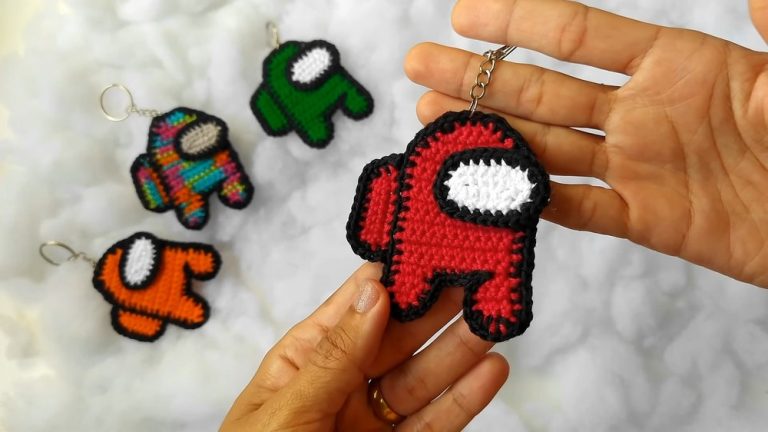
Super Cute Crochet Amigurumi keychain Pattern – No Sew
Delightful and unique mini-companions with our crochet Amigurumi keychain pattern—perfect for adding a touch of fun and charm to your everyday accessories!
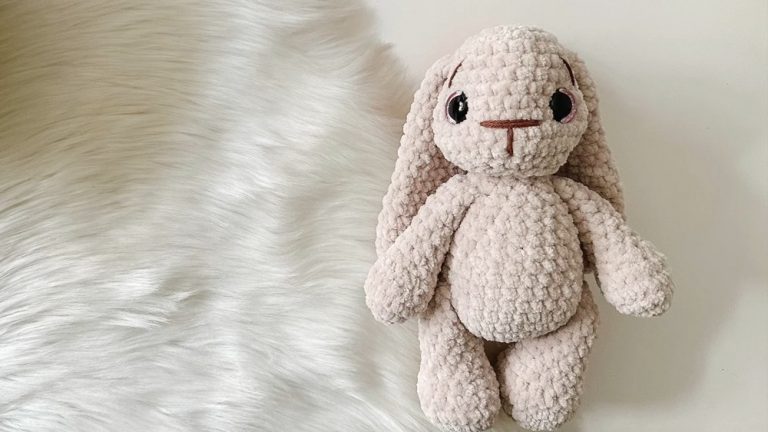
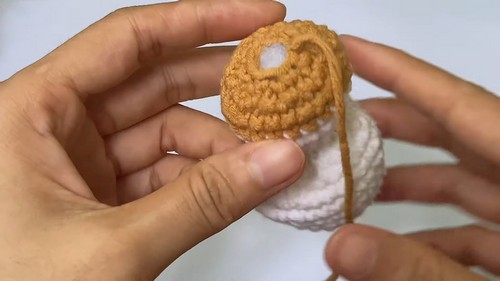
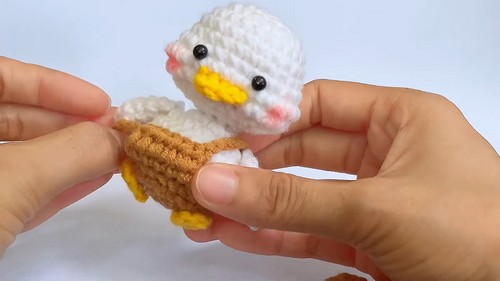
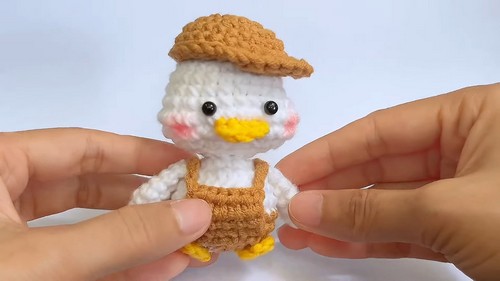
The Pattern is an enchanting project that combines artistry and practicality, perfect for crocheting delightful miniatures to adorn your keys or bags. Its chubby and pink cheeks With an array of patterns available, you can personalize each keychain, creating whimsical designs from animals to quirky shapes, turning everyday items into unique expressions of creativity. These petite amigurumi not only serve as stylish accessories but also make excellent gifts, spreading joy and warmth with their handcrafted charm.
No Sew Crochet Amigurumi keychain

Working on these small projects helps enhance your crochet techniques, offering a perfect blend of quick, satisfying results and skill development. Ideal for both beginners and seasoned crocheters, they make for a fun and rewarding pastime. For a polished finish, use vibrant yarns and a tight stitch to maintain shape and durability.
Tip
Move into this creative adventure and make your everyday carry items truly one-of-a-kind with these delightful crochet amigurumi keychains!
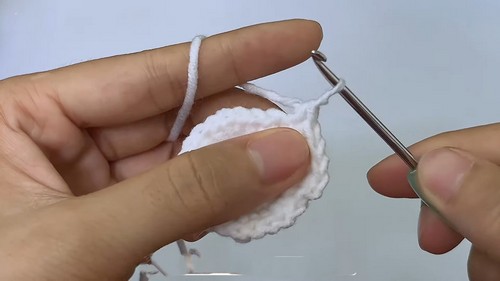
Head:
- Row 1: Make a magic ring and work 8 single crochets (sc) into the ring. Pull the yarn tightly and join with a slip stitch (sl st) to the first sc.
- Row 2: Chain 1 (ch 1), make an increase (inc) in each stitch around (16 sc). Join with a sl st to the first sc.
- Row 3: Ch 1, 1 sc in the first stitch, 1 inc in the next stitch. Repeat from * to * around (24 sc). Join with a sl st.
- Rows 4-6: Ch 1, 1 sc in each stitch around (24 sc). Join with a sl st after each row.
- Row 7: Ch 1, 6 sc, 1 inc, repeat * to * around then 6 sc. Join with a sl st.
- Row 8: Ch 1, 1 sc in the next 6 stitches, 1 sc, 1 inc, repeat pattern between *s three more times, then 1 sc in the next 6 stitches. Join with a sl st.
- Row 9: Ch 1, 6 sc, then repeat pattern of 1 sc, then 1 decrease (dec) three times, followed by 4 sc and then repeat pattern of 1 dec, 1 sc three times, end with 6 sc. Join with a sl st.
- Row 10: Ch 1, 6 sc, 4 dec, 4 sc, 4 dec, 6 sc. Join with a sl st.
- Row 11: Ch 1, 1 sc, 1 dec. Repeat from * to * around (12 stitches). Begin stuffing the head.
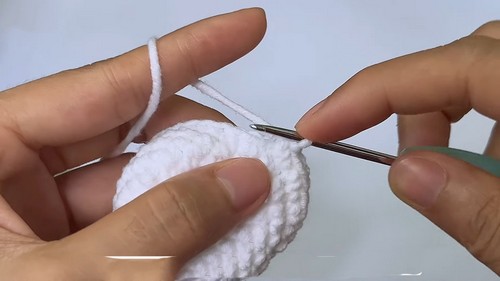
- Row 12: Ch 1, work 8 dec around. Join with a sl st. Finish stuffing the head.
Body:
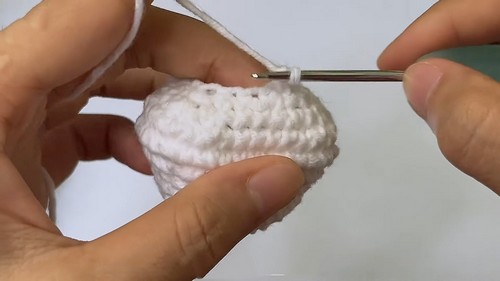
- Row 1 (Front Loops Only): Ch 1, work 8 sc into front loops only around, join with a sl st.
- Row 2: Ch 1, work 1 inc in each stitch around (16 sc). Join with a sl st.
- Row 3: Ch 1, 1 sc, 1 inc. Repeat from * to * around (24 sc). Join with a sl st.
- Row 4-5: Ch 1, 1 sc in each stitch around (24 sc). Join with a sl st after each row.
- Row 6 (Color Change): Ch 1, 24 sc around. Join with a sl st.
- Row 7: Ch 1, 9 sc, then 6 sc in the back loops only, followed by 9 sc. Finish the row working in both loops and join with a sl st.
- Row 8: Ch 1, 1 sc, 1 dec. Repeat from * to * around. Join with a sl st.
- Row 9: Ch 1, work 8 dec around. Begin stuffing the body after this row. Fasten off leaving a long tail for sewing.
Arms and Legs:
The pattern here is not provided in detail. Usually, the arms and legs can be started with a magic ring and a certain number of sc stitches that can then be worked in the round, increasing or decreasing as necessary.
Overalls:
You should start with a foundation chain, then work in rows or rounds to create the overalls. Details regarding the exact number of stitches and rows are not included in your scrape.
Mouth:

The mouth seems to start with inserting the hook in the specified row and working slip stitches followed by single crochets to create a mouth shape. Fasten off when complete.
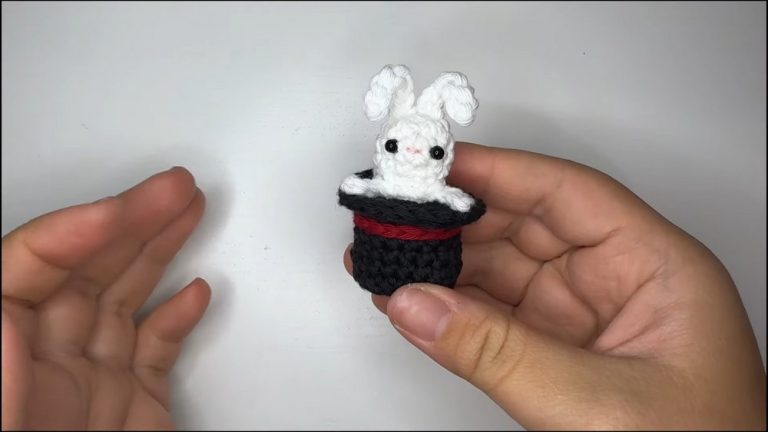
Hat:
Just like other sections, start with a magic ring, then work in the round, increasing to create the hat’s shape.