
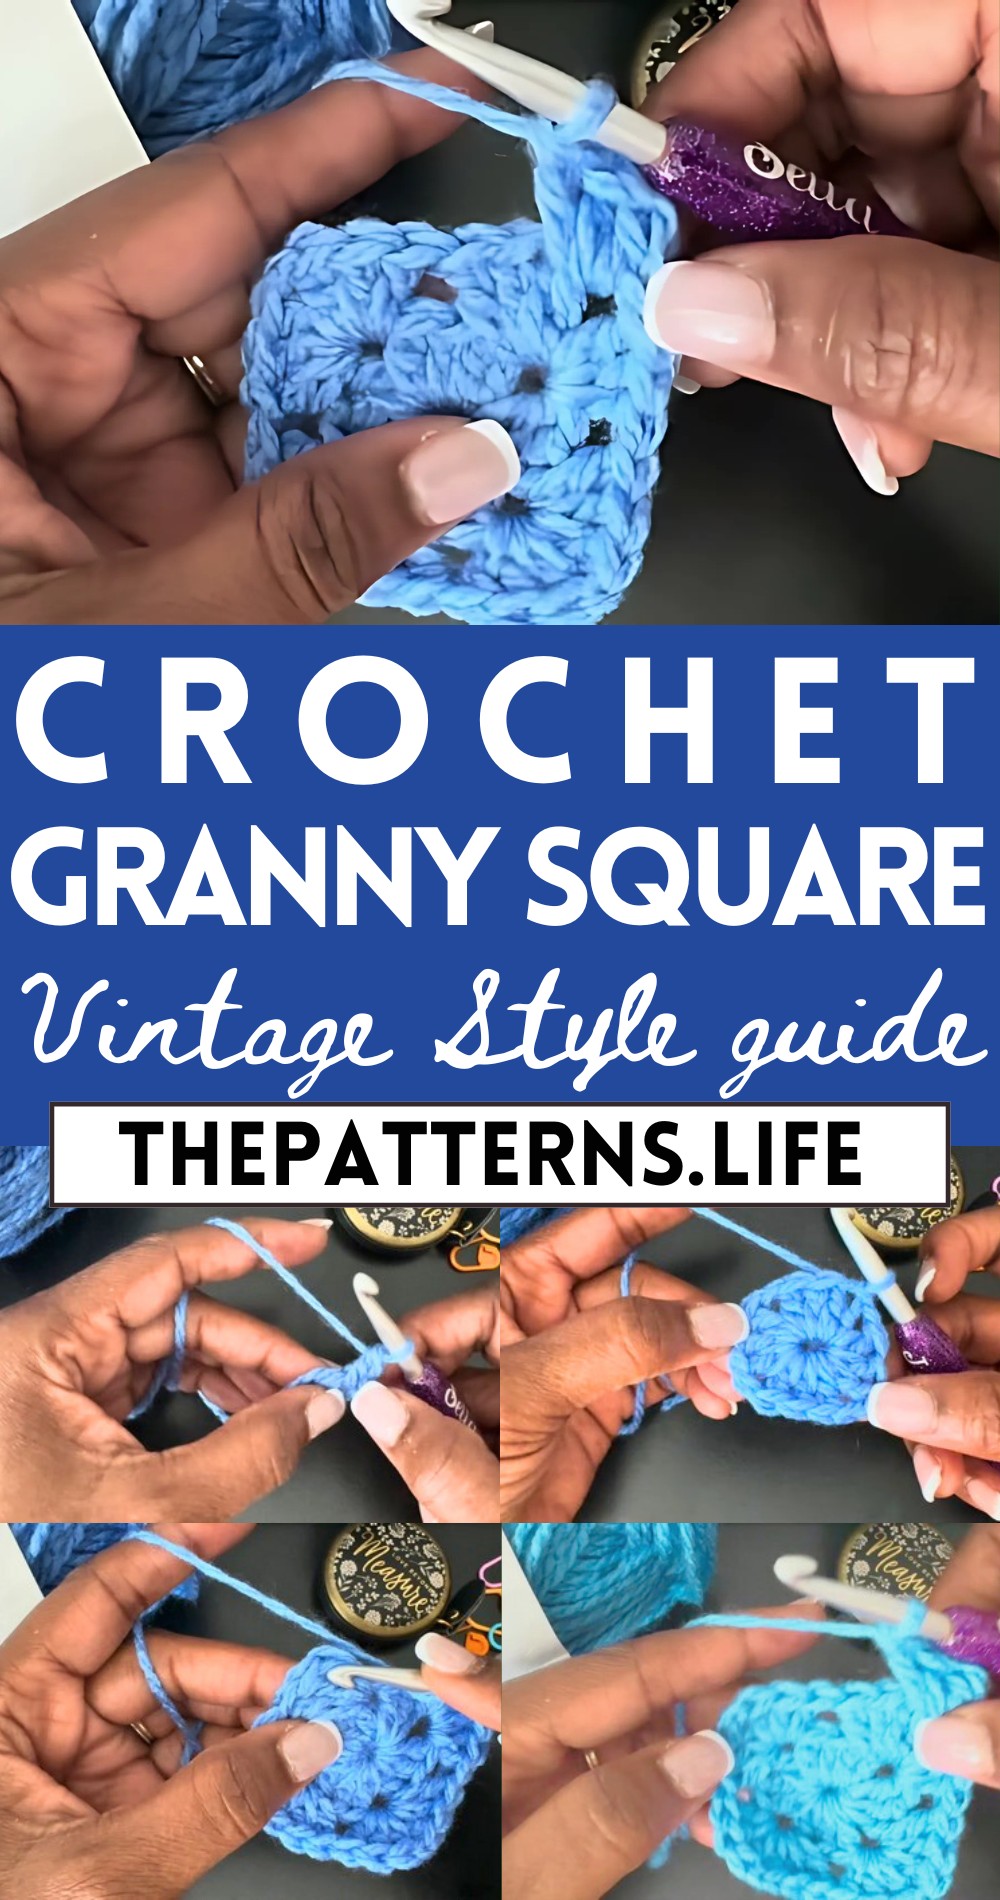
Vintage Style Crochet Traditional Granny Square Pattern
Reveal the joy of crocheting with our free Traditional Granny Square Pattern, complete with easy-to-follow instructions for a classic and charming design.
It is a timeless and versatile design that exudes elegance and charm. This pattern’s classic appearance is marked by its intricate geometric shapes, seamlessly connected to form a stunning patchwork. Each square can be brought to life with a vibrant array of colors, allowing for personalization that reflects your unique style and creativity. The beauty of the granny square lies in its simplicity and symmetry, making it a perfect project for both beginners and seasoned crochet enthusiasts.
Crochet Traditional Granny Square
With each stitch, you can create a tapestry of colors ranging from warm, earthy tones to bright, playful hues, adding a touch of nostalgia to any home decor, accessory, or garment. This pattern not only offers a delightful journey into the world of crochet but also results in pieces that are both beautiful and functional.
Tip:
Use a consistent yarn weight for a uniform and polished look.
Materials Needed:
- Yarn
- Crochet hook
Starting Round:
- Create a slip knot on your crochet hook.
- Chain 4 – This forms the foundation ring.
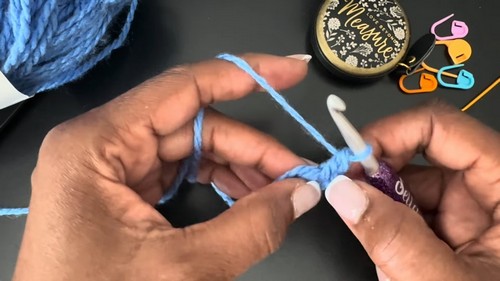
- Join with a slip stitch in the first chain to form a small ring.
First Round:
- Chain 1 (this does not count as a stitch).
- Double Crochet (DC) 3 times into the center of the ring. This forms your first ‘shell’ or ‘cluster’.
- Chain 1, then make 3 more double crochets into the ring. Adjust the stitches so there’s room for more.
- Continue this process until you have four sets of 3 double crochets separated by a chain 1 space in each. This forms the first round and delineates the corner spaces.

- Slip stitch to the top of the first double crochet (not the chain 1) to complete the round.
Second Round:
- Chain 1, then work into the corner spaces created by the chain 1 in the first round.
- Start in any corner, place 3 double crochets into the corner space.

- Do not chain between clusters on the sides for this pattern, but do chain 1 after completing a corner cluster to start the next corner.
- In each corner space: 3 double crochets, chain 1, 3 double crochets. This forms a new corner.
- Continue around the square, working into each corner space.
- After completing the last corner, add 3 double crochets into the first corner space where you started to balance the round.

- To join, half double crochet to the top of the first double crochet of the round (not the chain 1). This method helps in preventing the square from curving.
Subsequent Rounds:
- Chain 1 and begin in any corner space or where you ended the last round.
- Repeat the process for the second round – 3 double crochets, chain 1 in corner spaces, and simply 3 double crochets in the side spaces between corner chain spaces, to continue building your granny square.
- Each round increases the sides’ length by one cluster between corners.

- Continue with as many rounds as desired to reach the size you want.
- To finish a round, as before, you use a half double crochet to join and tighten the round without creating a large gap.

Finishing the Square:
- To tighten the center ring and reduce the hole’s size, pull on the tail of the yarn you worked over in the initial round.
- Weave in the tails neatly with a needle to secure and tidy up your work.


