Chic and Simple Crochet Scallop Dishcloth Pattern For Kitchen Charm
Introduce charm to your kitchen with our Free Crochet Scallop Dishcloth Pattern—perfect for adding a touch of elegance and practicality to your daily routine.
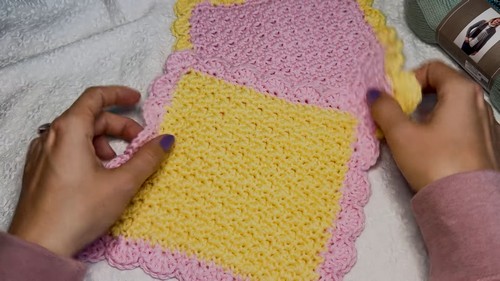
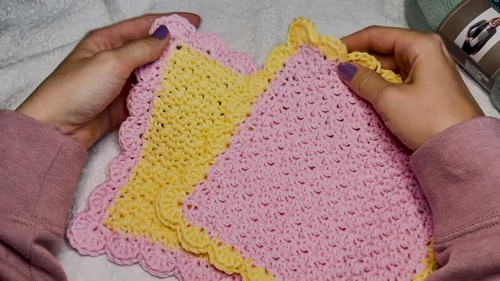
It can offers a perfect blend of beauty and practicality, mutating an everyday essential into a work of art. Featuring elegant scalloped edges and a textured surface, this dishcloth adds a burst of charm to any kitchen decor. The pattern’s design beautifully combines aesthetics with functionality, ensuring that your dishcloth is not only visually appealing but also highly absorbent and durable. Suitable for both beginners and experienced enthusiasts, clear instructions and tips guide you through each stitch, helping you create a flawless final product.
Crochet Scallop Dishcloth
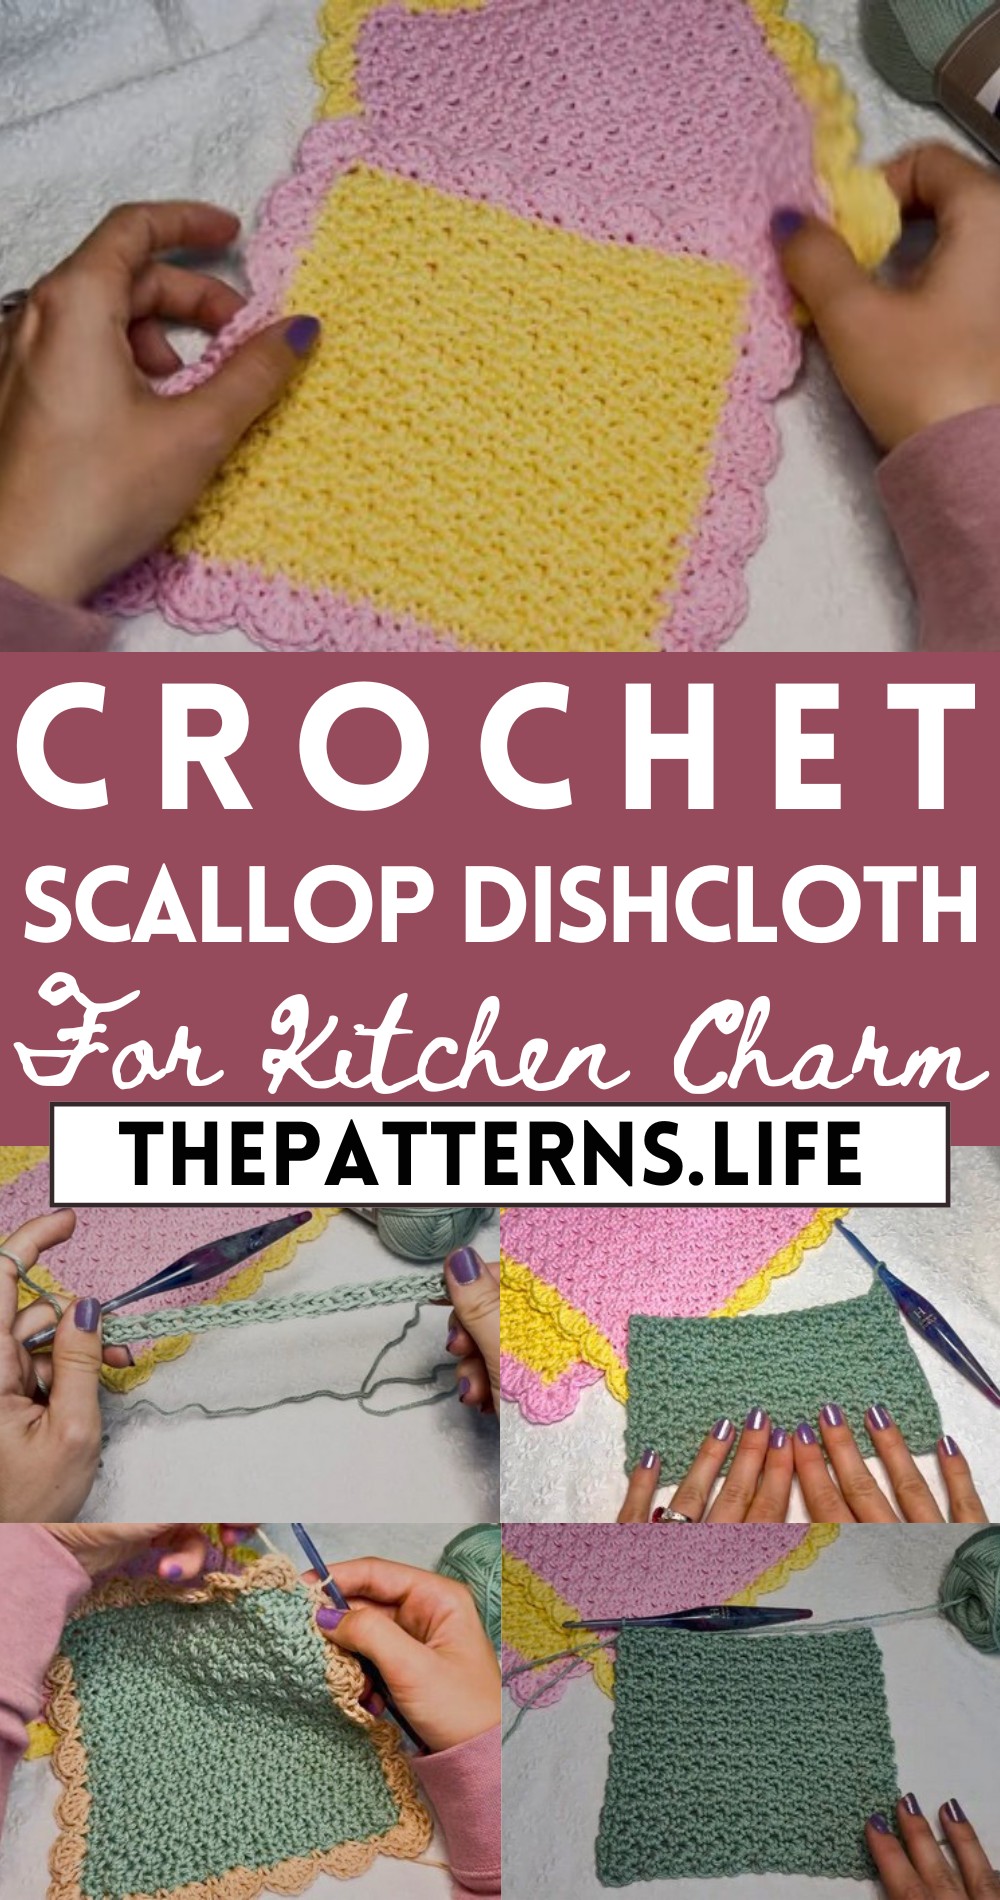
The scallop dishcloth can be customized in various colors to match your kitchen theme or to add a splash of contrast. Its intricate design makes it a thoughtful homemade gift, sure to be appreciated for both its looks and usefulness.
Tip:
Using cotton yarn will enhance the dishcloth’s absorbency and durability.
Materials Needed:
- Cotton yarn (recommended brand is one found at Hobby Lobby, color ‘Serene Spa’)
- Size 5 mm crochet hook
- Scissors
Pattern:
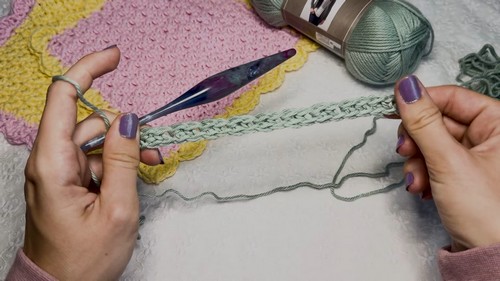
Foundation Chain:
- Begin with a slip knot on your hook.
- Chain 23.
Row 1:
- Single crochet (sc) into the second chain from the hook.
- Double crochet (dc) into the next stitch.
- Repeat sc in next stitch, dc in next stitch to the end of the row, ending with a dc.
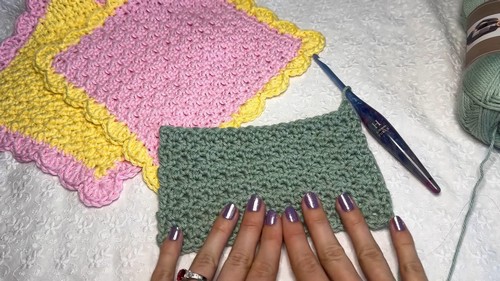
Repeat Row:
- Chain 1 and turn your work.
- Start with a single crochet, and end with a double crochet, just as you did in the previous row.
- Continue the sc, dc repeat for each subsequent row.
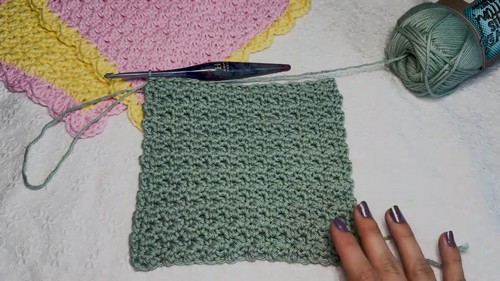
- Continue working these rows until the piece forms a square. You can double-check it’s a square by folding the washcloth diagonally to see if it forms a perfect triangle.
Border Row 1:
- Start with 2 sc in the side of the last dc made.
- Work sc stitches evenly down the side (approximately 21 sc, one per row).
- In the corner, make 3 sc.
- Repeat the sc down each side and 3 sc in each corner around the entire piece.
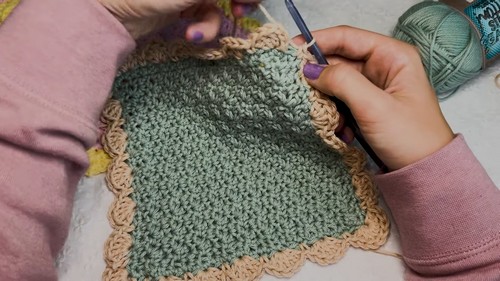
Border Row 2 – Shell Pattern:
- Join a new color if you like, finishing the last stitch of the previous color with the new color to make a smooth transition.
- Slip stitch into the first sc of Border Row 1.
- Chain 3 (counts as first dc) for the first shell.
- Make 2 more dc in the same space to complete the first shell of 3 dc.
- Skip one stitch, sc in the next stitch.
- Skip one stitch, work 5 dc into the next stitch – repeat this around, creating shells.
- In the corner spaces, instead of 5 dc, make a shell of 8 dc to turn the corner neatly.
- When you get back around to the starting shell, make the final shell into the base of the beginning chain of 3.
- Finish the shelled border all the way around, and slip stitch to join at the end of the round. Weave in all ends.
Final Notes:
- There should be 5 shells on each side of the square with 8 dc shells at each corner.
- Weave in any remaining loose ends.
- You may want to block your washcloth to shape.