
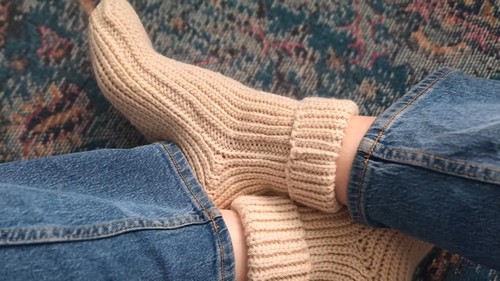
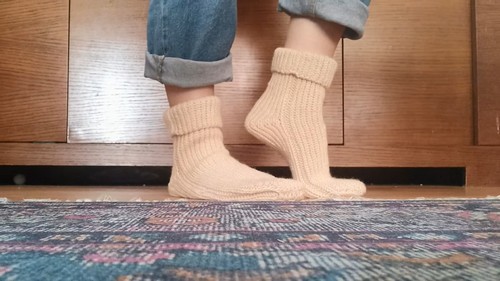
Comfy And Cozy Crochet Socks Pattern To Wear In Windy Period
Snuggle your feet in warmth with the Free Crochet Comfy and Cozy Socks Pattern, designed to bring handmade comfort and love to your wardrobe.
This pattern provides comprehensive instructions that cater to all skill levels, ensuring that even beginners can produce high-quality, comfortable socks. With its intricate stitches and unique designs, you’ll be able to crochet socks that are not only practical but also a work of art. Attention to detail is key, as the pattern takes you through each step meticulously, helping you achieve a flawless finish.
Crochet Easy Socks Pattern

Are you looking for a way to keep your feet toasty while showcasing your crochet skills? The “Crochet Comfy and Cozy Socks Pattern” is your go-to guide for making snug and stylish socks that are perfect for any season. The end result is a pair of beautifully textured, cozy socks that you can wear with pride or gift to a loved one.
Tip:
Use a soft, breathable yarn for maximum comfort, and always make sure to check your gauge to ensure a perfect fit.
Materials:
- 1 1/2 skeins (150g) of Acrylic Yarn: Acrylic is durable, soft, and budget-friendly, making it ideal for crafting socks that endure frequent wear and washing.
- 4 mm Crochet Hook: A hook of this size is perfect for achieving a tight enough stitch for socks without being too intricate for beginners.
- Yarn Needle: Used for weaving in ends to give your socks a professional, finished look.
- Scissors: For cutting yarn.
Abbreviations:
- ch: Chain – The foundation of your project, a basic stitch to begin your work.
- sl st: Slip Stitch – A method for joining stitches that also works well for creating a smooth edge.
- sc: Single Crochet – A basic crochet stitch, creating a dense and sturdy fabric.
- hdc: Half Double Crochet – A stitch that’s in between a single crochet and a double crochet in height.
- dc: Double Crochet – Produces a looser fabric, perfect for flexible sections of socks.
- inc: Increase – Making two stitches into the same stitch to widen the fabric.
- dec: Decrease – Crocheting two stitches together to narrow the fabric.
Instructions:
Starting Your Project:
Cast On:
- Chain 81 (adjust the number of chains depending on your desired size). This initial count will form the cuff and body of the sock.
Creating the Sock Body:
Row 1:
- Skip the first chain, slip stitch in the second chain from the hook. Chain 1, turn.
Row 2:
- Slip stitch in the first stitch from the hook, chain 1, turn.
Rows 3-85:
- Continue as established in step 3 for a solid foundation. This repetition creates the body of your sock, forming either the leg portion or the foot, depending on how you wish to wear them.
Shaping the Heel:
The heel is formed by decreasing the number of stitches, creating a part of the sock that will snugly fit around your heel.
Row 86 – Row 124:
- Begin each row by slip stitching in the first stitch, followed by a chain 1. Make two single crochets (an increase) in the next stitch for the first row of heel shaping. Continue by adding single crochets between decreases (crocheting two stitches together) until Row 124. This gradual reduction and then expansion help form the curved shape of the heel.
Finishing Touches:
After completing the heel shaping, you will continue to crochet in the round to complete the foot and toe sections. Remember, the number of rows you crochet from this point will depend on the desired length of your sock and the size of the foot it’s meant for.
Closure:
- Decrease evenly around the toe area until you have a small opening left.
Finishing:
- Cut the yarn, leaving a long tail. Use the yarn needle to thread through remaining stitches and pull to close. Weave in the ends securely.


