
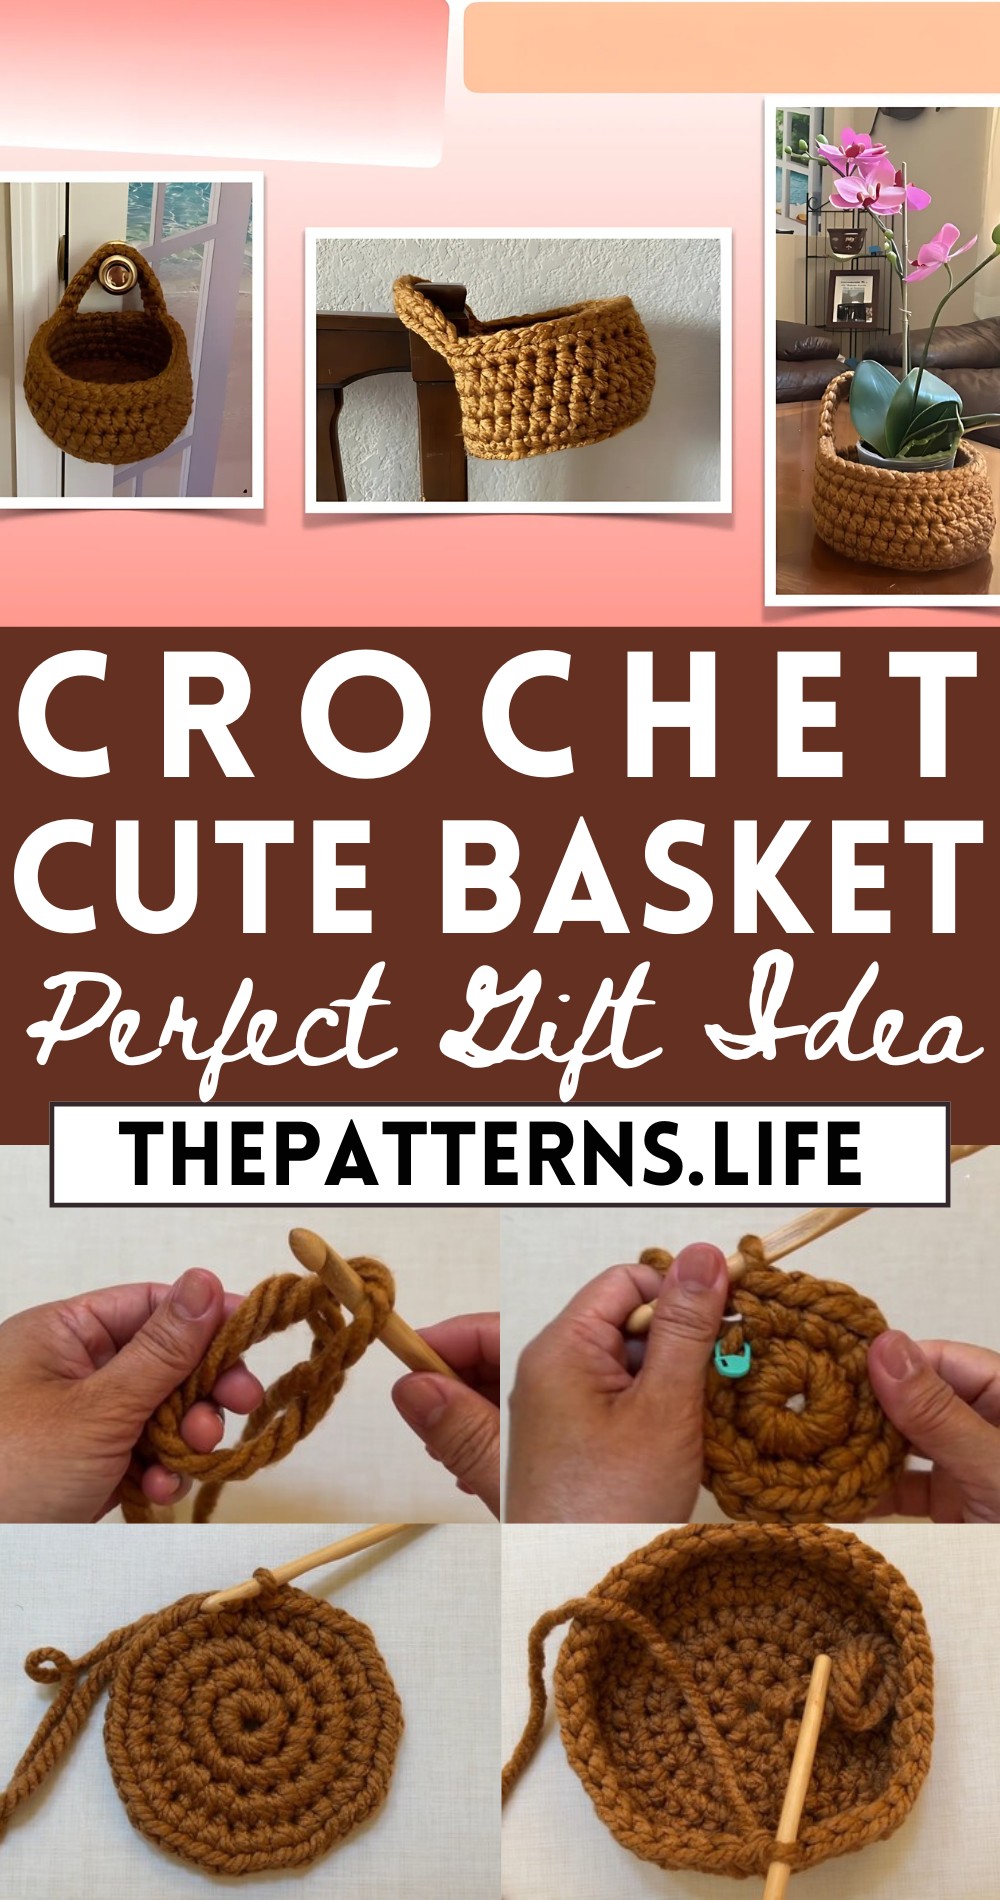
Cute & Snuggly Crochet Basket Pattern For Beginners
Whip up something special with the Free Crochet Cute & Snuggly Basket Pattern, ideal for adding a touch of whimsy and functionality to any space.
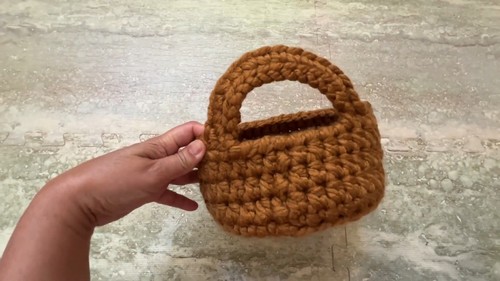
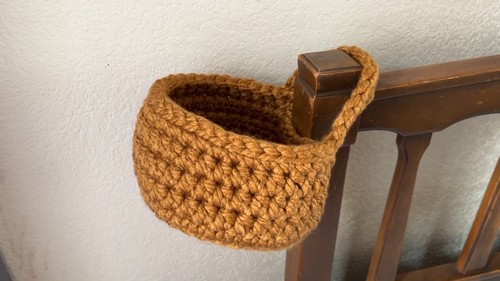
A delightful and stylish project that combines charm and practicality. This pattern creates a lovely basket with a plush, textured design that adds a warm and inviting touch to any room. Ideal for organizing small items or displaying as a decorative piece, its snug and sturdy construction ensures both beauty and functionality. The basket can be crocheted in an array of colors to match your existing décor or add a splash of vibrant hues for a playful accent.
Crochet Cute Basket
The soft yarn used in this project not only enhances its aesthetic appeal but also ensures a touchably soft finish. Whether you use it to store toys, crochet supplies, or as a standalone piece, this adorable basket is sure to stand out and bring a smile to anyone who sees it.
Tip:
Use a thicker yarn to give the basket more structure and durability.
Materials Needed:
- Yarn: Super bulky (“Yarn Bee” brand mentioned, in tobacco color, about 70 yards).
- Crochet Hook: 12 mm size, though a 9 mm (size M) hook is used for tighter tension.
- Scissors
- Blunt Needle
- Stitch Markers
- Tape Measure
Pattern:

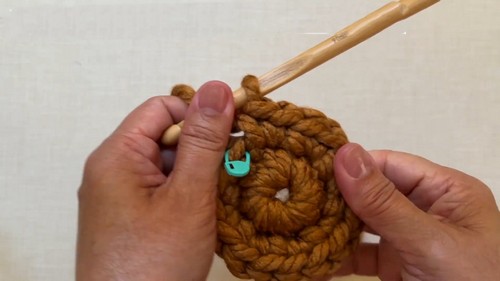
Start with a Magic Ring:
- Make a magic ring.
- Chain 1, then make 8 single crochets (sc) into the ring.
- Pull the tail to tighten the ring.
- Join with a slip stitch to the first sc.
Increase:
- Make 2 sc in each stitch around.
- You’ll have 16 sc at the end of this round.
- Join with a slip stitch to the first sc.
Increase:
- Repeat the pattern from Round 2 to make 2 sc in each stitch around, ending up with 30 sc.
- Join with a slip stitch to the first sc.
Partial Increase:
- Single crochet in the next two stitches, then increase by making 2 sc in the following stitch.
- Repeat – around, making sure the piece remains flat.
- Join with a slip stitch to the first sc. You should have 38 sc, but exact count can vary.
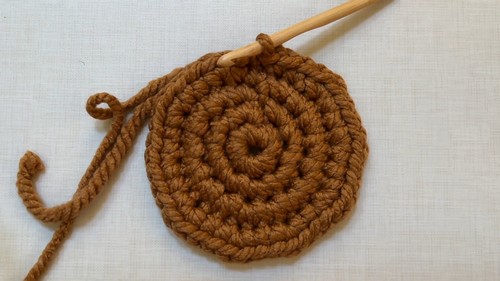
No Increase:
- Make 1 sc in each stitch around.
- Skip the very last stitch before joining with a slip stitch to the first sc. This prevents bulging.
Begin Sides:
- Chain 1, then work single crochet back loop only (sc BLO) in each stitch around to create a flat edge.
- Join with a slip stitch to the first sc.
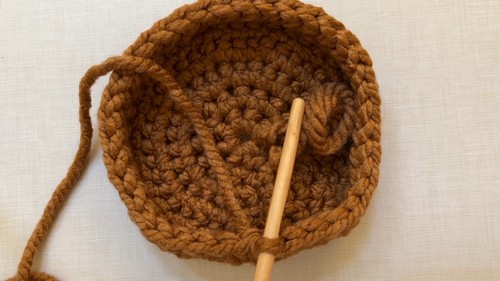
Begin Half Double Crochet:
- Chain 1, then work half double crochet (hdc) in each stitch around.
- Join with a slip stitch to the first hdc.
Repeat Round 7:
- Continue with hdc in each stitch around.
- Join with a slip stitch to end each round.
Creating the Handle (Round 10):
- Slip stitch up to the first marker.
- Chain 15 (or desired handle length), then join with a slip stitch to the chain one of Round 10.
Slip Stitch Rim and Handle:
- Slip stitch in each stitch around the rim.
- For the handle, opt for either slip stitch or single crochet in each of the 15 chain stitches.
- Join with a slip stitch to the first sc.
Finishing Touches:
- Cut the yarn, leaving enough to sew the handle for a clean finish.
- Use a blunt needle to weave in ends and any necessary adjustments to ensure strong and clean edges.
Measurement:
Opening Diameter:
- 7 inches
Handle Opening:
- 4 inches
Depth:
- 4 inches
- Finally, weave in all ends for a neat finish.


