Cozy Crochet Ribbed Slipper Pattern For Winter Times
Warm your feet with love using our Free Crochet Ribbed Slipper Pattern, designed to bring cozy comfort and handmade charm to every step you take.
This pattern features a classic ribbed design, providing extra warmth and a stretchy fit for ultimate comfort. With easy-to-follow instructions, it’s suitable for both beginners and experienced crocheters. These slippers can be customized with your favorite yarn colors to match your personal style or to give as a heartfelt gift.
Crochet Ribbed Slipper
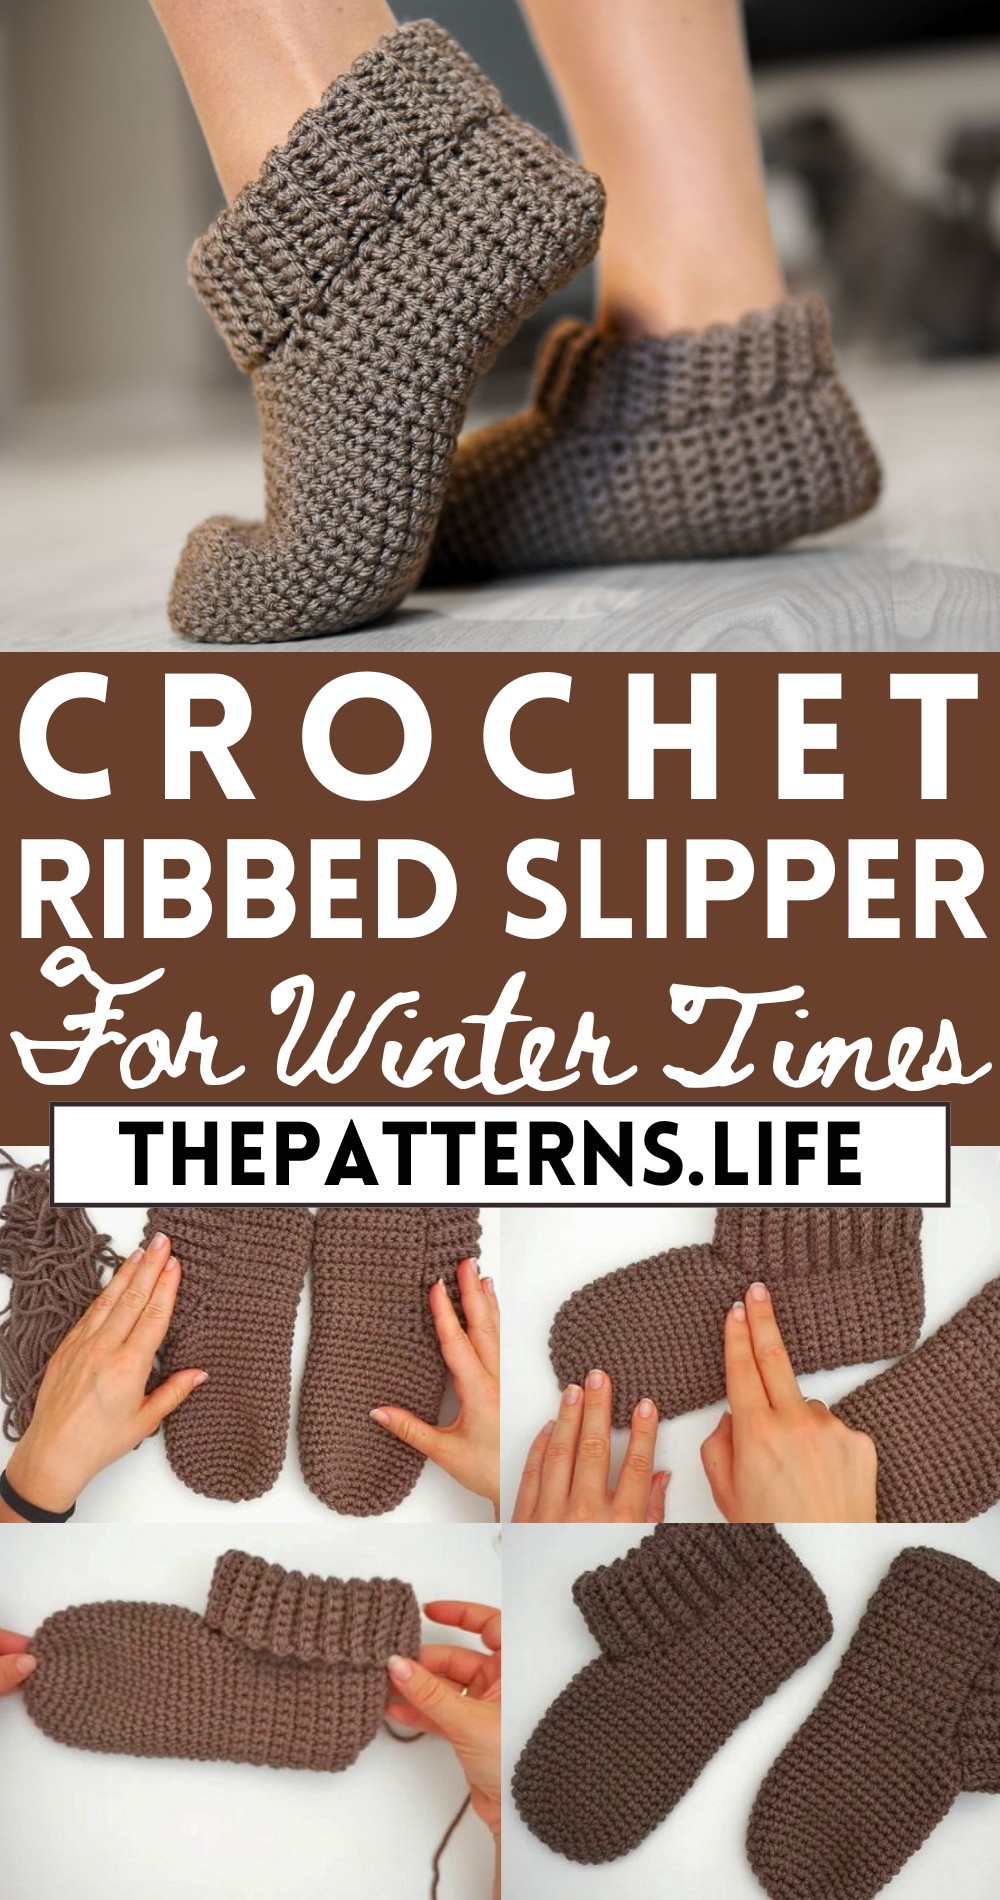
Ready to keep your feet cozy and stylish? The Crochet Ribbed Slipper Pattern is your go-to solution for creating snug, comfy slippers perfect for lounging at home. The texture and snug fit make them a delight to wear, especially during colder months.
Tip:
For added durability, consider using a double strand of yarn or adding a non-slip sole to the bottom of the slippers.
Materials:
- Yarn: Lightweight 3 ply yarn or Medium weight 4 ply yarn (~200 yards for each slipper)
- Hook: 5 mm crochet hook
- Scissors
- Tapestry Needle
Abbreviations:
- ch: chain
- sc: single crochet
- sl st: slip stitch
- BLO: back loop only
Crochet Steps:

Start with a slip knot, chain 2.
- Single crochet in the first chain, then work another sc in the same stitch.
- Repeat step 2 until you have a total of 8 sc.
- In the next stitch (the first sc you made), work 2 sc. Continue all the way around for a total of 16 sc.
- Weave in the end and cut it off.
- In the next stitch, work 2 sc, followed by 1 sc in the next stitch. Repeat these steps until you reach 30 stitches in total.
- Work 1 sc in each stitch around for 21 rounds.
- ch 1, turn the work. Skip the turning chain, 1 sc in the next stitch. Continue for a total of 21 stitches. ch 1 and turn.
Repeat the process in step 8 for 15 rows to create the slipper’s upper section.
- Ch 1, turn, and make 10 sc.
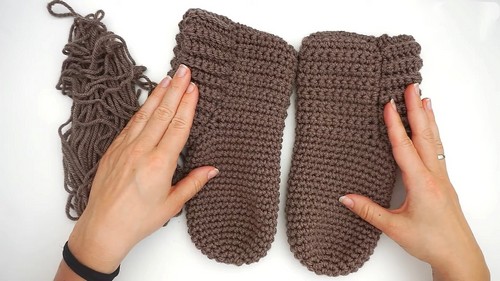
- Fold the slipper in half, and use slip stitches to sew a seam through both layers all around.
- Turn the slipper right side out to prepare for the final touches.
Adding Finishing Touches:
(Optional) Work a round of sc around the slipper’s edge for a polished look.
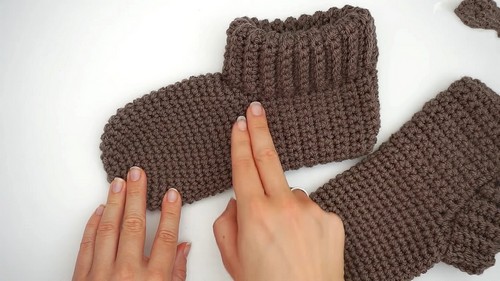
- ch 15. Skip the first chain, work 1 sc in the next, and continue with 1 sc in each stitch down to the bottom. Include a sl st in the next stitch, then another sl st in the stitch after.
- Turn the work, skip the two sl st, and start working in BLO with sc in the next stitch. Continue with BLO sc in each stitch to the top.
- ch 1 and turn. Repeat steps for BLO sc all around the slipper, ensuring a snug, comfortable edge.
- Once you’ve worked all the way around, crochet a sl st through both layers to securely join the ends.
- Cut the yarn, leaving enough length to weave in the end snugly with your tapestry needle.

Finishing the Slipper:
- Once all ends are securely woven in, your slipper is complete. For a more finished appearance or to adjust fit, optionally sew the back of the slipper (the wrist area) closed.
- Repeat these steps to create the second slipper, ensuring you have a matching pair.