
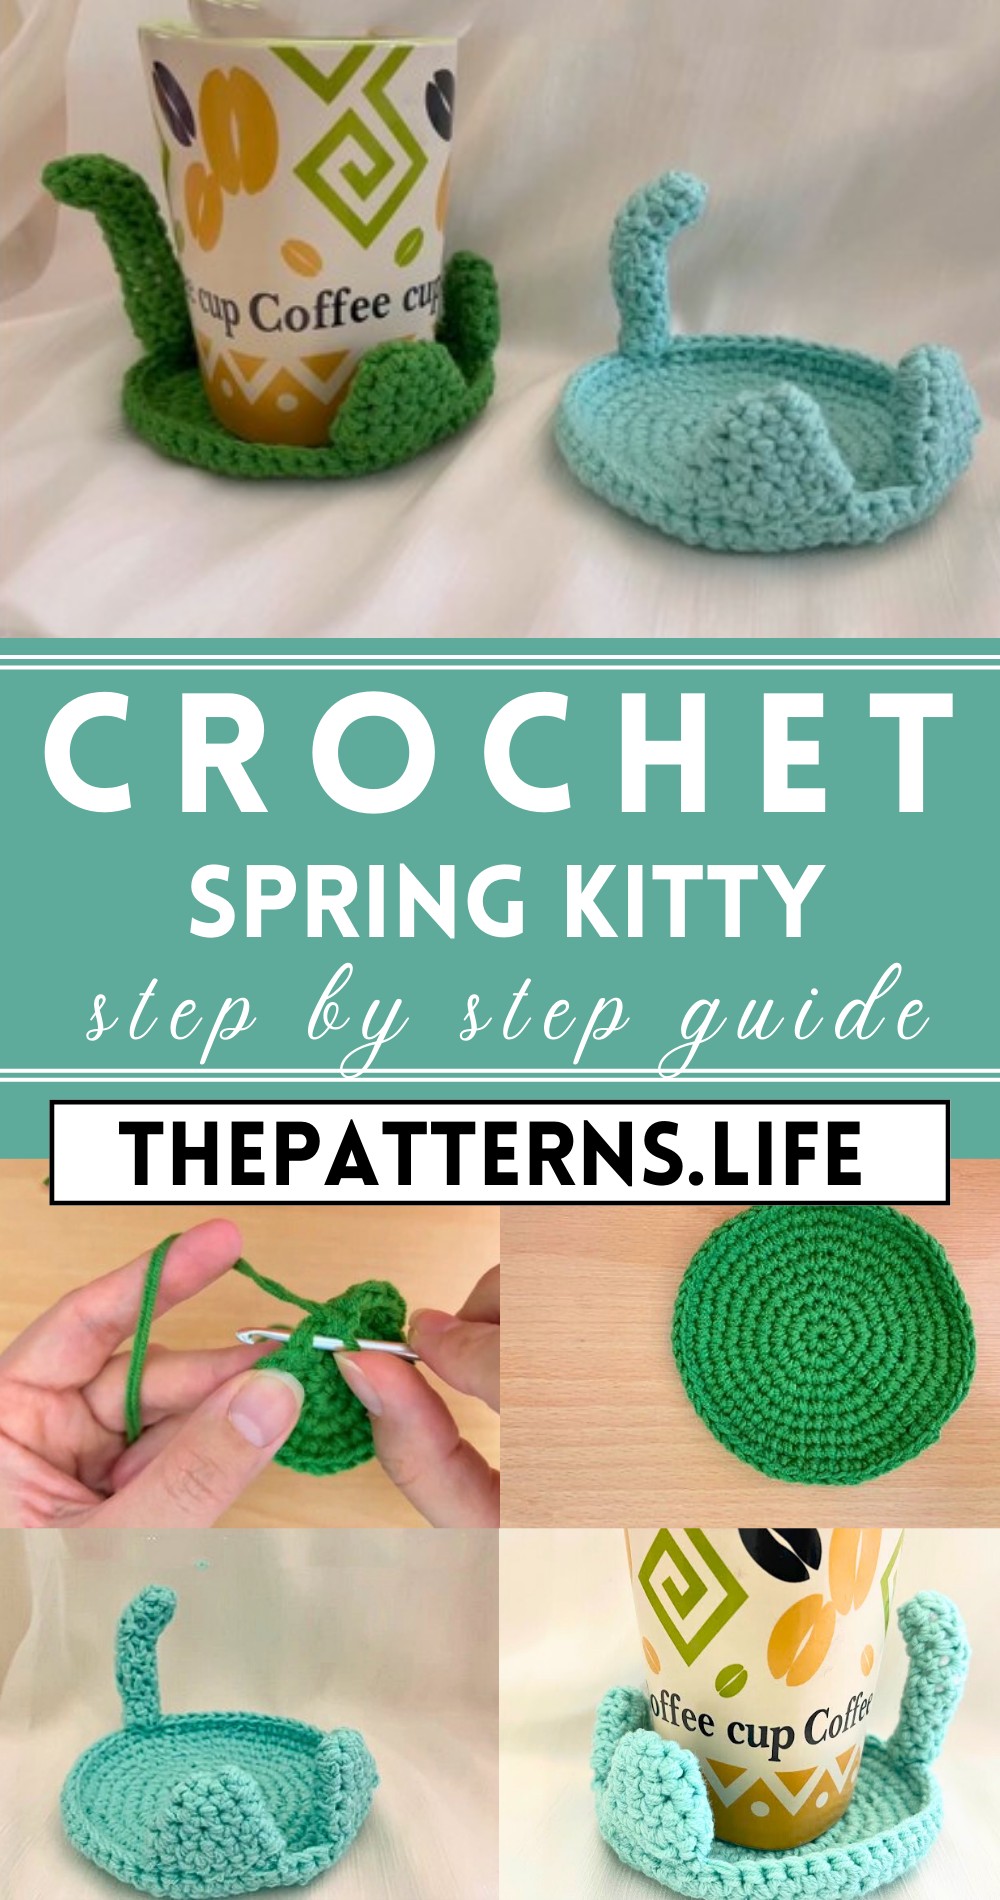
Crochet Spring Kitty Coaster Pattern In Beautiful Colors
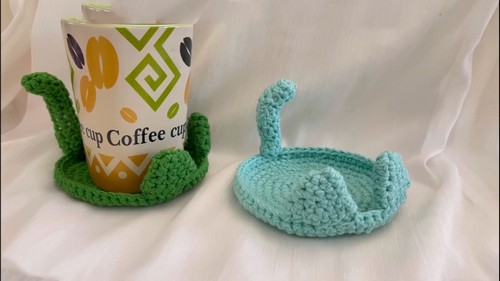
Smarten up your table with the Free Crochet Spring Kitty Coaster Pattern – a purr-fectly fun and charming project for cat lovers and crochet enthusiasts!
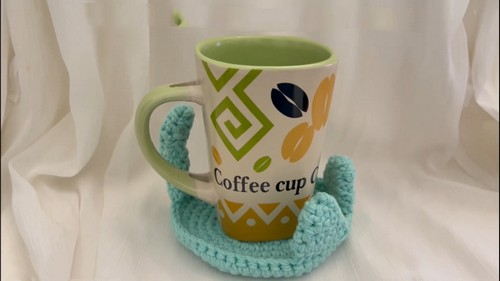
Perfect for cat lovers and crochet enthusiasts alike, this pattern allows you to create adorable coasters that are both decorative and practical. Not only do these coasters protect your surfaces from hot and cold beverages, but they also add a whimsical flair to your decor, making them a delightful conversation piece. This easy-to-follow guide is perfect for adding a splash of fun to your coffee table.
Crochet Spring Kitty Pattern
Add a touch of charm to your home with the Crochet Spring Kitty Coaster Pattern, designed to bring joy and functionality to any table setting. Additionally, these coasters make wonderful, handmade gifts for friends and family, showcasing your crafting skills in a fun and heartwarming manner.
Tip:
Use cotton yarn for durability and easy washing to ensure your kitty coasters stay cute and functional for daily use.
Materials Needed
- Cotton yarn (You can choose different colors)
- Crochet hook size: 3mm
Pattern Overview
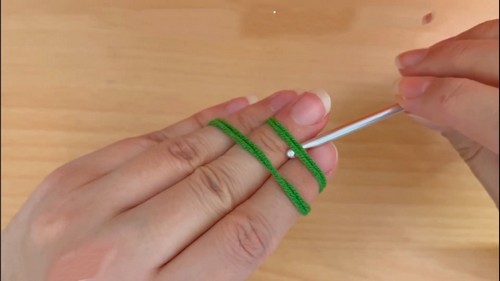
Start with a magic ring.
First round:
- 7 single crochet (SC) into the magic ring; slip stitch to close.
Second round:
- Increase in each stitch, totaling 14 SC.
Third round:
- Alternate one SC and an increase in each stitch to reach 21 SC.
- Additional rounds are worked by increasing the number of SCs gradually to shape the coaster.
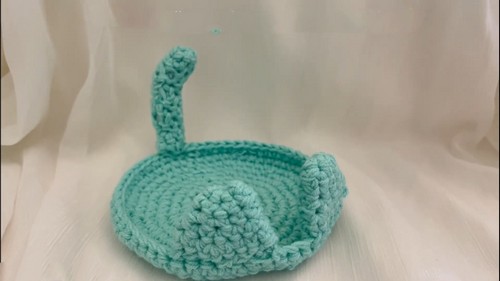
- For ears and details, smaller components are created separately and attached later.
Base of Cat Coaster:
Start:
- Make a magic ring.
Round 1:
- Chain 1 for height, then 7 SC into the magic ring. Close round with a slip stitch into the first SC.
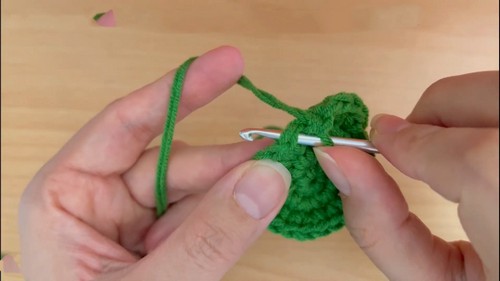
For Round 2:
- Chain 1. Make 2 SC in each stitch around (14 SC total). Close with a slip stitch.
Round 3:
- Chain 1. 1 SC in the first stitch, 2 SC (an increase) in the next stitch. Repeat – around for a total of 21 SC. Close round with a slip stitch.
- Continue this pattern, increasing the number of stitches between increases in each successive round as follows:
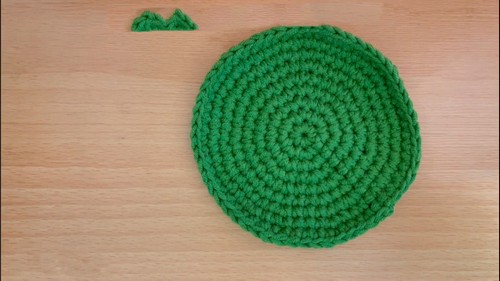
Next rounds:
- Maintain the pattern of increasing SCs to achieve a flat, circular shape. Progressively, there should be 28 SC, 35 SC, 42 SC, and so on, each round, increasing as needed to maintain a flat disc until the desired size is reached for the coaster base.
Ears and Other Components:
- For the ears and any additional decorative parts:
Start:
- With a magic ring.
Round 1:
- SC 6 into the magic ring for the starting of an ear or another component. Close round with a slip stitch.
- Follow instructions specific to each part, typically increasing stitches in successive rounds to get the desired shape and size.
- Continue with the specific increase pattern mentioned in your instructions to complete the shape of the ears or other components.
Finalizing
- Ensure all parts are securely attached. Weave in any loose ends for a clean finish.
- You may opt to add texture or additional decorative elements with a sewing needle and yarn according to the specific instructions provided in the video or based on personal preference.


