
Cute Crochet Cat Bag Pattern For Keeping Tiny Things
Carry cuteness with the “Crochet Cat Bag Pattern,” an adorable and functional project perfect for feline fans and crochet lovers alike!
This innovative pattern allows you to create an adorable and practical bag that not only showcases your crochet skills but also serves as a cute accessory for any outfit. With simple yarn, a hook, and some basic crochet techniques, you’ll be on your way to fashioning a cat-themed bag that’s not only cute but also practical.
Crochet Cat Bag

The finished bag is perfect for carrying your daily essentials, making it both stylish and functional. Whether you’re heading to a casual outing or need a unique gift for a cat lover, this crochet cat bag is sure to impress with its whimsical appeal.
Tip:
Use sturdy yarn to ensure your cat bag maintains its shape and durability.
Materials Needed:
- Yarn: Polithick Onitsuga
- Hook: 6/0 hook from Tulip
- Scissors, tapestry needle, sewing thread, zipper, lighter, and a matchstick for finishing touches.
Cat Bag Pattern:
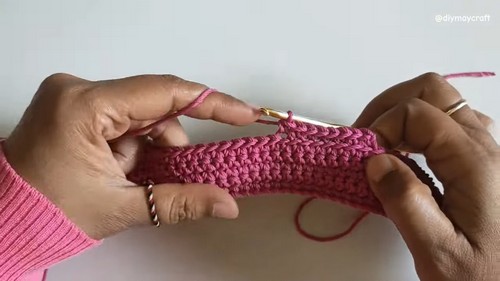
Base of Bag:
- Start with a slip knot, then make 50 chains (ch). Continue in the following row with 49 single crochets (sc).
- For the second to fifth row, make 1 ch and turn, then 49 sc. Repeat for a total of five rows.
- After five rows, make 1 ch and cut the yarn with the matchstick.
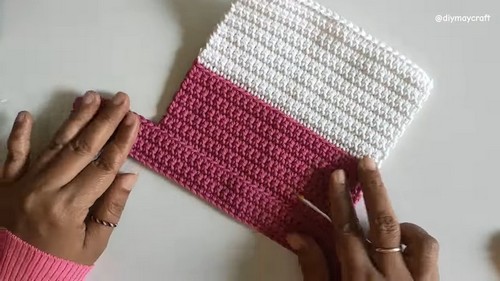
Sides of Bag:
- Mark 11 stitches from both left and right ends, leaving 27 stitches in the middle. Work only in the back loops.
- Start with 27 sc in the back loops for one row, then continue with 27 sc back and forth for 11 rows. Make 1 ch and cut the yarn.
- Attach white yarn: Make 27 sc back loops for one row, then 27 sc (straight into both loops) for rows 13 to 36. Make 1 ch, cut the white yarn.
- Mirror the process for the opposite side of the bag with magenta yarn.
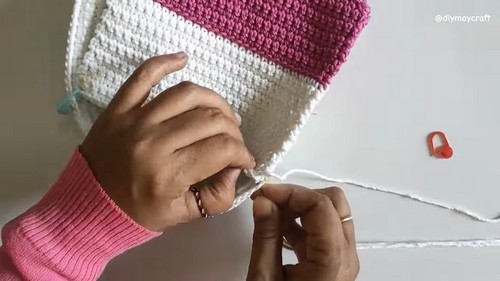
Completing the Body:
- Turn the piece inside out, fold according to color, and sew the sides using a tapestry needle.
- For the zipper part: make a slip knot and 58 ch. Work 57 sc back loops for the first row, then continue back and forth until the fourth row, ending with 1 ch and cutting the yarn.
Details (Handles, Ears):
Handles:
- For the handle, start with a slip knot and 4 ch. Then, make sc back and forth for four rows. In the fifth row, make 2 sc in one hole three times, join them with sc to make it 20 cm long, and then decrease to finish the handle.
- Attach the handle to the top of the bag.
Ears:

- Start with a Magic Ring, 1 ch, and 6 sc in the ring.
Second row:
- 6 sc.
Third row:
- Perform an increase (2 sc in one hole) 6 times (12 sc total).
Fourth and following rows:
- Continue increasing at a consistent pace until the desired size, assemble, and attach to the bag.
Additional Decorations:
- Create a flower ribbon for an extra touch and sew it to the bag.
Final Touches:
- Sew the zipper onto the prepared space.
- Attach the handles and the Romanian cord for adjustable knots if desired.


