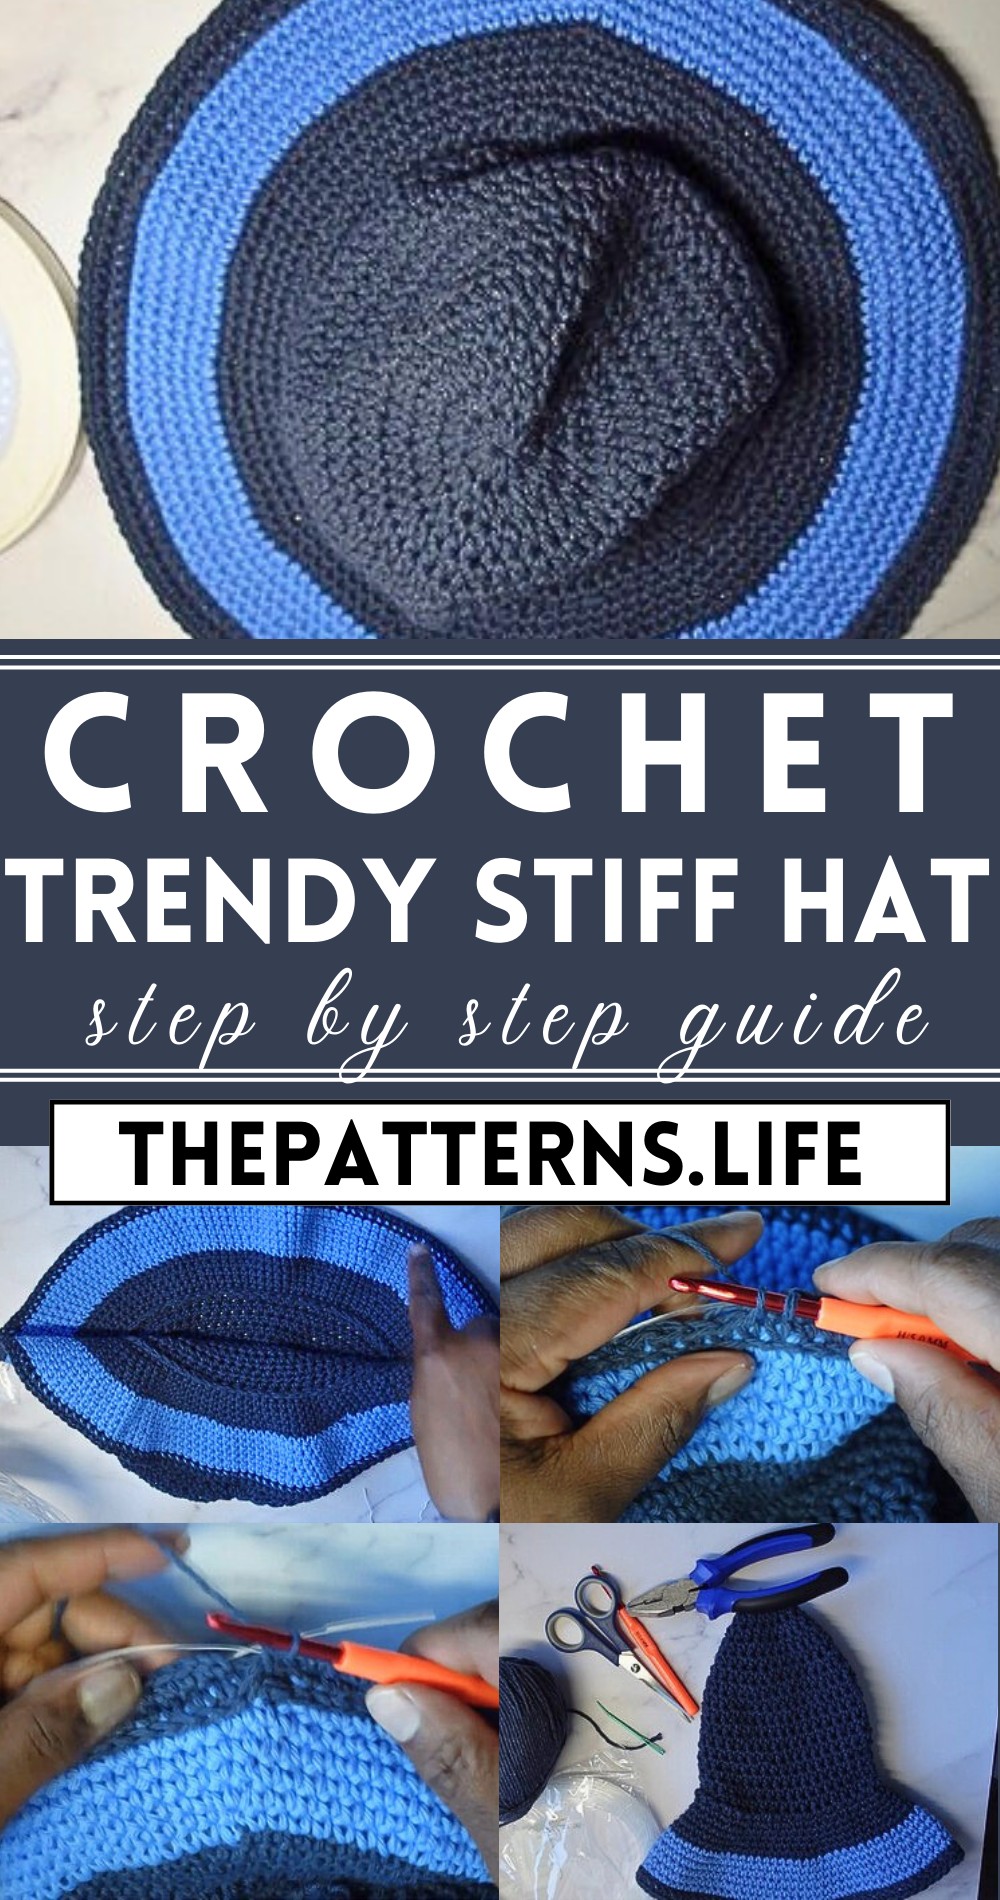
Stylish Crochet Stiff Hat Pattern For Crisp Look
Locate the ultimate chic accessory with our Free Crochet Stiff Hat Pattern, meticulously crocheted to add both elegance and warmth to your coveted handmade collection.
The pattern offers an exceptional way to create a stylish, durable hat that holds its shape perfectly. This pattern is ideal for making hats that not only look fashionable but also provide dependable structure and warmth, making it perfect for both fashion statements and practical wear. Using this pattern, you can craft elegant sun hats, cozy winter hats, or even chic fedoras, all while enjoying the art of crochet. The stiff structure ensures that your creations maintain their form, offering a polished and professional finish to each piece.
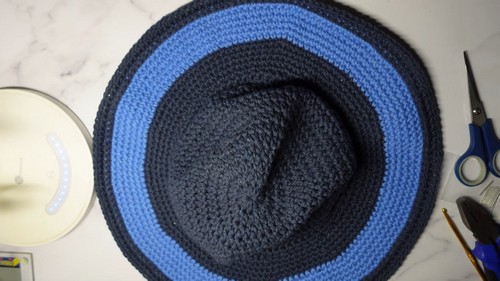
Crochet Stiff Hat
Pair your favorite yarns and colors to personalize each hat, making them great for gifts or adding a custom touch to your own wardrobe. Moreover, crocheting a stiff hat is a rewarding project that improves your skills with unique techniques and stitches.
Tip:
Stiffen your hat further by incorporating a craft stiffener or diluted glue to enhance its shape and durability.

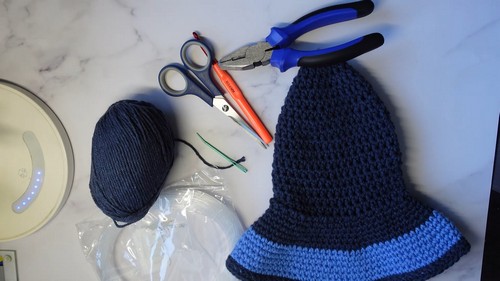
Materials Needed:
- Nylon cord
- Connectors for the nylon cord
- Yarn (same as used in your hat)
- 5 mm crochet hook
- Scissors
- Pliers
- Darning/weaving/tapestry needle
Step-by-Step Crochet Pattern to Stiffen a Hat Brim:
Preparing the Cord:
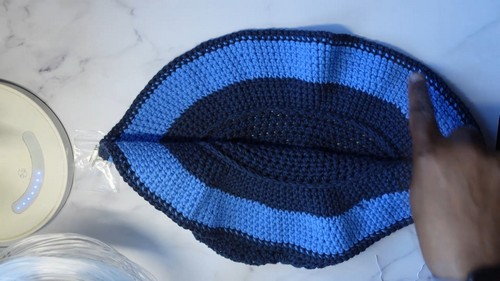
Measure the Cord:
- Begin by pulling out your nylon cord.
- Use the cord to measure around the brim of your hat, ensuring it overlaps slightly for a secure fit.
- Cut the cord where it overlaps using scissors (which works better than pliers with nylon).
Insert End:
- Identify the back of your hat and push one end of the nylon cord through a stitch at this location to mark it.
Crocheting Over the Cord:
Start Crocheting:
- Insert your crochet hook into the same stitch where you’ve placed the nylon cord.
- Position the nylon cord behind the working area, and begin crocheting over it.
- Make a chain stitch to secure the cord initially.
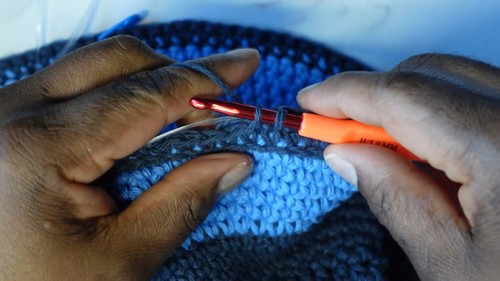
First Single Crochet:
- Lay the cord along the top of your stitches.
- Insert your hook into the next stitch, yarn over, and pull through both the yarn and the cord positioned on top of the stitch.
- Complete a single crochet, encapsulating the cord within the stitch.
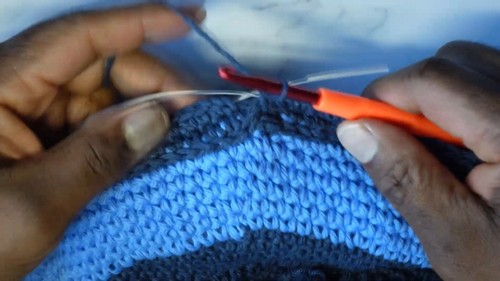
Continue Around:
- Proceed in single crochet stitches around the entire brim, ensuring the nylon cord is covered consistently.
- Maintain smooth tension to prevent the cord from creating bulges or unevenness in the brim.
Securing the Cord:
Meeting Ends:
- Once you return to the starting point, overlap the end of the cord with the beginning segment.
- Trim the nylon cord to ensure a snug fit around the brim.
Adding Connectors:
- Fit a connector onto the ends of the nylon cord where they meet.
- Use pliers to crimp the connectors securely. Ensure both ends are tightly fastened within the connectors.
Finalizing the Brim:
Complete the Crochet Cover:
- Continue to crochet over the area where the connector encloses the cord ends to ensure a seamless finish.
- Finish with a slip stitch and cut your yarn.
- Weave in all ends using your needle.
Final Adjustments:
- Adjust the stiffness by spacing the nylon cord evenly.
- Stretching the brim slightly can help fit the crochet stitches neatly over the cord.