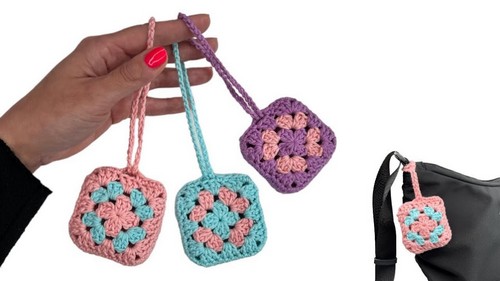
Crochet Simple Granny Square Pouch Pattern For Tiny Things
Make a stylish accessory with our Free Crochet Simple Granny Square Pouch Pattern, perfect for organizing your essentials in a charming and colorful way.
This project converts the classic granny square into a stylish, versatile pouch perfect for organizing your essentials with a touch of handmade elegance. Whether you’re a beginner or a seasoned pro, the clear, step-by-step instructions make it easy to create a truly unique piece.
Crochet Granny Square Pouch Tutorial
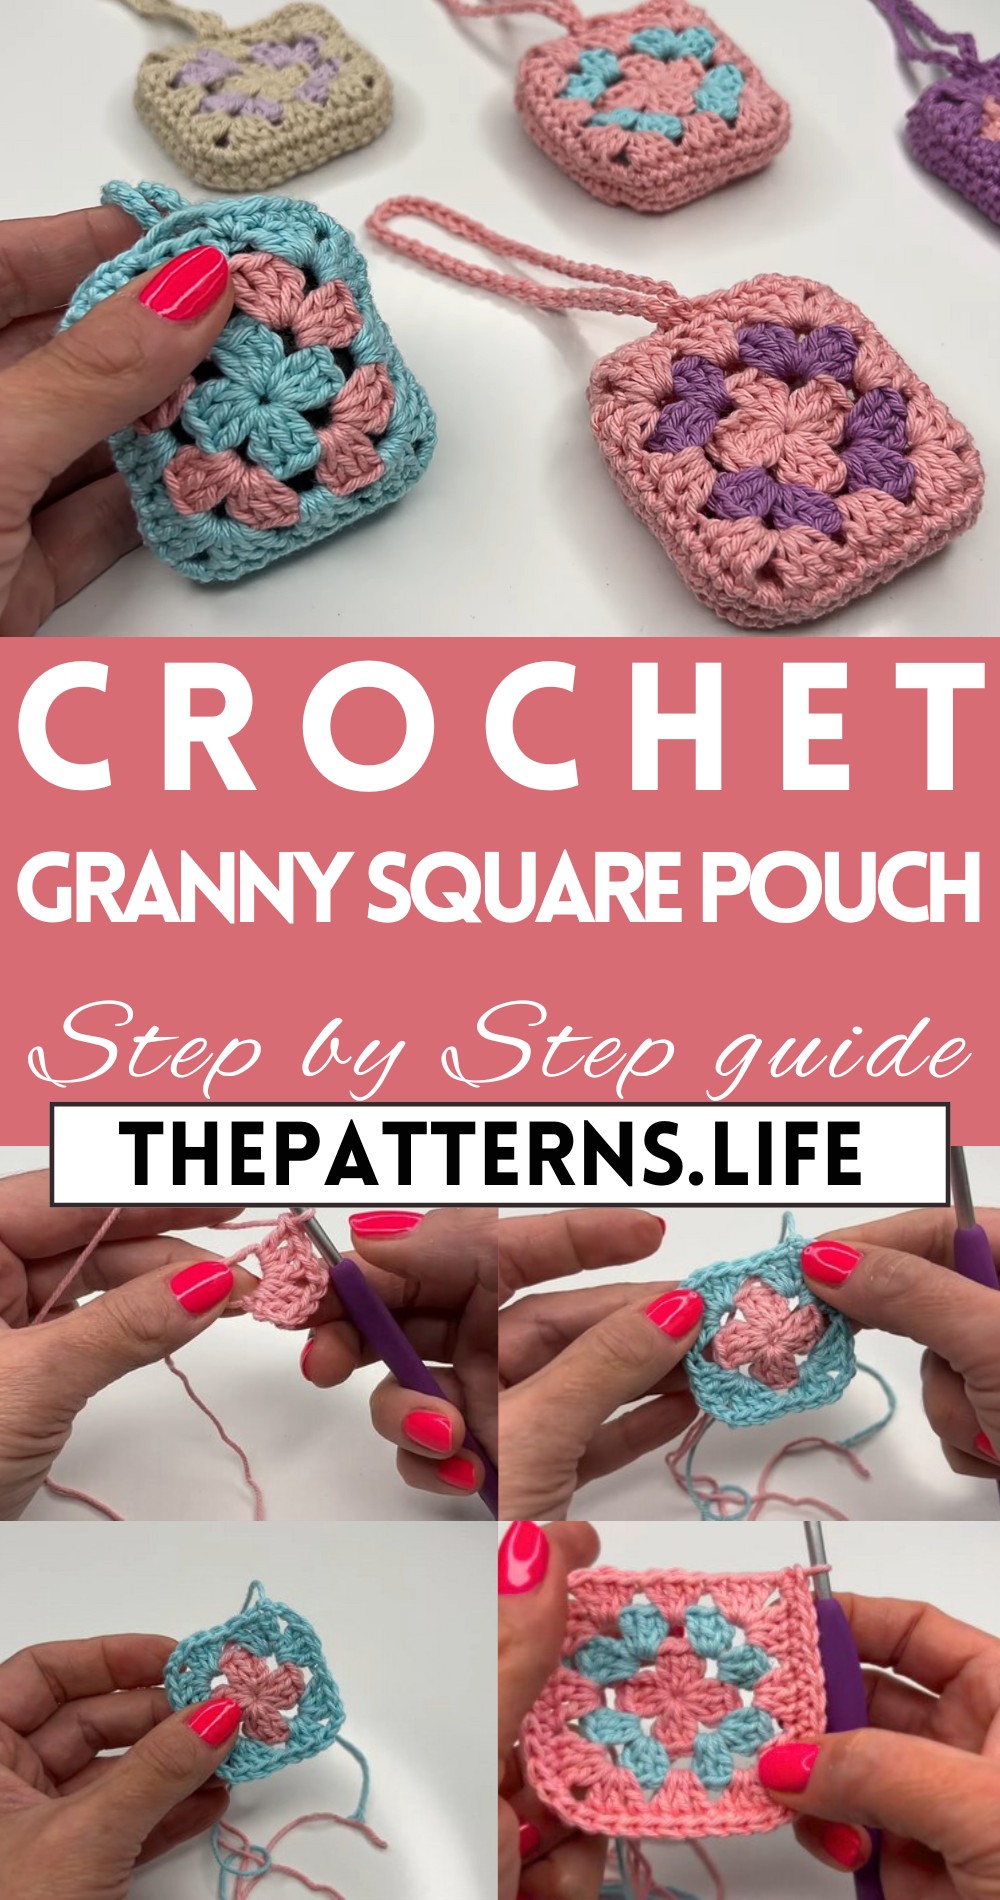
Choose vibrant colors to make a statement or soft pastels for a more subtle look – the possibilities are endless. The finished pouch is not just a storage solution; it’s a reflection of your creativity and attention to detail, ideal for use as a makeup bag, coin purse, or handy organizer.
Tip:
Enhance your pouch with a soft lining fabric for added durability and a polished finish.
Materials Needed:
- 4 mm crochet hook
- Scissors
- Darning needle
- Yarn (100% cotton yarn from Paintbox; Cotton DK recommended, or any yarn of choice)
Pattern Overview:
- This pattern involves crocheting a granny square in two rounds, creating a border, and then adding a loop for closure. The pattern is suitable for small items like headphones or lipstick.
Crochet Pattern:
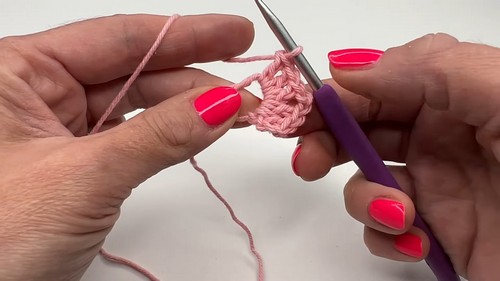
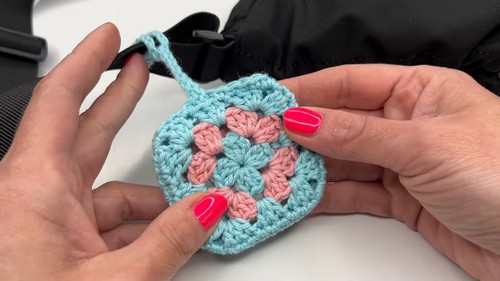
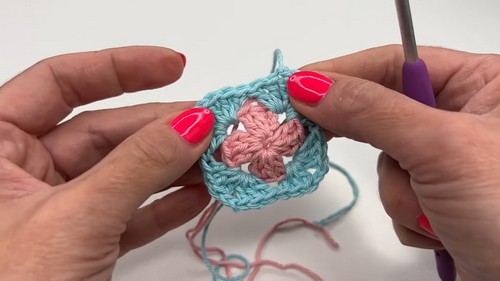
Creating the Granny Square:
- Start with a magic ring and chain three (this counts as the first double crochet).
- Work one double crochet into the magic ring, since the initial chains count as the first double crochet, you’ll need one more double crochet.
- Chain two, work three double crochets. This forms the first corner.
- Chain two again, and work another three double crochets for the next corner.
- Repeat step 4 twice more, for a total of four corners.
- Chain two and slip stitch into the third chain from the beginning to close the round.
- Change colors (if desired) by cutting the yarn and pulling it through tightly.
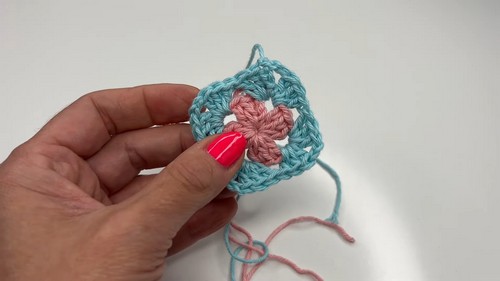
Growing the Granny Square:
- Attach a new color in any chain-two space, chain three (counts as the first double crochet).
- Work two more double crochets in the same space, followed by three double crochets, chain two, and three more double crochets in the next chain-two space (corner creation).
- Repeat the corner creation in each of the four chain-two spaces, joining with a slip stitch to the third chain of the beginning chain-three.
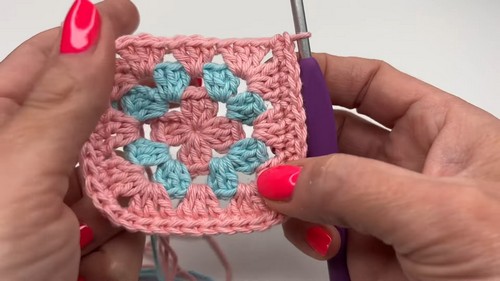
Border and Loop:
- With the same or a new color, start in any space. Pull up a loop and chain one.
- Single crochet in every stitch around the square on three sides. On the fourth side (which will be the pouch’s opening), stop at the middle double crochet.
- To create the loop, chain 50 (or your preferred length), then slip stitch into the same stitch you started the chain from.
- Continue single crocheting around until you slip stitch into the first single crochet.
Finishing the Pouch:
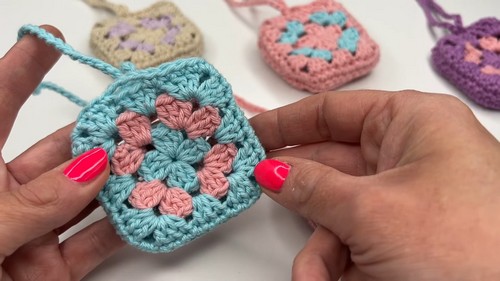
- Crochet another square following the steps above, including the border but omitting the loop.
- Place the squares with their right sides together, ensuring the looped corner and the blank corner align.
- Single crochet the pouch together around three sides, working through both layers for durability.
- Finish by weaving in all ends, and turn the pouch right side out.
Closing:
- Your granny pouch is ready! To close, pull the chain loop through the space on the opposite corner.