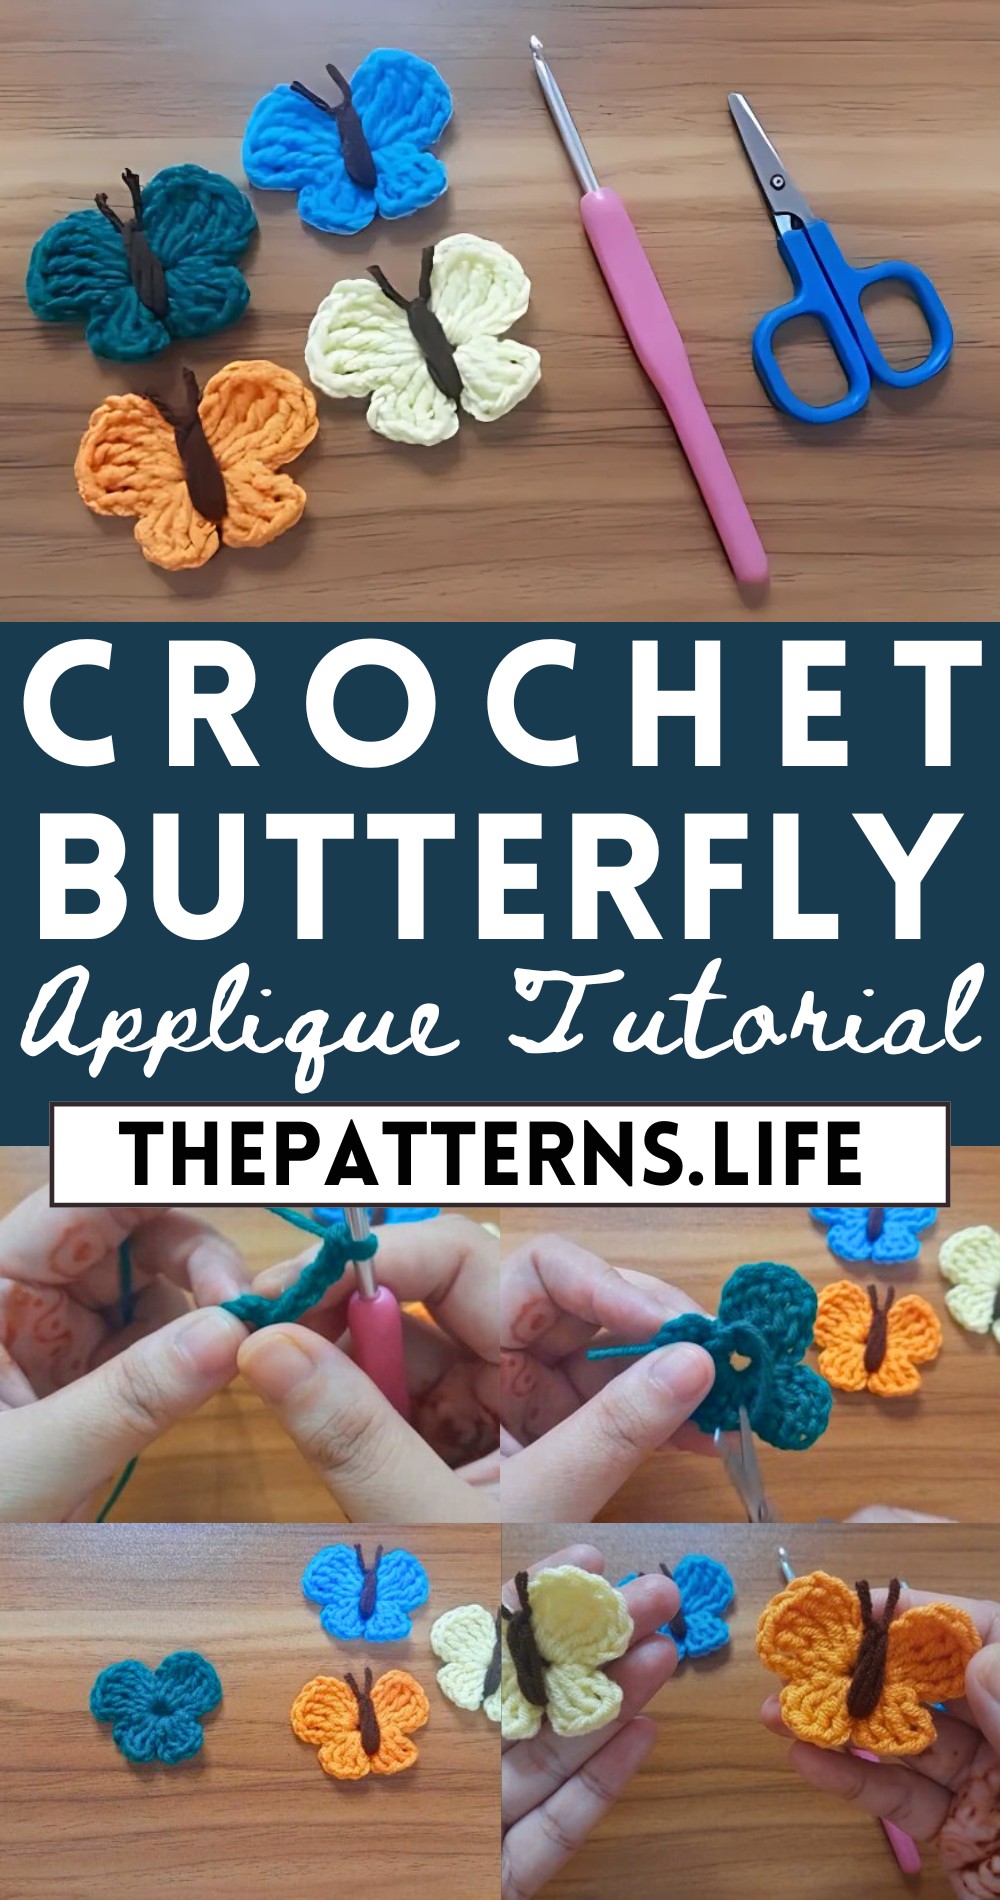
Tiny & Cute Crochet Butterfly Applique Free Pattern
Delicate beauty awaits with the Free Crochet Butterfly Applique Pattern, perfect for adding a whimsical touch to your projects and bringing joy to handmade items.
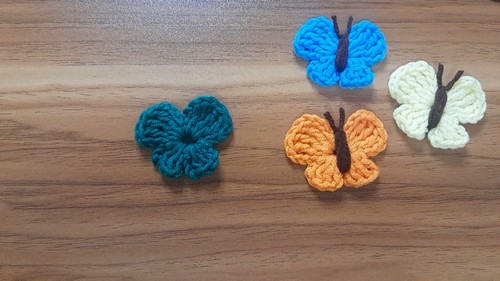
This delightful pattern allows you to crochet charming butterfly motifs that can adorn anything from blankets and hats to bags and garments. It features simple yet beautiful designs that cater to all skill levels, using basic stitches to create intricate details. These appliques offer endless possibilities for customization with various colors and yarn textures, making each butterfly unique.
Crochet Butterfly Applique Tutorial
Their lightweight and small size make them perfect for using up leftover yarn scraps. Plus, crocheting these butterflies can be a fun and relaxing way to enhance your crochet skills.
Tip:
Attach your finished butterfly appliques with a tapestry needle and matching yarn for a seamless look that stays securely in place.
Materials:
- 4 ply milk cotton yarn
- 4 mm crochet hook
- Scissors
Pattern:
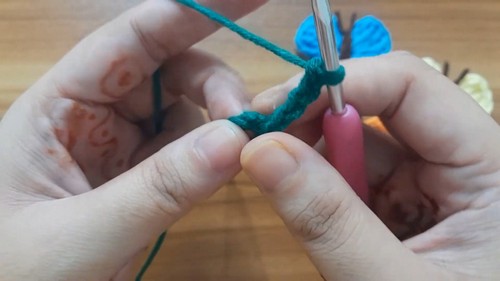
Creating the Ring:
- Start with a slip knot.
- Make 5 chains (ch 5).
- Join with a slip stitch into the first chain to form a ring.

First Pair of Wings:
- Make 4 chains (ch 4).
- Make 3 double crochets (dc) into the center of the ring.
- Make 4 chains (ch 4) again.
- Slip stitch into the center of the ring.
Second Pair of Wings:
- Repeat the previous steps for the first pair of wings to create the second pair. Specifically, make 4 chains (ch 4), 3 double crochets (dc) into the center, followed by another 4 chains (ch 4), and slip stitch into the ring again.
Lower Wings:
- Make 3 chains (ch 3).
- Make 2 double crochets (dc) into the center of the ring.
- Make 3 chains (ch 3).
- Slip stitch into the center of the ring.
- Repeat the above steps for the second lower wing – 3 chains (ch 3), 2 double crochets (dc) into the center, followed by 3 chains (ch 3), and slip stitch into the ring.

Finishing the Wings:
- Tie a knot and cut the excess yarn.
- Pull the yarn slightly to tighten up the center.
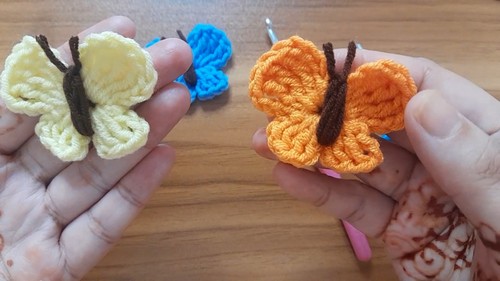
Creating the Body of the Butterfly:
- Use brown yarn (or black if you prefer).
- Leave the starting end a bit long to tie a knot later.
- Wrap the yarn around the center part of the butterfly where all wings meet. Wrap tightly around 2-4 times.
- Cut the extra yarn.
- Tie a tight knot with the starting end.
- Trim any excess yarn ends to clean it up.