
With Beautiful Lace Stitch Crochet The Lace Meadow Tee Pattern
Have fun with fashion using our Free Crochet The Lace Meadow Tee Pattern, perfect for crafting a light and breezy top!
This crochet project offers an entertaining experience for beginners and seasoned crocheters alike, with clear step-by-step instructions designed to guide you through creating a stylish, lightweight tee perfect for warmer days. The pattern features intricate lace detailing that adds a touch of elegance to a relaxed fit, making it a versatile addition to your wardrobe.
How To Crochet The Lace Meadow Tee

With instructions for customizing sizes, you’ll be sure to craft a piece that fits just right. The yarn choices range from soft cotton to breathable linen, allowing for both comfort and style in the final garment. The tee’s breezy design makes it ideal for styling with jeans or skirts for a casual yet sophisticated look.
Tip:
Always block your finished piece to enhance the drape and accentuate the lace details.
Materials:
- 5 mm crochet hook
- DK recycled cotton yarn
- Smaller hook size (e.g., 4.5 mm) for the edgings
- Stitch markers
Pattern Overview:
The blouse has an elegant lace pattern with a color and bottom hem edging, suitable for intermediate crocheters. You’ll work the back panel from bottom up, then create the front panel starting with the shoulders. The final steps include constructing the neckline and sleeve edgings.
Back Panel:
Start with a chain in a multiple of 8 + 1 stitches. Catalina started with 33 stitches for a size small.
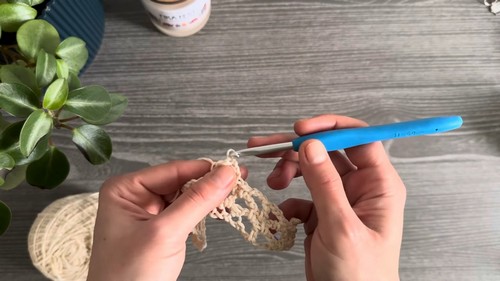
- Chain 6 (counts as 1 double crochet + chain 3), skip two stitches, work a single crochet into the third stitch.
- Repeat the lace pattern across the row: chain 3, skip 2 stitches, double crochet into next, chain 3, skip 2 stitches, single crochet, chain 1, skip a stitch, single crochet into next. Repeat – to the end.
- The rows will have a consistent two-row pattern that you would continue repeating until the back panel is the correct length, ending with an odd number of rows.
Front Panel:
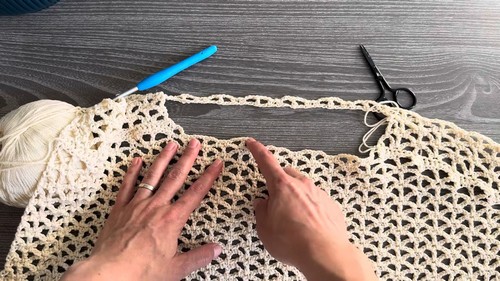
The front panel shoulders are worked separately first, the same way as the back panel, for 4 rows.
- After completing both shoulders, rejoin yarn and work across the shoulder stitches, chain the required number of stitches to reach the neckline width, and continue with the lace pattern for the other shoulder.
- The front panel must match the back panel in length, counted from the neckline down.
Shaping Shoulders:
- Short rows are used for shaping the shoulders.
- At every two rows, decrease one pattern repeat at the beginning and end of the row to form the slope of the shoulder.
Neckline and Edging:

Straighten the shoulder edge by working two rows: one in single crochet, one in front post single crochet.
- Work the collar by straightening the top edge with a row of single crochet, then making an edging similar to the shoulders and bottom hem.
- The edging consists of three rows: single crochet, front post single crochet, and a final row of single crochet.
Sleeves:

Measure and mark the armhole depth on the panels, ensuring both the front and back have the same number of rows.
- Join the sides of the tee, leaving space for the armholes.
- Add an edging to the sleeves similar to the collar and bottom hem.
Finishing Touches:
- Straighten any edges if needed by working single crochets evenly around. Followed by a front post single crochet row, and one more single crochet row.
- Consider adding an optional slip stitch edging for a firmer finish.
Please remember to weave in any loose ends and block the blouse to measurements.


