
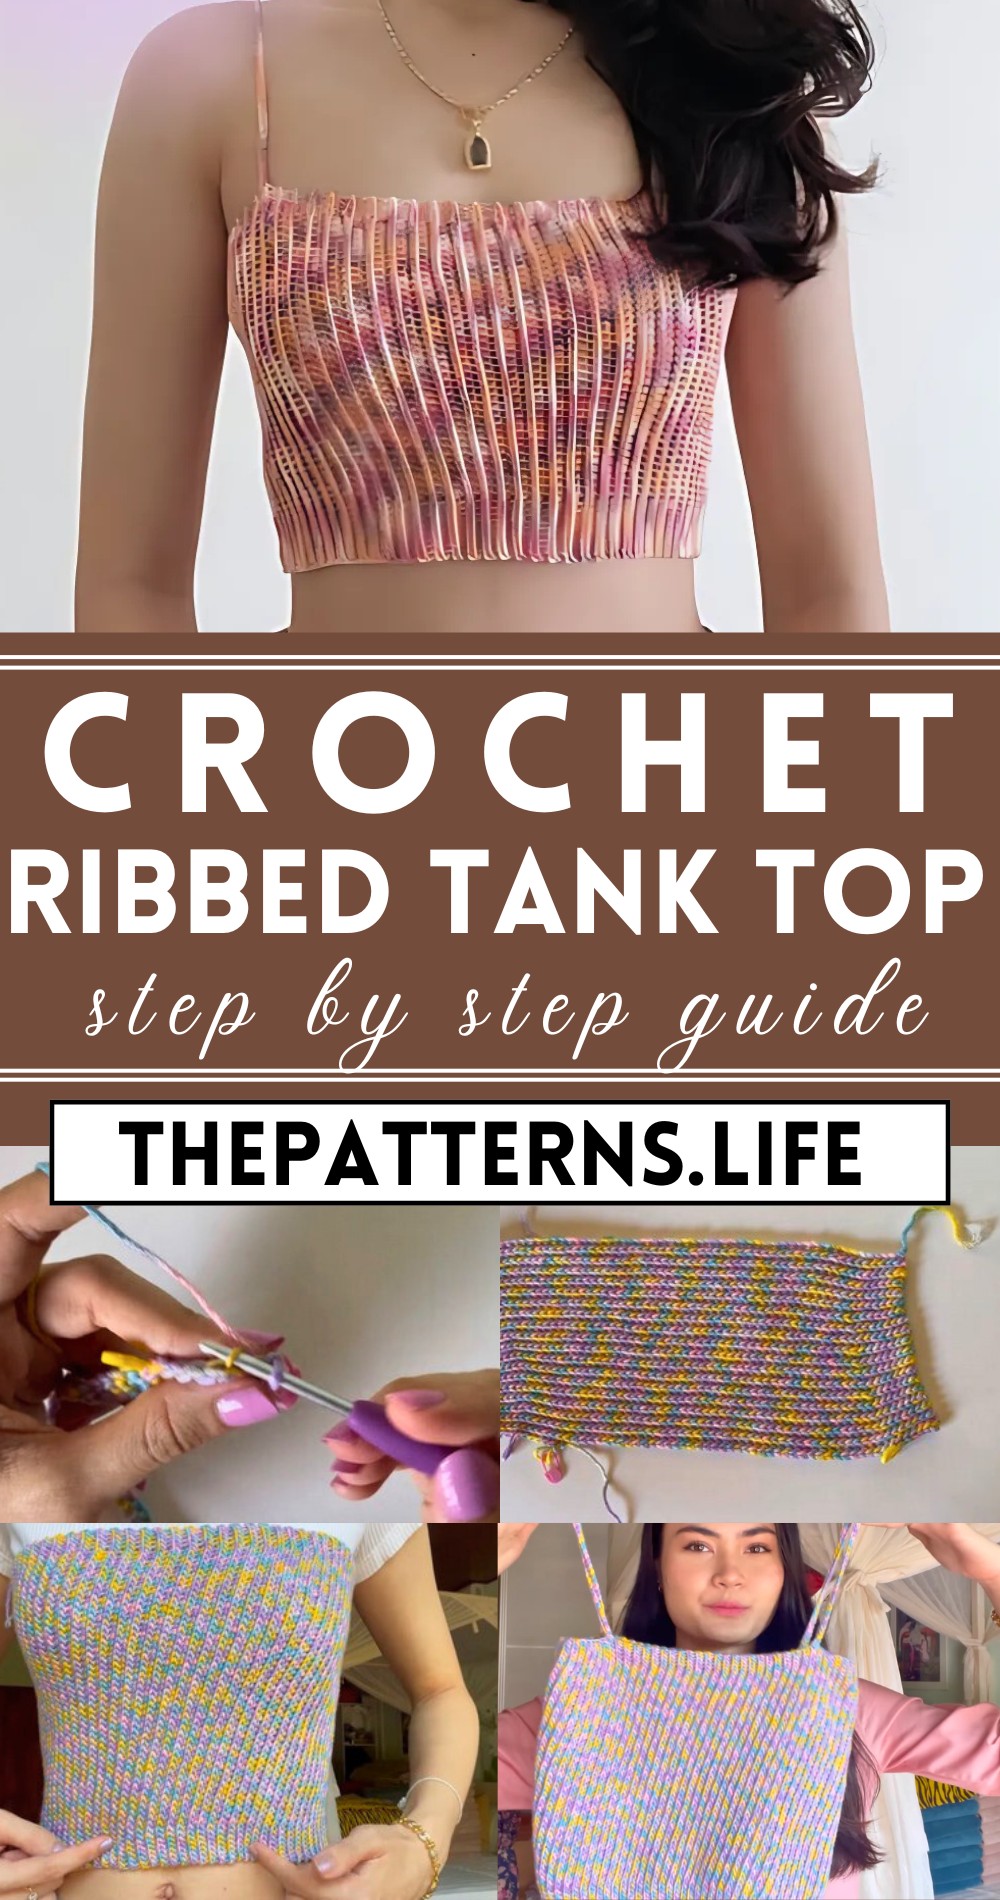
Free Crochet Pattern Ribbed Tank Top Favorite Among Women
Delighted to create your own stylish summer staple with our Free Crochet Ribbed Tank Top Pattern—perfect for casual days, easy to make, and customizable!
This delightful pattern guides you through creating a chic and comfortable tank top, ideal for warm weather. It is a chance to change a ball of yarn into your new favorite piece of sunshine-ready wardrobe. The pattern is easy-to-follow, providing clear instructions and tips to ensure your success.
Crochet Ribbed Tank Top Tutorial
Not only will you have the satisfaction of crocheting your clothing, but you’ll also enjoy a versatile piece that you can wear on various occasions. Let’s grab our hooks and make fashion waves—one delightful stitch at a time. It’s not just crochet; it’s the coolest way to stitch ‘n’ chill your way through the summer!
Tip:
Opt for cotton yarn to enhance breathability and comfort, making your top even more suitable for hot summer days!
Materials Needed:
- Number 3 weight or DK weight yarn
- Size S: Approximately 120-130 grams
- Size M: Approximately 180 grams
- 4mm crochet hook
- Scissors
- Tape measure
- Stitch markers
Pattern Overview:
- The pattern is designed to prevent the top from stretching out of shape over time.
- The tutorial uses slip stitches for the ribbed effect and single crochet stitches for the rest of the top.
- The ribbing is created at the top and bottom of the top for added texture and detail.
- The project is worked in rows, and the piece is sewn together at the sides at the end.
Instructions:
Starting Chain: Make a slip knot and chain the length desired for the top plus an additional 2-3 cm to account for shrinkage from slip stitches. For a custom size, the example used was 28 cm, then added extra for shrinkage.

Blocking Off Ribbing:
- Bottom ribbing: Measure about 4 cm from the end and place a stitch marker on the 7th chain from the slipknot.
- Top ribbing: Measure about 2.5 cm from the other end and place a stitch marker on the 5th chain from the hook.
Row 1:
- Skip the first chain, slip stitch into the next.
- Continue with slip stitches until the first stitch marker.
- Change to single crochet stitches until the second stitch marker.

Finish the row with slip stitches.
Subsequent Rows:
- Chain 1 and turn.
- Work slip stitches in the back loop only till the first marker.
- At the marker, transition to single crochet stitches in the back loop only till the second marker.
- Finish the row with slip stitches in the back loop only.
Repeat this pattern, alternating between rows of slip stitches only and rows combining single crochet with slip stitches based on where the ribbing is marked by your stitch markers.
Fit Check: Periodically check the fit against your body, considering it should fit snugly and stretch to fit.
Joining Edges: Once enough rows are completed to wrap around the body comfortably, join the work using slip stitches with the wrong sides facing each other to create a seamless join.

Straps:
- Count rows to evenly place straps and mark with stitch markers.
- Attach yarn at marked points and chain a length long enough for straps, ensuring consistency in length for both straps.
- Attach the end of each strap to its corresponding mark on the back of the top with a slip stitch, then secure and weave in ends.
Finishing: Weave in all loose ends to tidy up your work.

Notes:
- Adjust the number of chains and rows according to the desired size and fit.
- Ensure the tension is loose, especially for slip stitches, to keep the fabric flexible and comfortable.
- Always try on the top during the process to ensure a good fit before finalizing straps and finishes.


