For Newcomers Crochet Lace Top Step By Step Pattern
Stitch up some fun with our Free Crochet Lace Top Pattern—delightfully intricate designs to add a playful, timeless charm to your stylish wardrobe!
The pattern is a delightful way to infuse your wardrobe with timeless charm and intricate design. Ideal for crocheting lightweight, breathable tops perfect for warm weather, this pattern highlights the beauty of delicate crochet work. This tutorial will guide you through the basic steps to produce a light and stylish top featuring an intricate lace pattern.
Crochet Lace Top For Beginners

One of the significant benefits of this pattern is its adaptability; choose different yarn colors and weights to create unique pieces that reflect your personal taste. Additionally, crocheting this top offers a soothing, fulfilling hobby that enhances your crafting skills.
Tip:
For best results, use a cotton or bamboo yarn to ensure your lace top remains soft, durable, and comfortable against the skin. This yarn choice also helps maintain the intricate details of the crochet lace work.
Materials Needed:
- Yarn: Cotton or milk cotton, 50g/105m per skein (3 skeins for size S)
- Crochet Hooks: 4 mm and 3.5 mm (optional)
- Scissors, needle, markers, and yarn for embroidery
Pattern Instructions:
Foundation and Setup:
Foundation Chain:
Make a chain of 95 stitches (or any number divisible by five that fits your chest circumference).
- Ensure the chain does not twist before joining.
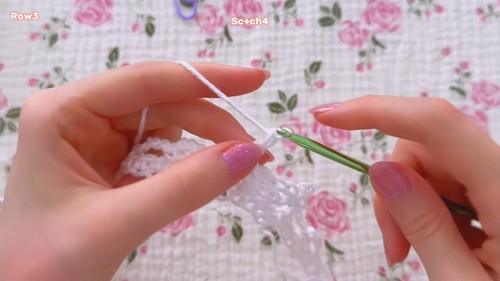
Joining and First Row:
- Insert the hook into the first stitch, pull yarn through and complete a slip stitch.
- Chain 1 and start a single crochet into the same stitch.
Pattern Repeat:
Chain four, skip three stitches, single crochet in the fourth.
- Chain three, skip next three stitches, single crochet into the next.
- Repeat until the end of the row.
Second Row:
- Chain five (loosely), single crochet in the first arch.
Pattern Repeat:
- Chain four (loosely), skip the smaller arch, single crochet in the larger arch.
Continue until the end of the row.
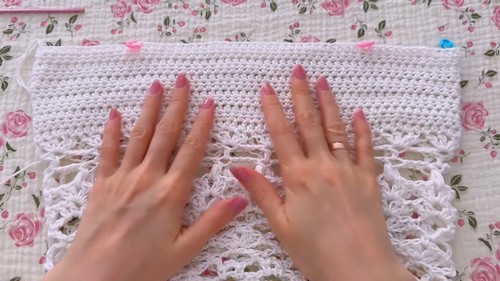
Developing the Lace Pattern:
Subsequent Rows:
- Repeat the pattern from row two, creating arches and chaining in between as established.
- By row nine, the height of this part should be 7 cm.
Transition to Fans:
- At Row 10, start making fans (two double crochets, chain one, two double crochets) in the established stitches.
Fan Pattern Row:
- Continue with fan pattern at the start of the arch.
- Chain five between each arch.
Growing the Fan Pattern:
- Each subsequent row alternates fan designs and simple chains to expand and establish the lace pattern.
Finishing the Body:
Final Rows:
- Continue with fans and end with puff stitches.
- Finalize with a simple edging.
Top Part and Straps:

Switching to Half Double Crochets:
- Using a smaller hook, switch to half double crochets. For the first row, make increases in strategic spots depending on size.
- Continue for 11 rows or until desired length.
Strap Formation:
- Calculate placements by current stitches, begin decreasing towards these markers until the desired width for straps.
- Crochet a chain of air loops for each strap and secure properly.
Embellishments and Finishing Touches:
Edging:
- Create a simple single crochet edging around the top, adding additional chains for a soft scalloped edge.
Embroidery:
- Add embroidery details as desired for a personalized touch.