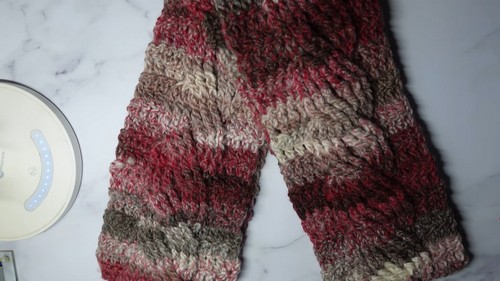
Snug And Chic Crochet Scarf Pattern With Classic Cable Stitch
Warm up your winter with a free crochet pattern showcasing a classic cable stitch scarf; perfect for adding both style and comfort to your wardrobe.
It is a sophisticated project that showcases the intricate beauty of classic cable stitching. This pattern creates a textured and elegant design, perfect for adding dimension and warmth to any winter outfit. With detailed, intertwined stitches, the classic cable stitch brings a sense of timeless elegance and meticulous artistry to the forefront. Each twist and turn of the yarn forms a continuous flow, making the scarf both a practical accessory and a statement piece.
Crochet Scarf Pattern With Classic Cable Stitch
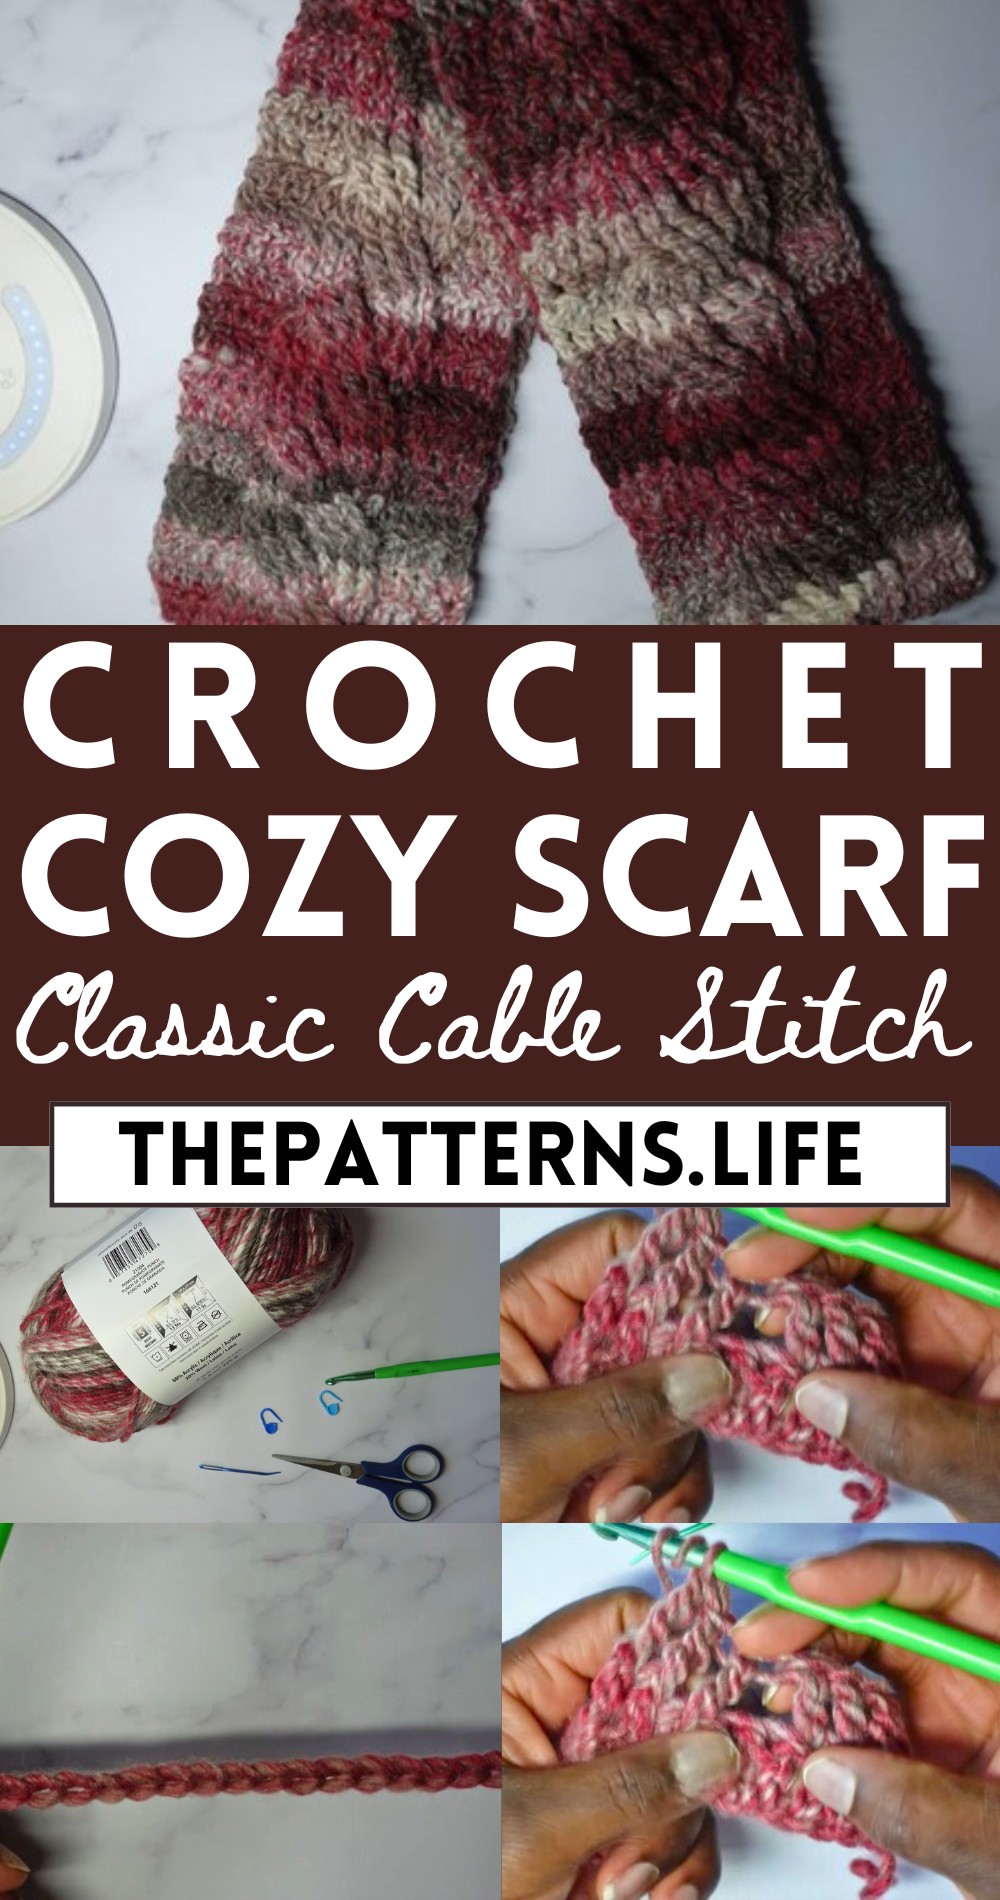
The pattern provides clear instructions suitable for intermediate crocheters who are eager to challenge their skills while producing a stunning result. The finished scarf offers not only warmth but also a touch of handcrafted luxury, making it a perfect gift or addition to your accessory collection.
Tip:
To keep your tension even, practice the cable stitch on a small swatch before starting the full scarf.
Materials Required:
- Bulky yarn (Bulky number 5)
- Crochet hook (7 mm recommended, adjust based on tension)
- Scissors
- Darning needle
- Stitch markers (optional, but helpful)
Pattern Overview:
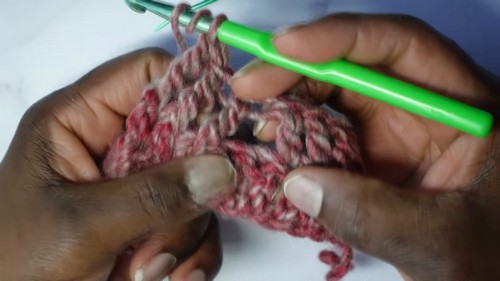
- The pattern involves creating a scarf using the Arabell Cable Stitch, which involves an intricate cable stitch pattern. Here are the detailed steps:
Starting the Scarf:
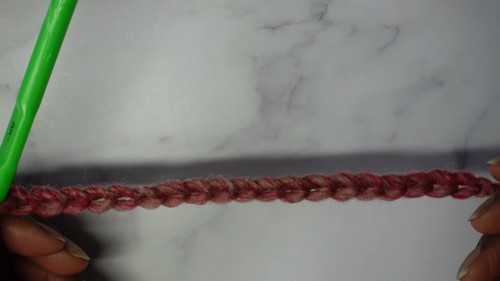
Foundation Chain:
- Begin by creating a slipknot.
- Crochet a chain of 19 stitches. This number is calculated as follows:
- 4 stitches on either side (for symmetry and border)
- 9 stitches for the cable pattern itself
- 2 additional chains for the turning chain
Row 1:
- Start from the fourth chain from the hook, make a double crochet (this counts as one double crochet plus the three skipped chains which act as another double crochet)
- Continue with one double crochet into each chain across until the end of the row.
- You should have 17 stitches by the end of this row.
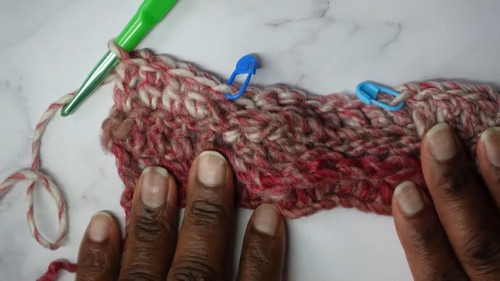
Forming the Cable Pattern:
Row 2:
- Chain 1 and turn your work to start the next row.
- Work one double crochet into the first four stitches.
- Now, begin the cable pattern:
- Skip three stitches, then in the next three stitches, work a front post treble crochet around each stitch.
- Go back to the three skipped stitches and work a front post treble crochet around each, starting with the first skipped stitch (this creates the first “cable twist”).
- After the cable middle section, crochet one double crochet into each of the last four stitches.
In Row 3:
- Chain 1, turn your work.
- Double crochet in the first four stitches.
- Work a back post double crochet around the next nine stitches (all part of the cable pattern) to form the back side of the cable.
- Complete the row with double crochet in the last four stitches.
Row 4 and Beyond:
- Continue by repeating the process, alternating the direction of your cable twists and maintaining the row structure. The sequence will involve skipping stitches, treble crochet, and simple double crochets.
- Maintain the side stitches of four double crochets each to frame the cable pattern.
Finishing the Scarf:
- Continue repeating the rows until you reach your desired length of the scarf.
- Ensure to finish on a pattern repeat that matches the start for symmetry.
- Cut your yarn, pull through the loop to secure and weave in end using the darning needle.