Elegant & Unique Crochet Booksleeve & Journal Cover Pattern
Frank and fabulous, this Free Crochet Booksleeve & Journal Cover Pattern intrigues the curious and willing. Perfect for diligent, passionate crafters!
This pattern guides you through creating a snug and elegant cover for your books or journals, perfect for protecting your cherished reads or notes. Ideal for crocheters of all levels, it includes detailed instructions, stitch guides, and customization tips to fit various sizes. The end result is a durable yet stylish cover that showcases your unique flair.
Crochet Booksleeve & Journal Cover
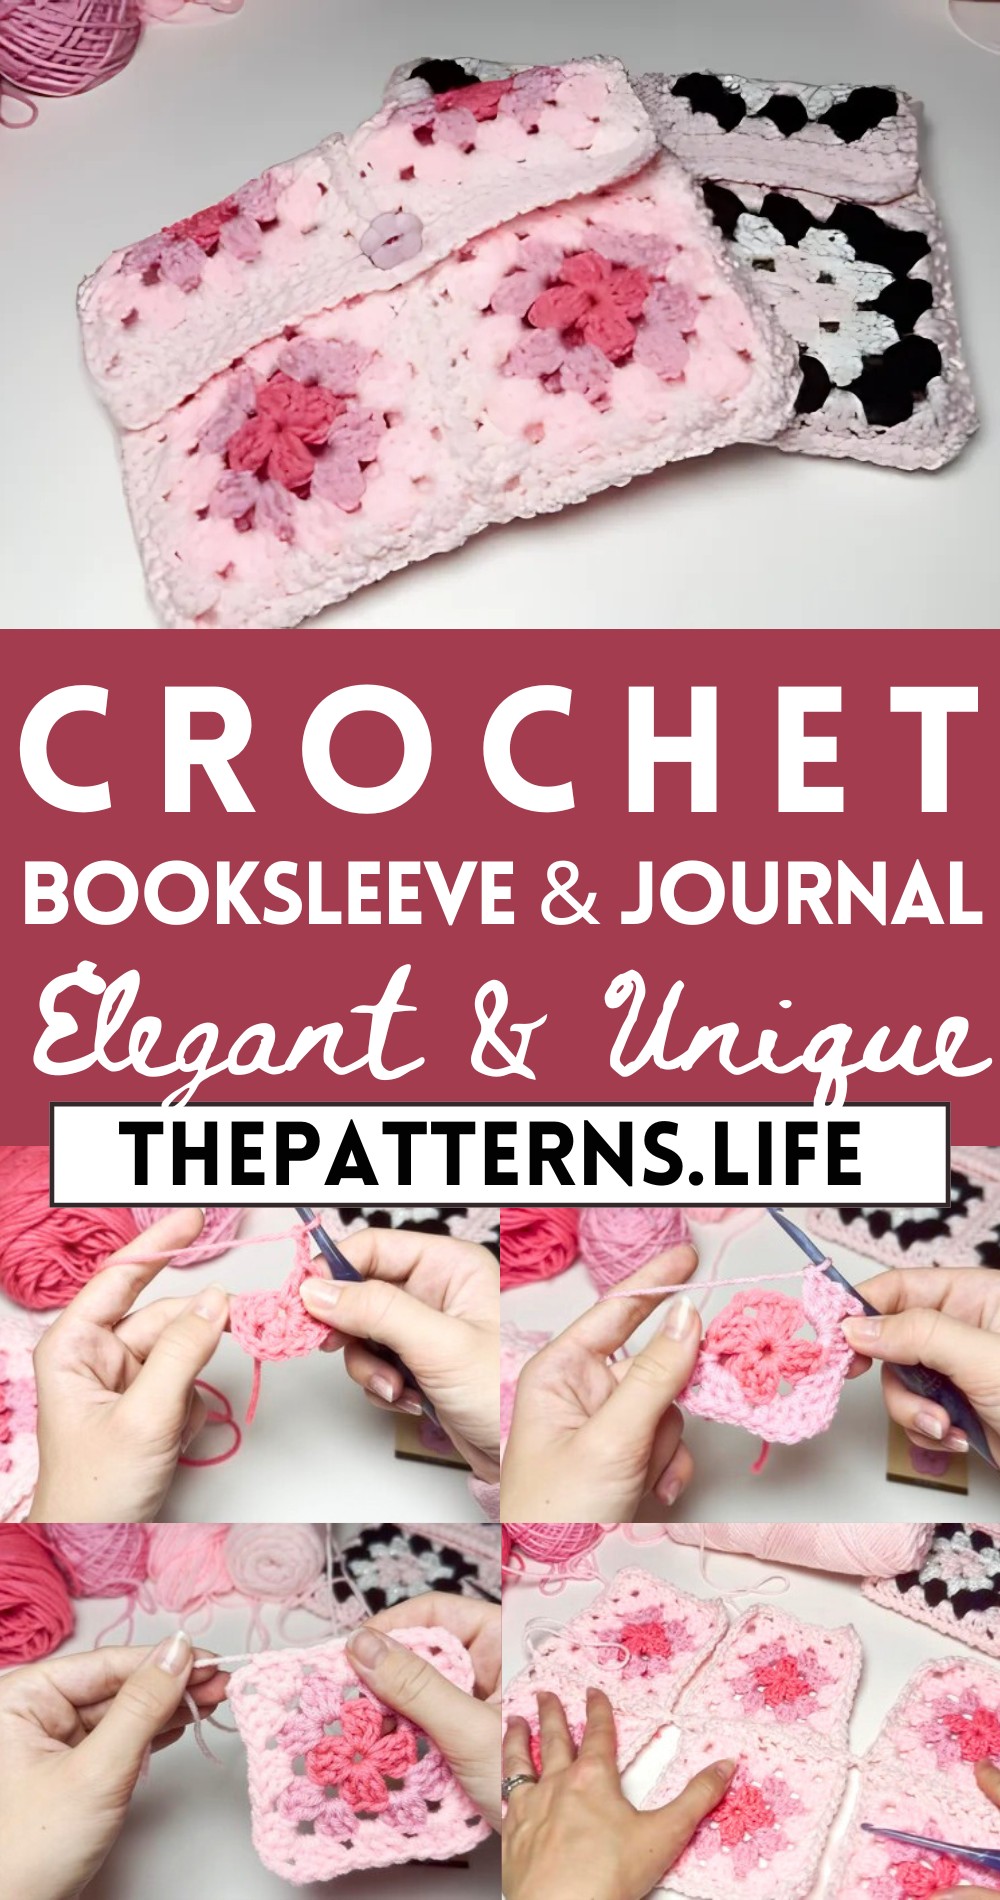
Discover the delightful charm of the Crochet Booksleeve & Journal Cover Pattern, where style meets practicality. Features include an easy-to-follow design, adaptable dimensions, and opportunities for color experimentation. This project not only elevates your crochet skills but also adds a personal touch to your everyday essentials.
Tip:
To achieve a sturdier finish, use a slightly thicker yarn and a smaller hook size than recommended for tighter stitches and better durability.
Materials Needed:
- Buttons
- Scissors
- 5mm Crochet Hook (Size H)
- Thread
- Sewing Needle
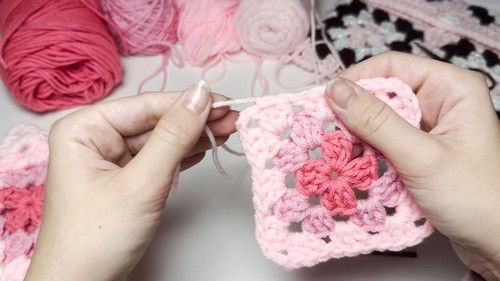
Creating a Granny Square:
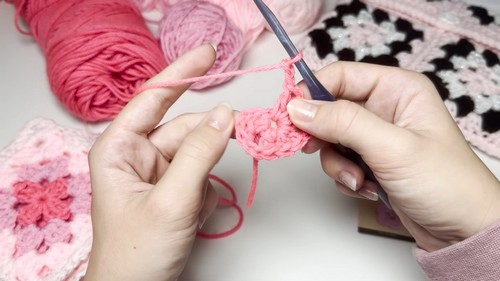
- Start with a slip knot, then chain 3.
- Slip stitch into the first chain to form a loop.
- Chain 3 (counts as your first double crochet).
- Make a double crochet into the loop.
- Chain 2, then make 3 double crochet into the loop (first cluster completed).
- Repeat the pattern of chaining 2 and 3 double crochets into the loop 3 more times.
- Chain 2 and slip stitch to the top of the beginning chain 3.
- Cut the yarn and finish off.
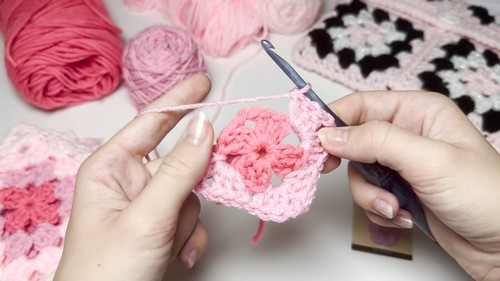
Adding New Colors:
- Attach a new color thread with a simple knot.
- Chain 2 (instead of 3 for a tighter look).
- Make a double crochet, chain 2, and then 3 double crochets in each corner space.
- For the sides, just make 3 double crochets into the spaces between the clusters with no chain spaces in between for a denser look.
- Repeat around, join with a slip stitch, and cut the yarn.
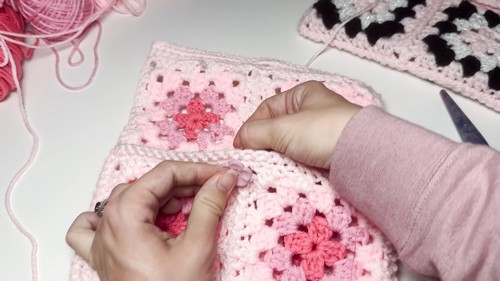
Joining Granny Squares:
- Use a slip stitch join to connect the granny squares. Start on the right side to ensure the pattern aligns correctly.
- Hold two granny squares with right sides facing out and slip stitch through both layers to join them together.

- Continue attaching all six granny squares in a row.
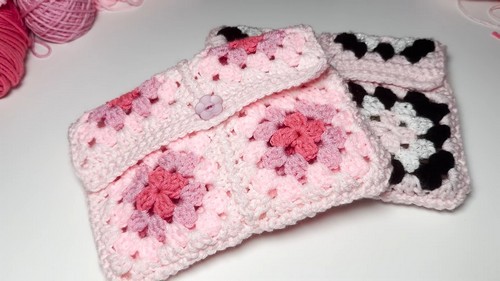
Creating the Cover:
- Once all squares are joined, fold the piece to form the cover layout and decide where the flap will be.
- Clean up any ends and tidy up the sides.
Edging and Closure:
- Single crochet along the edge of the flap and the opening of the cover for a neat finish.
- To create a buttonhole, skip a couple of stitches in the center of the flap on one row, then single crochet over the gap on the next row to reinforce it.
- Sew a button onto the body of the cover aligning with the buttonhole on the flap.
Video Guide