
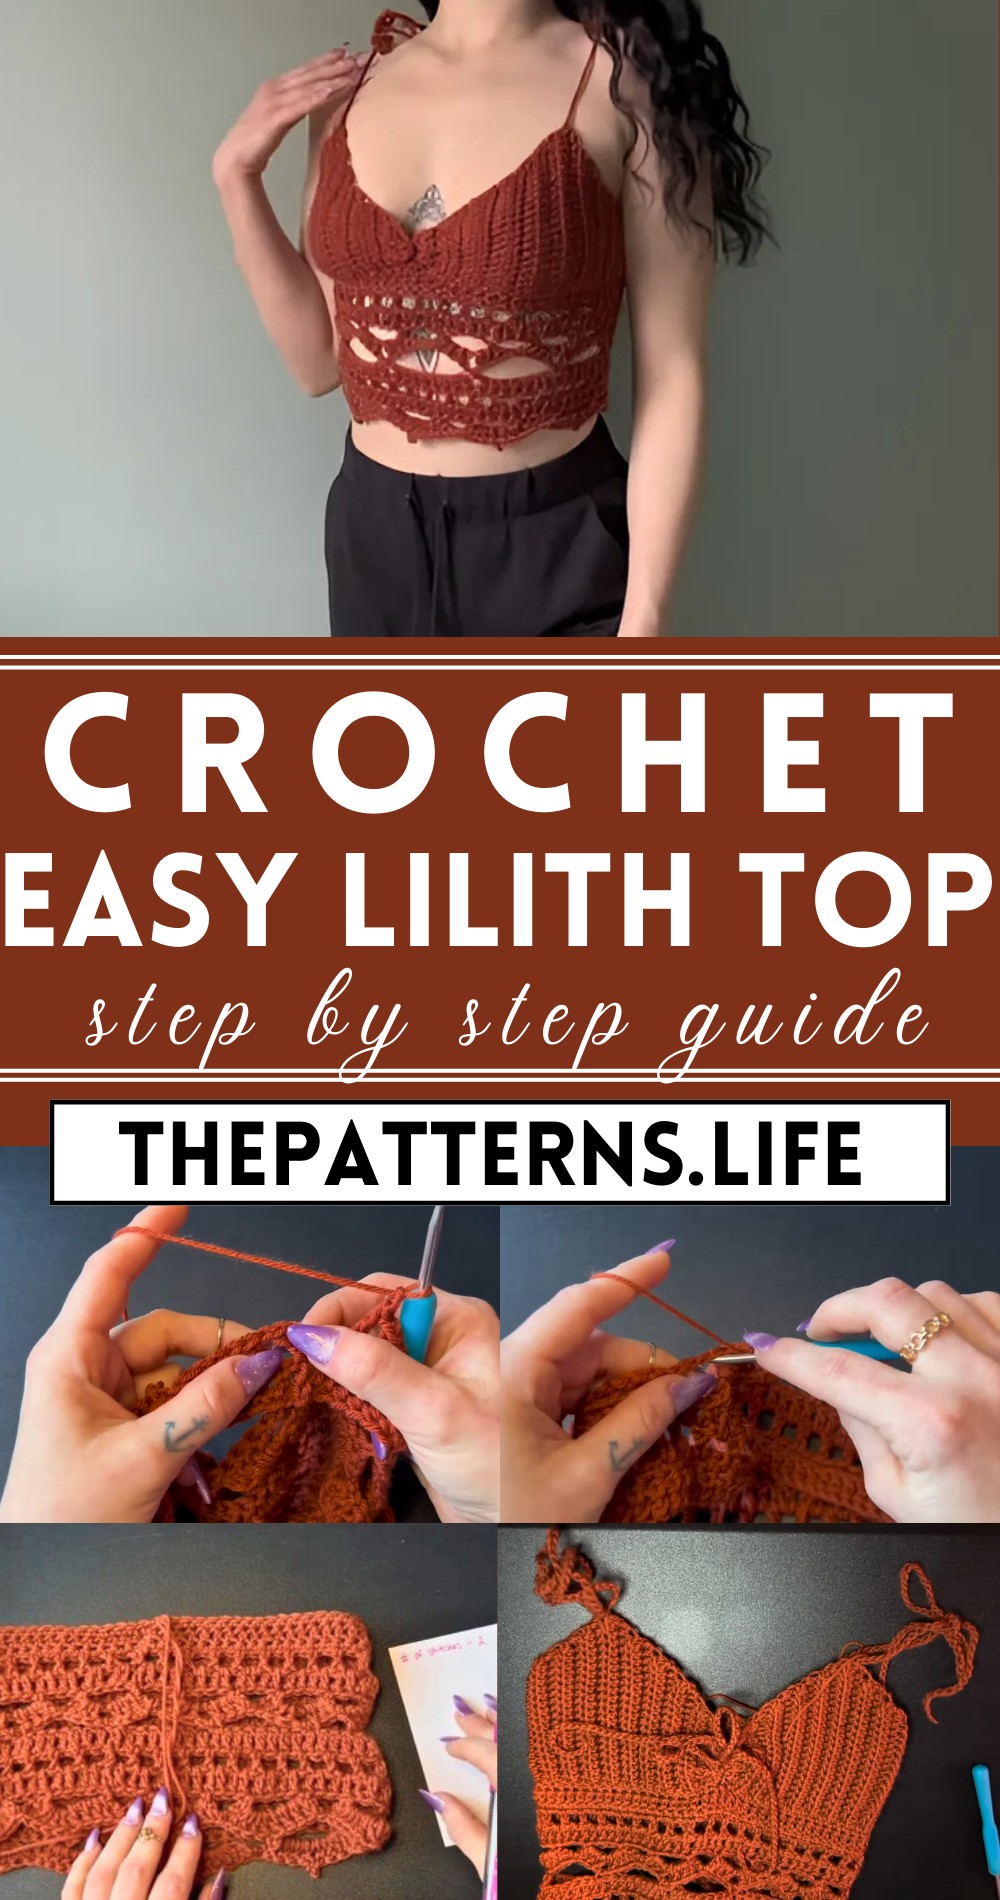
Easy Crochet Stylish Lilith Top Tutorial With Free Pattern
Joyful styling awaits with the Free Crochet Stylish Lilith Top Pattern—easy, elegant, and perfect for adding a touch of flair to your outfits!
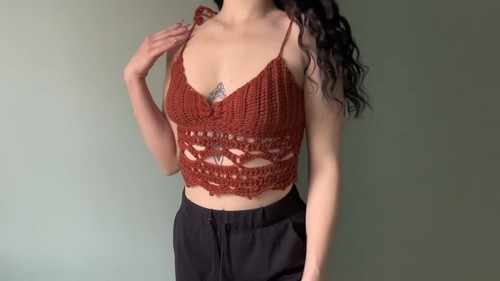
This trendy top is perfect for sprucing up your casual wear or adding a sophisticated touch to your evening outfits. Made with soft, breathable yarn, the Lilith top offers a relaxed fit while showcasing intricate, eye-catching stitch patterns. Ideal for both beginners and experienced crocheters, the pattern comes with easy-to-follow instructions, ensuring a delightful experience. The versatile design allows you to experiment with different colors and yarns, making each piece uniquely yours.
Easy To Crochet Lilith Top Tutorial
Unleash your creativity with the crochet romantic and delicate top Pattern, a design that effortlessly combines elegance and comfort. Not only will you enjoy the process of creating this beautiful top, but you’ll also benefit from a stylish, handmade addition to your wardrobe that stands out on any occasion.
Tip:
Use a lightweight, breathable yarn for the Lilith top to ensure maximum comfort and drape.
Materials Needed:
- Yarn (specific type and weight usually depend on personal preference or specified in the video)
- Crochet hook (size to match yarn weight or specified in the video)
- 5 stitch markers (3 of one color, 2 of another for visual distinction)
- Scissors
- Tape measure
Measurements:
- Underbust Measurement: Measure tightly around your ribcage, right under the bust.
- Widest Bust Measurement: Measure around the widest part of your bust comfortably.
Pattern Overview:
- The pattern utilizes a double crochet foundation chain for elasticity, perfect for fitting around the underbust area snugly while providing enough stretch to accommodate the bust.
- It must be a multiple of 8 in order to work with the lace pattern to be introduced later.
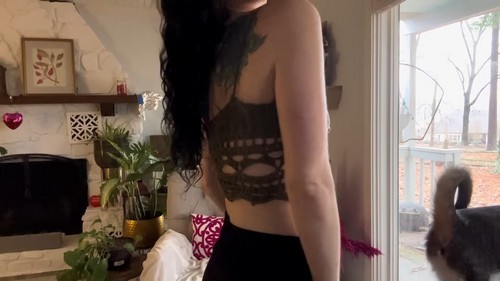
- The design features a romantic lace pattern suitable for styles akin to romantic vampires or forest fairies.
Starting Chain:
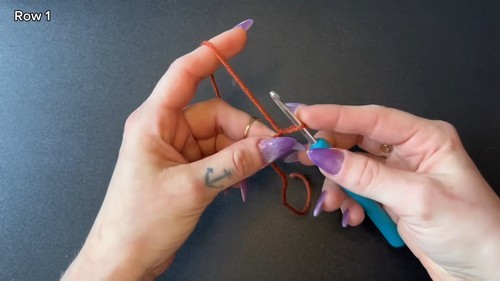
Make a slip knot and chain 3.
- Yarn over, insert the hook into the first chain made, yarn over and pull up a loop.
- Yarn over, pull through one loop (making a chain), yarn over, pull through two loops twice – creating a double crochet.
- Continue as per the instructions to create a foundation chain that’s tight but stretchy, ending with a length that matches your underbust measurement and a stitch count that’s a multiple of 8.
First Rows:
Connect the foundation chain ends together, ensuring no twists, to form a circle.
Chain 1, then single crochet around the circle, slip stitching to the first single crochet to join.
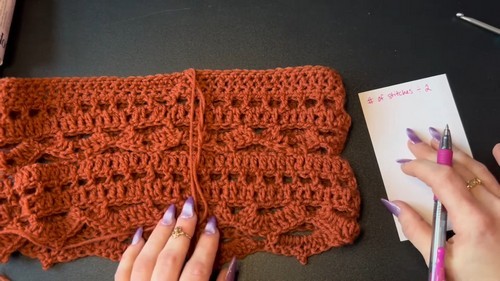
Lacy Pattern Introduction:
- Begin the lace pattern as instructed, creating open shell stitches across the row.
- Continue following the pattern to add layers and complexity to the lace design, paying close attention to increase and decrease instructions to shape the top correctly.
- The pattern involves repeating certain rows (such as double crochet rows and chain space rows) to build up the top according to the size and shape desired.
- Pay attention to the pattern’s instructions on where to place increases for the bust area, using your stitch markers as guides.
Finishing Steps:
- After completing the torso section and lace pattern, measure and crochet straps. The tutorial covers making back straps, front straps, and an optional decorative strap for cinching the bust area for two distinct looks.
- Weave in all ends neatly.
Additional Notes:
- Remember to try on the piece as you go to ensure a good fit.
- Adjustments might be needed based on personal preference or body type.
- The tutorial provides an in-depth look at creating a unique chain feature for the bust, enhancing the top’s style with either a keyhole or cinched look, depending on how the final straps are tied.


