
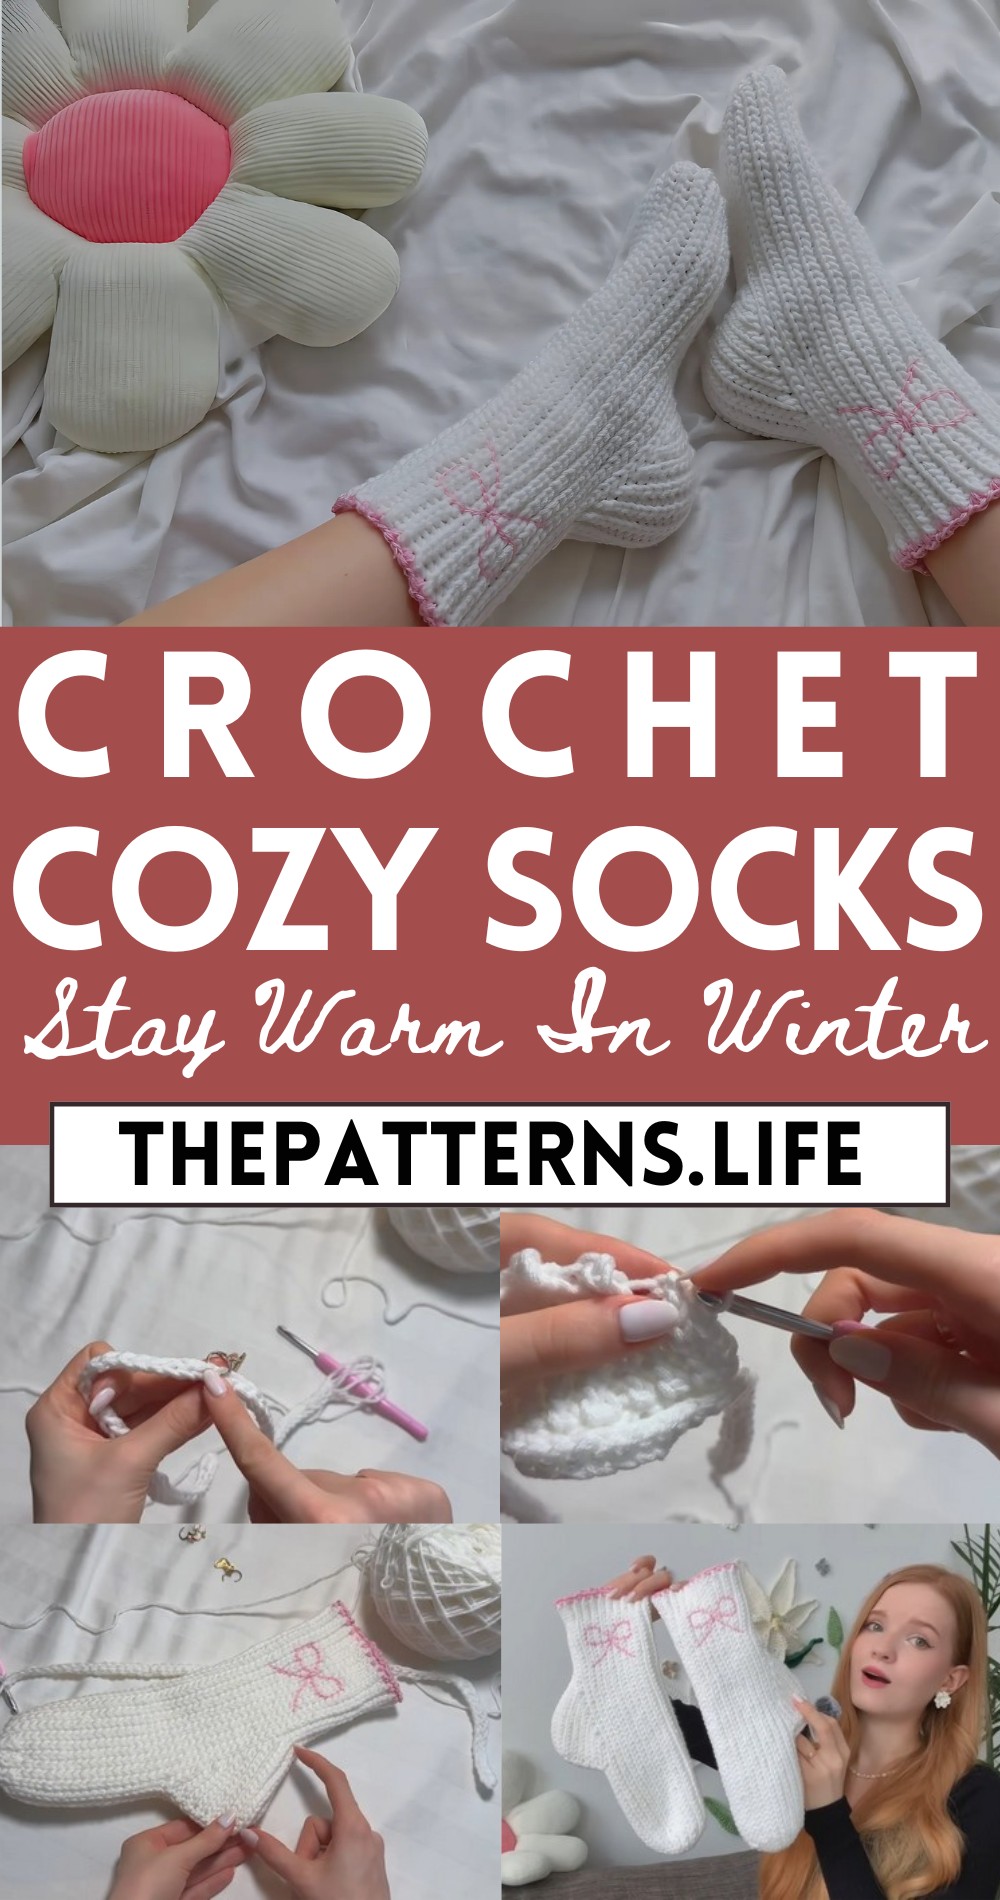
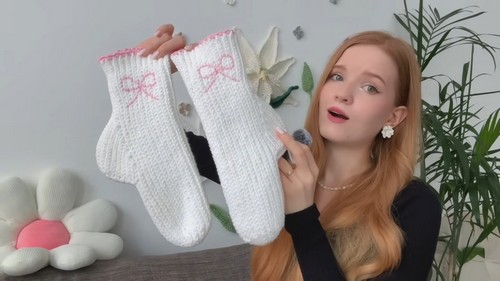
Full Of Joy Crochet Socks Pattern To Stay Warm
The versatility of the design makes these Crochet socks ideal for any occasion, whether you’re lounging at home or stepping out.
The pattern is designed to provide both elegance and comfort for your feet. This pattern is meticulously detailed, allowing even beginners to follow along with ease while still appealing to advanced enthusiasts. The intricate stitches and patterns bring a unique touch to each pair of socks, adding sophistication to your wardrobe.
Crochet Socks Pattern
Whether you opt for soft pastels, bold colors, or classic neutrals, these socks offer endless possibilities to express your style. From selecting your yarn to finishing touches like cute bows, you’ll learn each part of the process. The attention to detail ensures that every pair is not only beautiful but also fits well, providing warmth and comfort for those chilly days.
Tip: For a snug and long-lasting fit, choose a high-quality, stretchy yarn that enhances both durability and comfort.
Materials:
- 2 skeins of yarn (100g & 120m each; recommended DK yarn, acrylic)
- Extra yarn for the edging (leftover cotton yarn suggested)
- Crochet hooks: 5mm for the main part, 4.5mm for the top part to prevent it from being too wide
- Stitch markers
- Measuring tape
- Scissors
General Notes:
- Choose soft, elastic yarn for comfort (milk cotton, acrylic/wool/cotton blend suggested).
- Use Decay or thinner yarn for best comfort.
- Size is customizable by adjusting number of starting loops and height.
- Experiment with yarn thickness; adjust stitches accordingly if using thinner yarn.
- Perfect as a Christmas or birthday gift.
Pattern:
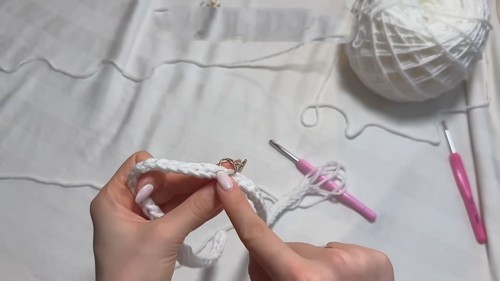
Start:
- Chain 70 loops. Leave a longer tail for the starter loop. Add one more loop to start the row.
- Note: Adjust the chain length for size or height. For larger foot sizes, add more loops.
Row Creation:
- Crochet downwards with a smaller hook size at the beginning for 6 slip stitches, then switch to your regular hook size, continuing with slip stitches till the end.
- First row after chain decreases in length due to slip stitches tightening the chain.
Foot Measurement:
- Mark the point on your crocheted piece corresponding to the length of the foot in centimeters. Count stitches from the bottom of the piece for precision.
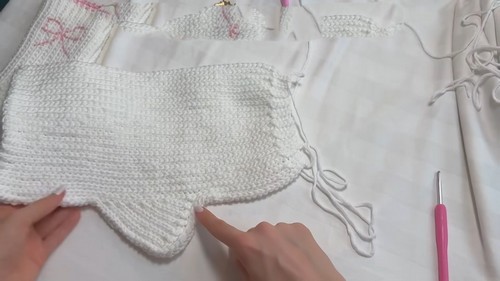
Heel Section:
- Using the marker as a guide, create a heel with slip stitches by alternating between shorter and longer rows, creating a curve to fit the foot comfortably.
- You’ll crochet back and forth, decreasing the number of stitches to shape the heel.
Toe Shaping:
- Alternate between short and long rows to shape the toe after completing the heel section.
- Ensure the total row count from the heel fits the width of the foot for a snug fit.
Final Rows:
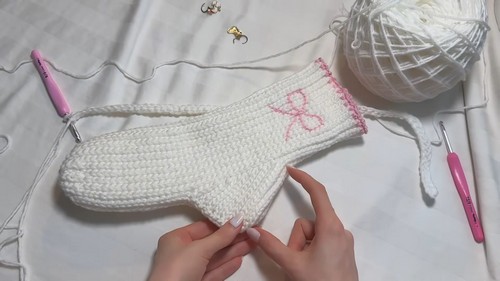
- After toe shaping, crochet along the edge of the sock, including a final edging and embroidery (optional) for decorative purposes.
- For edging, use a smaller hook and a contrasting yarn color if desired.
Finishing Touches:
- Close the sock by sewing the toe and perform any final weaving in of ends.
- Apply any additional decorations such as bows or edging patterns as desired.
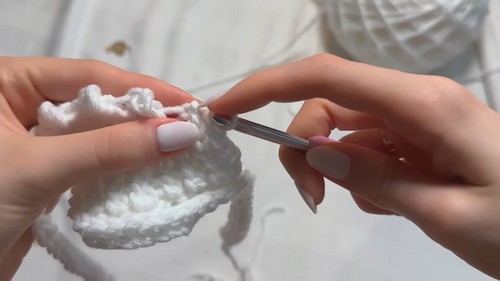
Edging:
- Start with a slip knot on your hook, insert into a stitch on the sock edge, and follow the pattern: single crochet, double crochet into the same stitch, and then a single crochet again into the next stitch. Repeat around the sock opening.
Embroidery (Optional Bow):
- Use slip stitches to create bow or other designs atop the sock for an extra touch.


