
Warm & Snug Crochet Beanie Pattern For Wintery Weather
Have fun bringing warmth and style to your wardrobe with our Free Crochet Beanie Pattern, perfect for snug and fashionable beanies.
This pattern allows you to create elegant beanies that radiate warmth and elegance, making them suitable for any season. The design is versatile enough to adapt to an array of colors, enabling you to match them with any outfit. Whether you choose classic neutrals or vibrant hues, each stylish beanie stands out thanks to its intricate stitch detailing that adds a touch of finesse.
Crochet Beanie Pattern
With clear instructions and a user-friendly approach, you’ll find joy in each stitch, resulting in a beautiful accessory that’s not just functional but also a statement piece.
Tip:
To maximize the beanie’s beauty, use a softer yarn that not only looks luxurious but also feels wonderful against the skin.
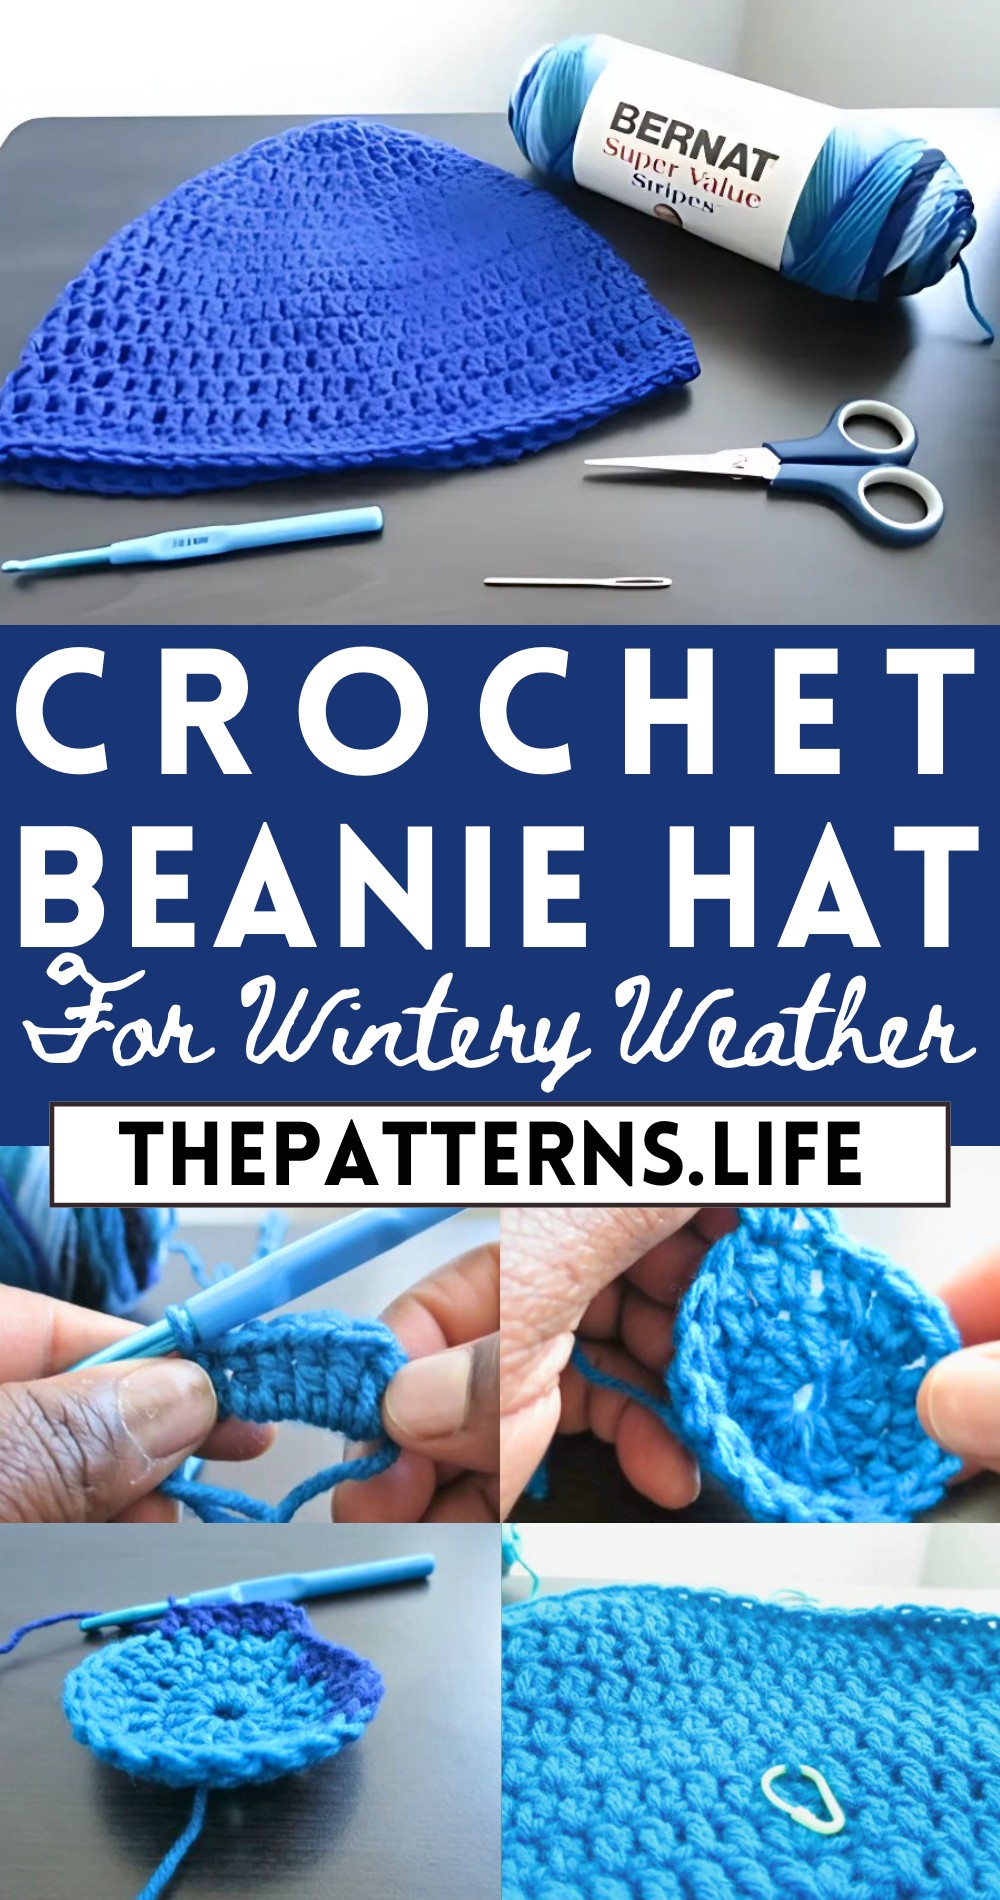
Materials Needed:
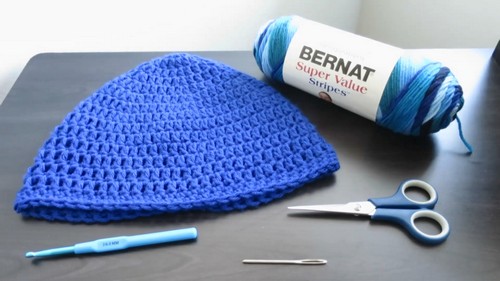
- Bernat Yarn (Oceania Stripes, variegated)
- Size J/10 (6 mm) crochet hook
- Darning needle/threading/yarn/tapestry needle
- Scissors
- One skein of yarn
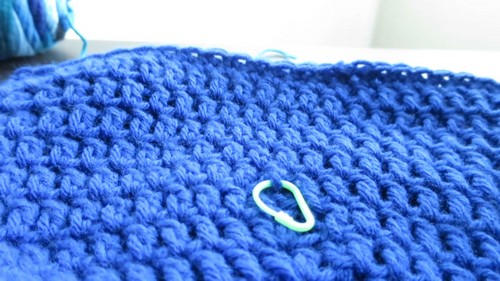
- Stitch marker (or a safety pin)
Instructions:
Starting the Beanie:
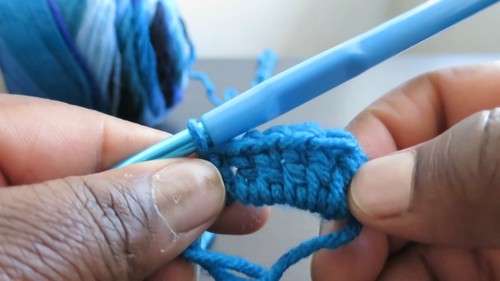
- Using the yarn tail that comes from the inside of the skein, start with a magic circle.
- Within the magic circle, crochet 12 double crochets (DC).
- First Round:
- To close the circle, pull on the yarn tail and slip stitch into the first DC, ignoring the chain that secures the loop.
Now chain 2 — this is not counted as a stitch.
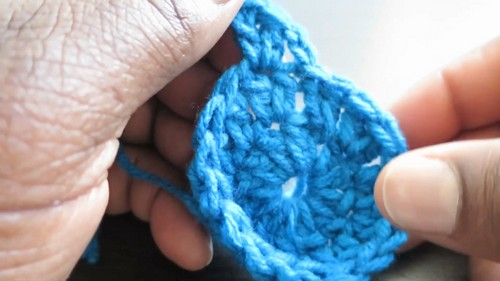
Second Round:
- In the next stitch (not in the same one you slip stitched into), make 2 DC, then 1 DC in the following stitch.
- Continue with a 2 DC, 1 DC pattern around the circle. You should end with 18 stitches, including the initial chain.
Third Round:
- Start with 2 DC in the following stitch, then 1 DC in the next two stitches.
- Continue the pattern around with 2 DC, 1 DC, 1 DC. Finish with 24 stitches.
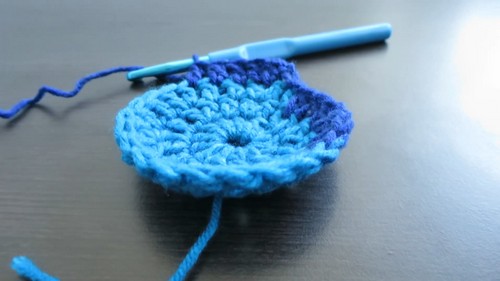
Subsequent Rounds:
- Continue increasing in the same manner, working your way up to rounds where the increases are spread out even further.
- For example, 2 DC, 1 DC (repeated five more times) for the next round, then 2 DC, 1 DC (repeated six times) for the following, and so on.
Sizing the Beanie:
- Keep increasing the rounds until the circle is large enough to fit the crown of the intended user’s head.
Creating the Sides:
- Without increasing further, crochet in rounds placing 1 DC into each stitch from the previous round.
- Use a stitch marker to mark the beginning of each new round.
Checking the Fit:
- Periodically try the beanie on the intended wearer to ensure proper fit and to decide when to stop increasing the size.
Finishing the Beanie:
- When the beanie reaches the desired length, switch to single crochet (SC) rounds to create a tighter border that will fit snugly around the head.
- End with one or two rounds of SC, then slip stitch to finish.
Securing the Ends:
- Chain 1 to secure the end. Cut the yarn, leaving a tail.
- Pull the tail through the loop to create a knot.
- Weave the ends in using your darning needle, or for a quick finish, knot securely and trim.


