Unique Crochet Mushroom Garland Pattern For Wall Decor
Scatter some magic with the Free Crochet Mushroom Garland Pattern – the cutest way to brighten up any nook and cranny!
This delightful design is perfect for creating charming garlands that can enhance any room, event, or festive celebration. Whether for a cozy child’s bedroom, a lively garden party, or holiday decorations, these adorable crocheted mushrooms add a playful, rustic vibe. Perfect for adding a sprinkle of whimsy to any room, this pattern is as fun to make as it is to display. Bring a touch of fairy-tale whimsy to your decor with the Crochet Mushroom Garland Pattern.
Crochet Mushroom Garland Pattern
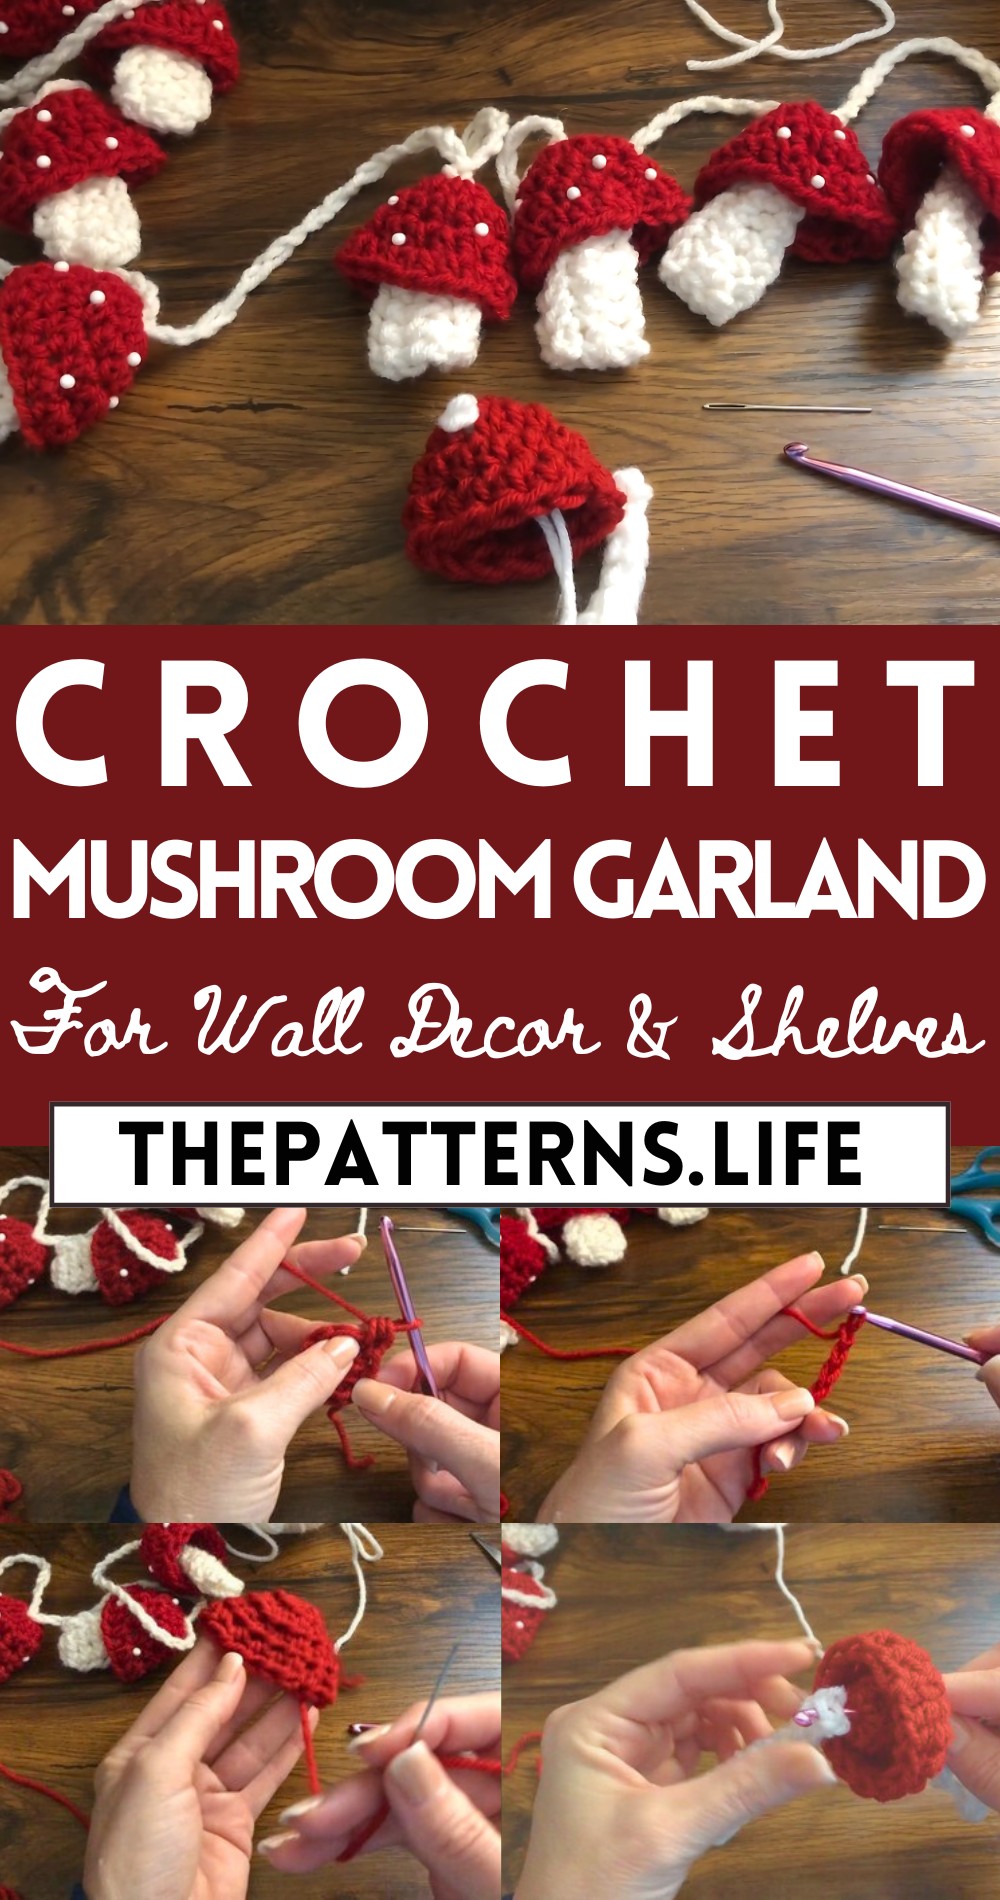
Crocheted with love, these garlands are also an eco-friendly decor option, as they can be made using leftover yarn. Embrace the joy of handmade creations and elevate your space with this unique and versatile pattern.
Tip:
Experiment with vibrant and varied yarn colors to create a lively, eye-catching garland!
Materials Needed:
- 5 mm crochet hook
- Worsted weight yarn in two colors (white for the stem and red for the mushroom cap, or any colors of your choice)
- Scissors
- Yarn needle
Mushroom Cap:

- Start with a slip knot.
- Chain 4 and form a ring by doing a slip stitch into the first chain.
- Chain 1 (counts as the first half double crochet [hdc]).
- Make 7 more hdc into the ring (total of 8).
- Join with a slip stitch to the top of the first hdc (not the chain 1).
- Chain 1, then work the second round with the following pattern: hdc in the next stitch, 2 hdc in the following stitch and repeat ** around to create increases (total of 12 stitches).
- Join with a slip stitch to the first hdc.
- Chain 1 and hdc into each stitch around for two more rounds (no increase).

- Fasten off and weave in the ends.
Mushroom Stem:
- Form a slip knot with white yarn.
- Chain the desired length for the stem (in the example, 12 chains were used).
- Slip stitch back for about 5 stitches to create the start of the bell shape.
- Change to single crochets for 2 stitches.

- Finish the row with half double crochets.
- Chain 1 and turn. Repeat the above step to create another row.
- Fasten off leaving a long tail for sewing.
- Fold the piece in half and whipstitch the sides together to form the stem, stretch the larger end to create the bell shape.
- Weave in any remaining ends.
Assembly:
- Start by chaining 10 (or 20 if you desire a loop for hanging), then connect with a slip stitch to create a hanging loop.
- Chain again for the length you prefer between each mushroom (10 was used in the video).
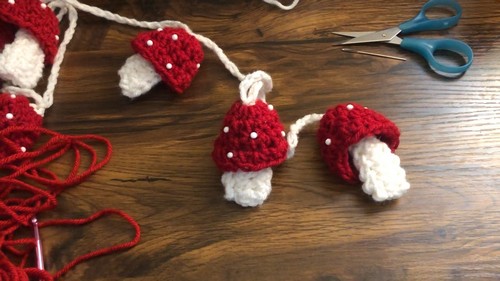
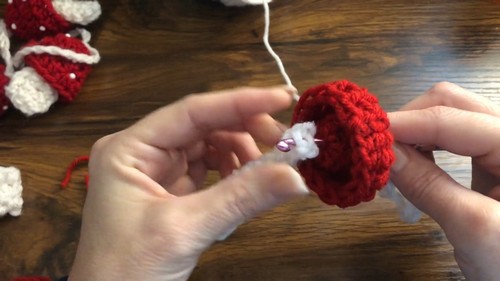
- To attach the mushroom cap to the stem, slip stitch through the center of the cap, then insert the hook through the top center of the stem and slip stitch to join.
- Continue chaining and attaching mushrooms until you reach your desired garland length.

Optional Mushroom Dots:
- You can add dots to the mushroom cap using styrofoam balls dipped in glue or creating yarn pom-poms to sew or glue onto the cap.