Cute Crochet Flower Tissue Holder Pattern – Step By Step Guide
Titivate your space with our playful crochet Flower Tissue Holder – a fun, functional accessory that adds charm and whimsy to any room!
This can convert your living space in a brighter springtime. It captivating design effortlessly combines practicality with aesthetic appeal, making it a standout accessory for any room. Ideal for adding a touch of sophistication to your home decor, the pattern features intricate floral motifs that bring a sense of nature’s beauty indoors.
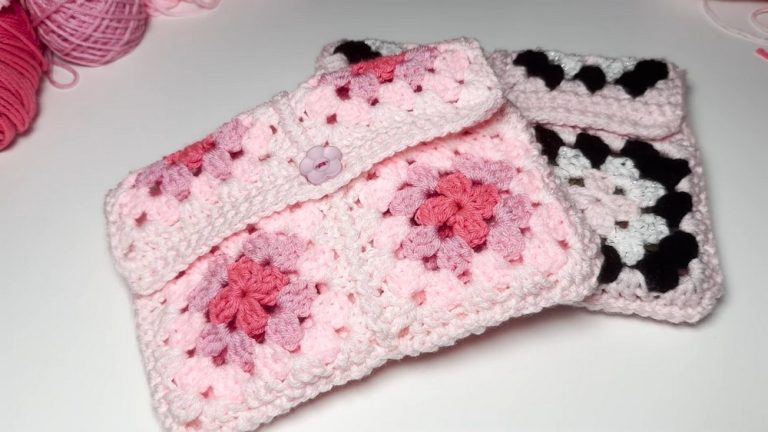
Crochet Flower Tissue Holder

Whether you’re looking to impress guests or simply elevate your everyday surroundings, this cozy little creation adds a burst of color wherever you place it. Its thoughtful construction ensures that tissues are easily accessible while remaining neatly concealed within a lovely crocheted exterior.
Tip:
Choose high-quality yarn in complementary colors for a luxurious finish that enhances the overall design.
Materials Needed:
- Onitsuga polycherry thread
- 4/0 hook from Tulip
- Lighter
- Needle and sewing thread (for attaching the button)
Instructions:

Foundation Row:
- Make a slip knot.
- Chain 36.
- Slip stitch into the first chain to form a circle.
Row 1:
- Chain 1.
- Do 2 single crochets into each stitch until the end of the round.
- Slip stitch to join. You should have 48 single crochets.

For Row 2:
- Chain 1 (only in the back loop).
- Single crochet in each stitch around.
- Slip stitch to join.
Row 3 (Flower Pattern):
- Chain 1.
- HDC into the next stitch, then 1 double crochet, 1 double crochet increase (2 double crochets in one stitch), 1 double crochet, 1 HDC.
- Chain 1, slip stitch into the same stitch. This completes one flower petal.
- Repeat around to make 8 petals in total. Join with a slip stitch and cut the thread. Secure the end with a lighter.

Row 4:
- Change to green thread.
- From a flower petal, count three stitches from the slip stitch section.
- Make 3 chains, enter 2 double crochets together in the same stitch.
- Repeat the pattern around with 6 chains skipping petals to make the leaf pattern.
- Join with slip stitch and chain one to secure the green thread.
For Row 5:
- Change to light yellow thread.
- Work following patterns into cavities of the petals: 3 chains, 2 double crochets, 3 chains again, then 4 double crochets in each cavity.
- Continue around and join with slip stitch. Chain one to secure.

Rows 6 & Beyond:
- Continue with light purple thread, working one double crochet in every stitch and creating two double crochets in the cavities.
- Work till you achieve the desired height, counting rows until you reach 13 rows.
Final Rows:
- Continue using light yellow thread and double crochets as earlier described.
- For the final pattern before the stitches are secured, switch to copper color in the cavities, creating a chain and skipping sequences to form a detailed edge.

Finishing Touches:
- Attach a button on the inside of the fourth row using a needle and thread.
- Trim all excess threads with a lighter.
Completion:
- End the project by weaving in all loose ends securely and attaching the button decoratively.