
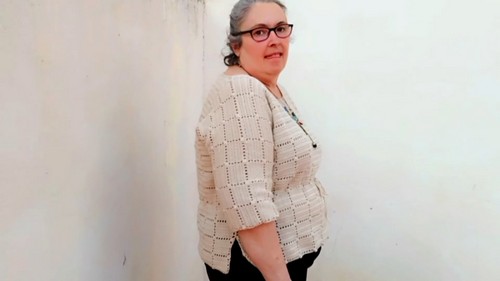
Marieta Blouse Crochet Pattern In All Sizes For Casual Charm
Step up your style game with the Crochet Marieta Blouse Pattern, featuring a chic and comfy design, perfect for all occasions.
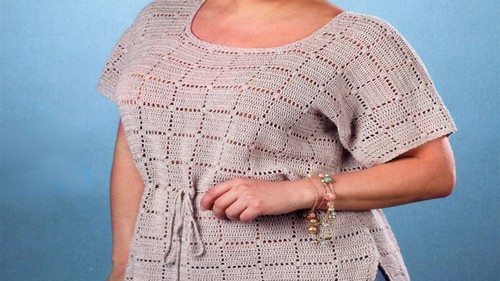
Perfect for any season, this pattern offers a relaxed, airy fit that complements any outfit, from casual jeans to elegant skirts. Featuring delicate clusters and airy chain spaces, the design allows crocheters to crochet a piece that is breathable and ideal for warmer seasons.
Marieta Crochet Blouse Pattern In All Sizes
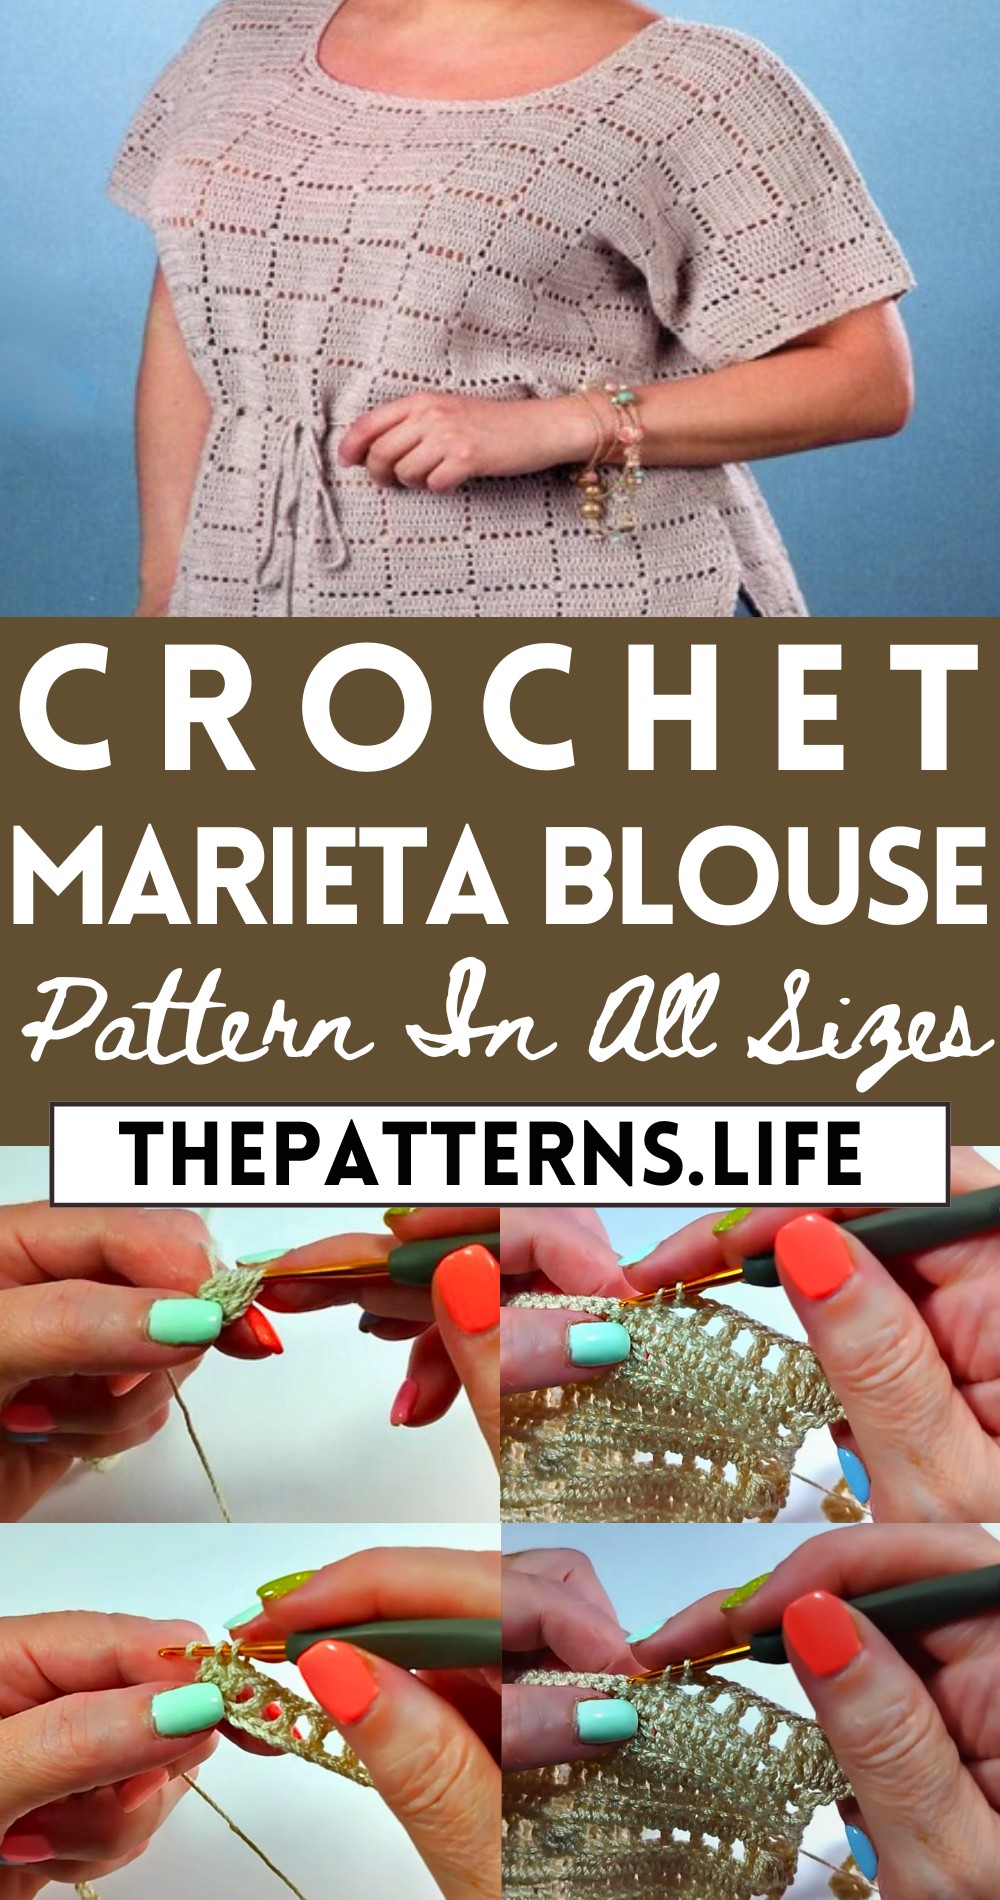
Crocheted with careful attention to detail, the Marieta Blouse pattern has intricate stitches and a flattering silhouette, making it not just a garment, but a statement piece. Its versatility and timeless style ensure you can wear it for various occasions, making it a valuable addition to your crochet collection.
Tip:
Use a lightweight, breathable yarn for maximum comfort and drape.
Materials Needed:
- 560 grams of acrylic thread
- 2 millimeter hook
Measurements:
- Chest circumference: 136 centimeters (52 inches)
- Length: 60 centimeters (23 inches)
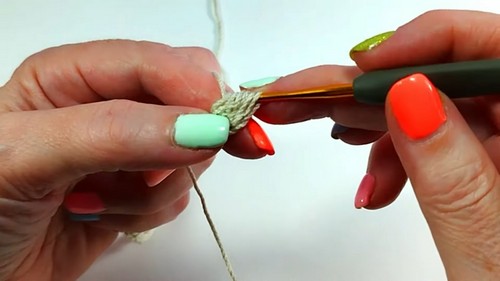
Pattern Instructions:
Starting Chain:
- Take the measurement of your chest or hip, whichever is wider.
- Make a chain in a multiple of 14 + 2 chains to match your measurement. (The example given used 156 chains for each part, front and back.)
Row 1:
- Start with 3 chains.
- *In the next stitch, crochet a 4 double crochet cluster.
- In the next stitch, crochet 1 double crochet.
- Chain 1, skip 1 chain, then 1 double crochet.*
- Repeat from * to * (1 chain, skip 1 chain, 1 double crochet) until you have reached a total of 10 double crochets including the cluster.
- Finish the row with a 4 double crochet cluster in the next stitch, followed by 1 double crochet.
Row 2:
- Start with 4 chains, skip 1 stitch.
- Crochet 1 double crochet, then crochet 12 double crochets.
- Chain 1, skip 1 stitch.
- Repeat from * to * until the end of the row.
- Finish the row with 1 chain, and 1 double crochet in the last stitch.
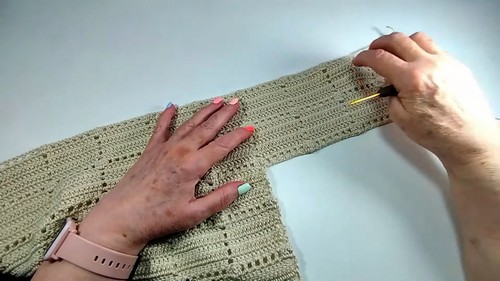
Rows 3-6:
- Repeat Row 2 for four more rows.
Subsequent Rows:
- Repeat the pattern starting from Row 1 to create the desired length of the blouse.
For the Sleeves:
- Once you reach your desired length for the body, add 56 chains (or a multiple of 14 to fit) on each side to start the sleeves.
Joining the Sleeves:
- Add 56 chains (representing 4 squares) to make one sleeve. Adjust the number of chains based on your measurement, ensuring it’s a multiple of 14.
- Use a separate skein or a long piece of thread for the 56 chains on the other side.
- Cut the thread after chains are added.
Finishing Touches for Neck and Shoulders:
- Work back up until you have 4 squares for the back and 2 squares for the start of the neck.
- Close the back straight.
- Find the center for the neck, leaving a gap as described, and put a marker.
- Work up to the marker and continue straight ahead to match the length of the back but with one less row for the front.
- For shoulder joining, ensure the front finishes with row 6 and the back with row 1 for a seamless look.
- Join the shoulders and all pieces, then crochet a single crochet row around the neck.
Waist Cord:
- Instructions for the waist cord are indicated, suggesting to make a cord after finishing the main body and sleeves.


