
Fun And Joy Crochet Rainbow Hugs Hoodie Pattern Step by Step
Wrap yourself in joy with a free crochet pattern for a Rainbow Hugs Hoodie, blending vibrant colors and cozy warmth for a truly heartwarming garment.
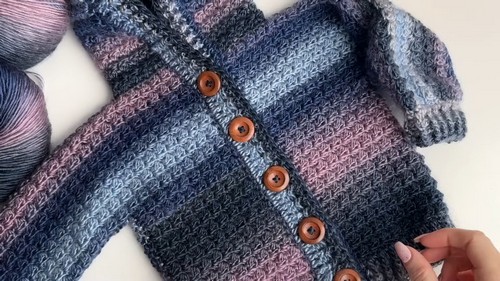
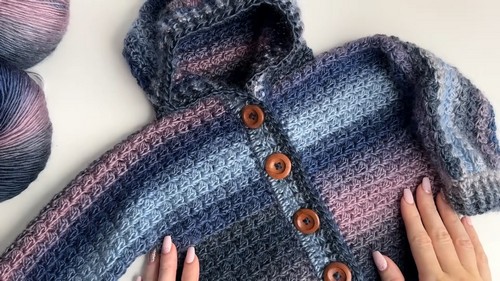
This dazzling hoodie, characterized by its vibrant array of rainbow stripes, is a testament to both style and coziness. The intricate design ensures each row of color seamlessly transitions to the next, creating a harmonious blend that captures attention and spreads cheer. Perfect for making a bold statement, this hoodie not only wraps you in softness but also allows for expressive individuality. It’s ideal for layering during cooler seasons or as a standout piece on milder days.
Crochet Rainbow Hugs Hoodie Pattern
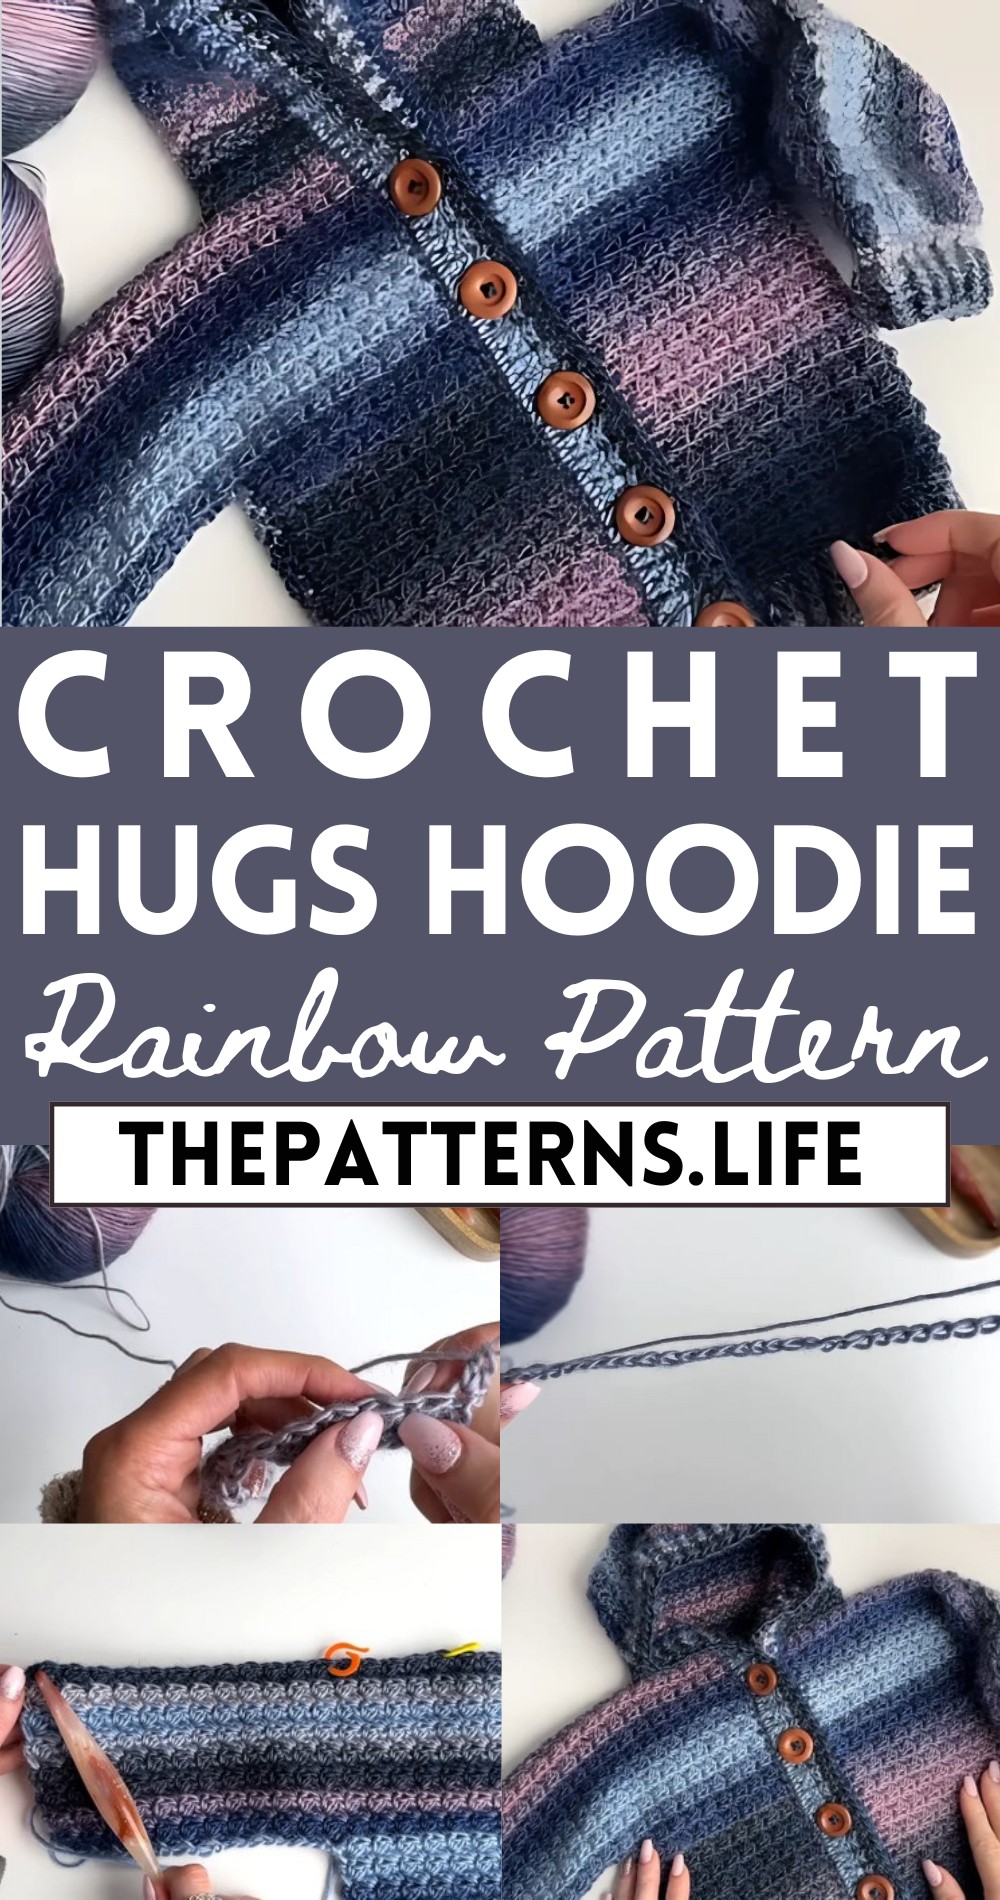
Immerse yourself in a burst of color and comfort with the Crochet Rainbow Hugs Hoodie Pattern, designed to infuse joy and warmth into your everyday wear. With easy-to-follow instructions, even beginners can bring this bright and beautiful creation to life, making it a delightful project for all levels.
Tip:
Opt for high-quality, vibrant yarns to ensure your rainbow stripes remain bright and beautiful wash after wash.
Materials:
- Mary Maxim Prism in Misty (or Mellow Spun DK weight for a solid color, or Bernat Softy Baby)
- Streamline Hooks from Furls Crochet (4mm and 4.5mm)
- Tapestry needle
- Scissors
- Stitch markers
- Buttons (optional)
Gauge:
- 16 stitches x 16 rows = 4 inches
Abbreviations:
- st(s): stitch(es)
- ch: chain
- sc: single crochet
- dc: double crochet
- sl st: slip stitch
- FPDC: front post double crochet
- BPDC: back post double crochet
Pattern Instructions:
Back Panel:
Foundation Chain:
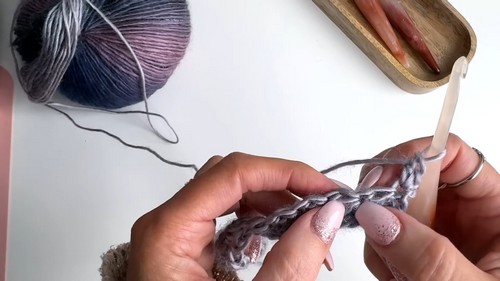
- With a 4mm hook, ch 42 loosely.
- Row 1: Working in the second ch from the hook, sc, dc, skip the next ch, sc, dc repeat across, ending with sc in the last ch. Ch 1, turn.
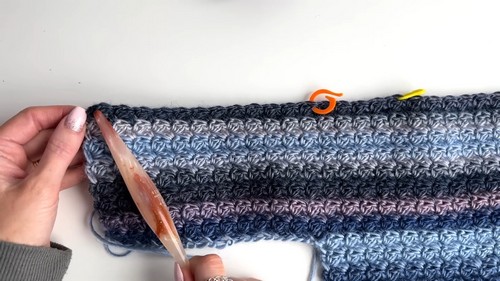
- Row 2-24: Sc, dc in the first st, skip the next st, sc, dc in the next st, repeat across, ending with sc in the last st. Ch 1, turn.
Sleeve and Back Shaping:
- Row 25: With the same color yarn, make a foundation ch of 24. Join to the last st of the back panel with a sl st. Ch 25.
- Row 26: Sc, dc in the second ch from the hook, skip the next ch, sc, dc repeat across, ending with sc in the last ch of the foundation ch. Continue working in the same pattern across the body section, skipping the first ch of the body section.
- Row 27-40: Continue working in the same pattern, alternating between the sleeve and back sections.
Neck Opening:
- Row 41: Work across the row as usual, ending with sc in the last st of the sleeve section. Ch 1, turn.
- Row 42-57: Continue working in the same pattern, alternating between the sleeve and back sections.
Finishing the Back:
- Fasten off the yarn, leaving a long tail for sewing.
Front Panels:
Foundation Chain:
- With a 4mm hook, ch 42 loosely.
- Row 1: Working in the second ch from the hook, sc, dc, skip the next ch, sc, dc repeat across, ending with sc in the last ch. Ch 1, turn.
- Row 2-24: Sc, dc in the first st, skip the next st, sc, dc in the next st, repeat across, ending with sc in the last st. Ch 1, turn.
Sleeve and Front Shaping:
- Row 25: With the same color yarn, make a foundation ch of 24. Join to the last st of the front panel with a sl st. Ch 25.
- Row 26: Sc, dc in the second ch from the hook, skip the next ch, sc, dc repeat across, ending with sc in the last ch of the foundation ch. Continue working in the same pattern across the body section, skipping the first ch of the body section.
Row 27-40: Continue working in the same pattern, alternating between the sleeve and front sections.
Neck Opening:
- Row 41: Work across the row as usual, ending with sc in the last st of the sleeve section. Ch 1, turn.
- Row 42-57: Continue working in the same pattern, alternating between the sleeve and front sections.
Finishing the Front:
- Fasten off the yarn, leaving a long tail for sewing.
Hood:
Foundation Chain:
-
- With a 4.5mm hook, ch 45.
- Row 1: Working in the second ch from the hook, sc, dc, skip the next ch, sc, dc repeat across, ending with sc in the last ch. Ch 1, turn.
- Row 2-16: Sc, dc in the first st, skip the next st, sc, dc in the next st, repeat across, ending with sc in the last st. Ch 1, turn.
Hood Shaping:
-
- Row 17-24: Continue working in the same pattern, but decrease by 1 stitch at each end of the row.
- Row 25-30: Continue working in the same pattern, but decrease by 1 stitch at each end of the row.
Hood Top:
-
- Row 31-36: Continue working in the same pattern, but decrease by 1 stitch at each end of the row.
- Row 37: Continue working in the same pattern, but decrease by 2 stitches at each end of the row.
- Row 38: Continue working in the same pattern, but decrease by 2 stitches at each end of the row.
- Row 39: Continue working in the same pattern, but decrease by 2 stitches at each end of the row.
- Row 40: Continue working in the same pattern, but decrease by 2 stitches at each end of the row.
Fasten Off:
-
- Fasten off the yarn, leaving a long tail for sewing.
Seams:
- Right Side Facing: Place the right sides of the front and back panels together.
- Single Crochet: Starting at the underarm, single crochet along the sides, being careful to match the stitches evenly.
- Sleeve Seams: With the right sides facing, sew the sleeves to the armholes using the same single crochet method.
Hood Seam:
Right Side Facing: Place the right sides of the hood together.
Single Crochet: Starting at the center back, single crochet along the seam, being careful to match the stitches evenly.
Finishing Touches:
- Weave in Ends: Carefully weave in all loose ends to create a neat finish.
- Blocking (Optional): Block the hoodie to achieve the desired shape and size.
Congratulations! You have successfully completed the Rainbow Hugs Hoodie Crochet Pattern. Enjoy your beautiful handmade creation!
Additional Tips:
- Use stitch markers to help keep track of your stitches and rows.
- Refer to the video tutorial for visual guidance and additional tips.
- Customize the pattern by adjusting the size, yarn colors, and button choices to suit your preferences.
- Experiment with different crochet stitches and techniques to add your own unique touch to the hoodie.
https://www.youtube.com/watch?v=YnsyYArMejk


