
Easy To Crochet Volumetric Beret Hat Pattern For Any Size
Style your wardrobe with the Free Crochet Volumetric Beret Hat Pattern, perfect for adding flair and volume to any look.
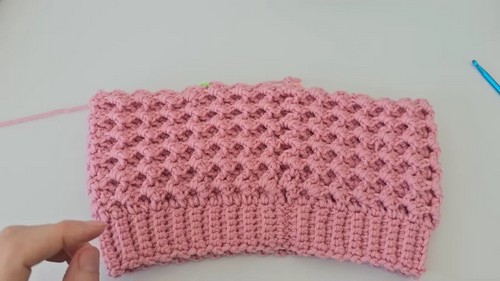
Ever dreamt of making a standout accessory for your wardrobe? It is your go-to guide for creating a chic, voluminous beret that turns heads. This pattern employs easy-to-follow steps, making it suitable for both beginners and seasoned pros. With simple stitches and a bit of patience, you’ll create a cozy, textured hat that’s both fashionable and warm. Featuring unique stitch techniques, it results in a plush, dimensional texture that adds flair to any outfit.
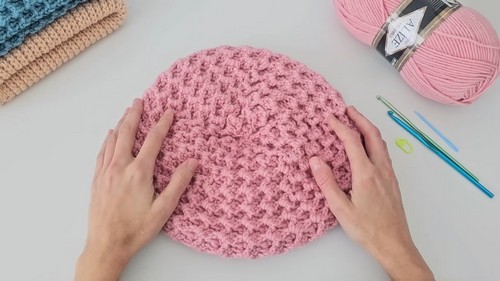
Crochet Volumetric Beret Hat

The beret’s design ensures a comfortable fit, while its adaptability allows for a variety of yarns and colors, letting your creativity shine.
Tip:
For a more structured beret, use a tightly spun yarn that holds its shape well.
Materials Needed:
- Alize Lanagold Classic Yarn (49% wool, 240 m per 100 g, color 161)
- Crochet hooks in sizes 4 mm and 5 mm
- Plastic marker
- Large-eye plastic needle
Pattern Instructions
Band (Ribbing)
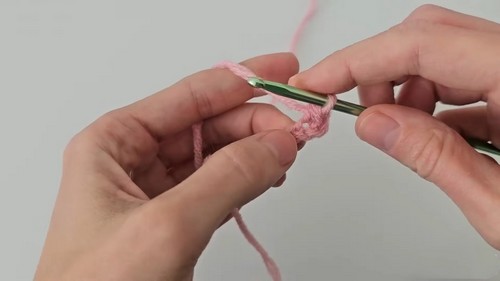
Starting the Band:
- Using the 4 mm hook, chain 8 stitches.
- Start in the second chain from the hook, work single crochet back across (7 stitches total per row).
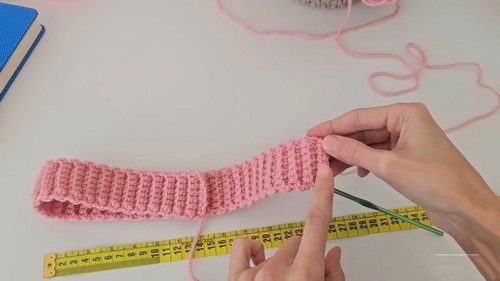
Ribbing Rows:
- Chain 1, turn.
- Working in the back loops only, single crochet across each stitch.
- Repeat these steps until the band measures 46 cm, which should approximate to 75 rows.
Joining Band:
- Fold the band in half.
- Slip stitch the ends together by working through the outer loops of each side to form a circle.
Body of the Beret
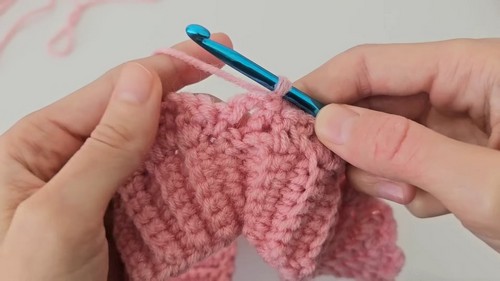
Switch to 5 mm Hook:
- Chain 3 (counts as first double crochet).
- Work a round of double crochet stitches into each ribbing loop from the band.
Establish Pattern:
Row 1:
- Chain 3, double crochet in next, single crochet in next, chain 2, two double crochets in next, repeat from around.
- Slip stitch to join to the top of the chain 3.
Continue Pattern:
Row 2 and Beyond:
- Chain 3 at the start of each row. Work front relief single crochets, double crochets in the chain spaces, and continue the increases as established until you reach desired width before decrease starts.
- Decreasing for Crown
Start Decreases:

Deciding on Decreases:
- At the 13th row, introduce decreases by evenly placing them around; typically by working two stitches together at marked sections.
- Continue to alternate decrease rows with standard rows (working two stitches together over the arches) until you reach approximately 5 reports or sections.
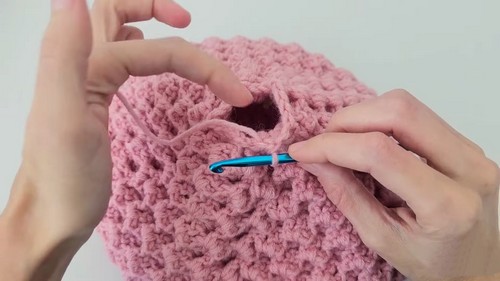
Closing the Beret:
- In the final rows, continue to decrease until only a few stitches remain.
- Cut the yarn, leaving a long tail, pull through all remaining stitches, and secure tightly.
Finishing Touches
Weave in Ends:
- Use the needle to run the yarn through the wrong side to secure and hide any loose ends.
Blocking (Optional):
- To give the beret a professional finish and perfect shape, consider blocking it by slightly dampening and setting it on a flat surface to dry in shape.
Additional Tips
Try On as You Go:
- Frequently try on the beret to ensure a comfortable fit, especially before starting the decrease rows.
Adjusting Size:
- Rows can be added or reduced according to head size or desired slouch.
Yarn Variations:
- Feel free to use different yarn weights but adjust the hook size and expect a change in the beret’s size and drape.


