Colorful & Attractive Crochet Solid Granny Square Free Pattern
“Refine your crochet skills with our Free Crochet Solid Granny Square Pattern, perfect for chic and versatile handmade projects.”
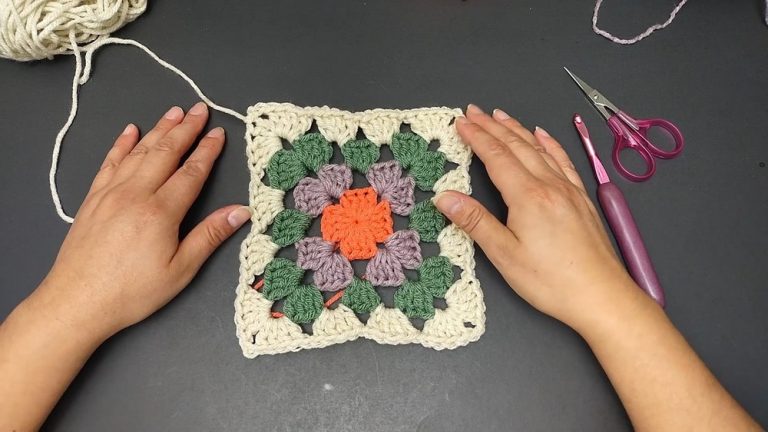
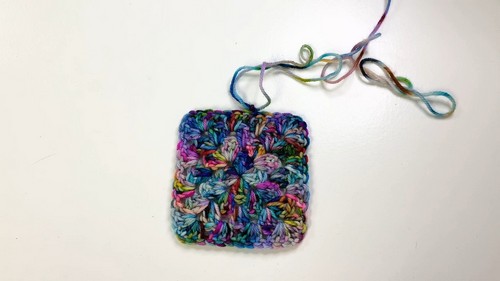
It is a timeless and versatile staple for any crochet enthusiast. Unlike traditional granny squares with open spaces, solid granny squares provide a denser fabric making them ideal for creating warm blankets, cozy throws, and durable cushions. Their classic design ensures that they can be used alone or combined with other patterns for a more intricate look. Besides their functionality, these squares also offer immense creative freedom.
Crochet Solid Color Granny Square

You can experiment with different colors, yarns, and arrangements to suit your personal style or home decor. Whether you are looking to make a quick and simple project or a large, detailed one, this pattern offers endless possibilities.
Tip:
For added texture and dimension, try alternating rows of different stitch heights, such as single crochet and double crochet, to add visual interest to your solid granny square projects.
Materials Needed:
- DK weight yarn (The example uses color Coral Reef from Kenyarn.com)
- 5mm hook
Pattern Overview:
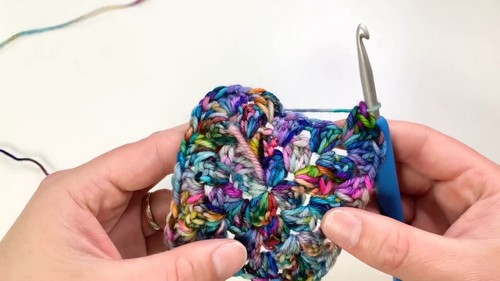
- This tutorial is for those who have some experience making granny squares. It’s a method to create a perfectly square, solid granny square using a single color or variegated yarn.
Pattern Steps:
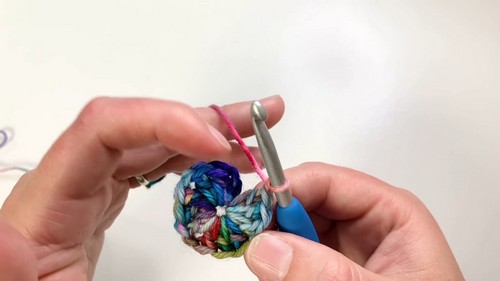
Starting the Square:
- Make a slip knot on your hook.
- Chain 3.
- Slip stitch in the fourth chain from your hook to form a center ring.
First Round:
- Chain 2 (counts as your first double crochet).
- Double crochet 2 more times into the center ring.
- Chain 1 to form the corner, then 3 double crochets into the center ring.
- Repeat the process to create the first square. After forming the square, chain 1 for each corner and add sets of 3 double crochets into the center until four corners are formed.
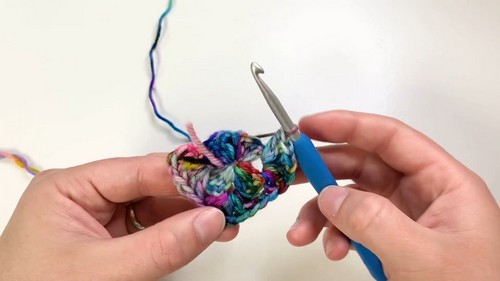
- Slip stitch to the top of the first double crochet to close the round, not into the initial chain 2.
Second Round:
- Chain 2 and turn your work so the reverse side faces you.
- Into the first chain-1 space, work 2 double crochets.
- Chain 1, then 3 double crochets into the same chain-1 space to form your corner.
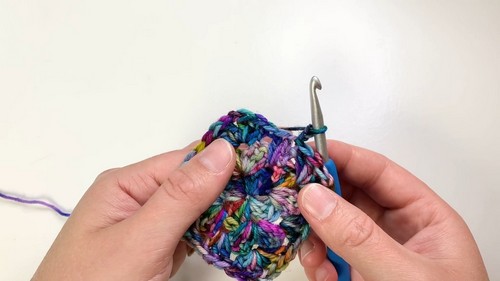
- Continue around the square: 3 double crochets, chain 1, 3 double crochets in each chain-1 space, ending by slip stitching into the top of the starting double crochet.
Subsequent Rounds:
- Continue as per the second round instructions, turning the work at the end of each round to maintain the square appearance.
- For corners, always work: 3 double crochets, chain 1, 3 double crochets.
- Work 3 double crochets into the spaces between the corners on the sides of the square.
Joining Rounds:
- If adding the square to a project, use the join-as-you-go method from the fourth round onward.
- For a standalone square, continue to add rounds by following the pattern and turning at the end of each round.
Tips:
- Flipping the square at the end of each round helps maintain a perfect square shape.
- The video suggests using chain 1 in the corners for apparel to avoid too large gaps, but you can adjust according to your project (chain 2 for blankets, for example).
- You may adjust the size by adding more rounds, always working in the pattern of 3 double crochets for sides and corner patterns.
Ending Your Work:
- Once the desired size is reached, finish off by cutting the yarn, pulling it through the last loop on your hook, and weaving in the ends securely.