Easy & Quick Crochet Balaclava Pattern Step By Step Guide
“Elevate your crochet skills with the Free Crochet Balaclava Pattern—create sophisticated, cozy headwear that combines elegance with winter warmth.”
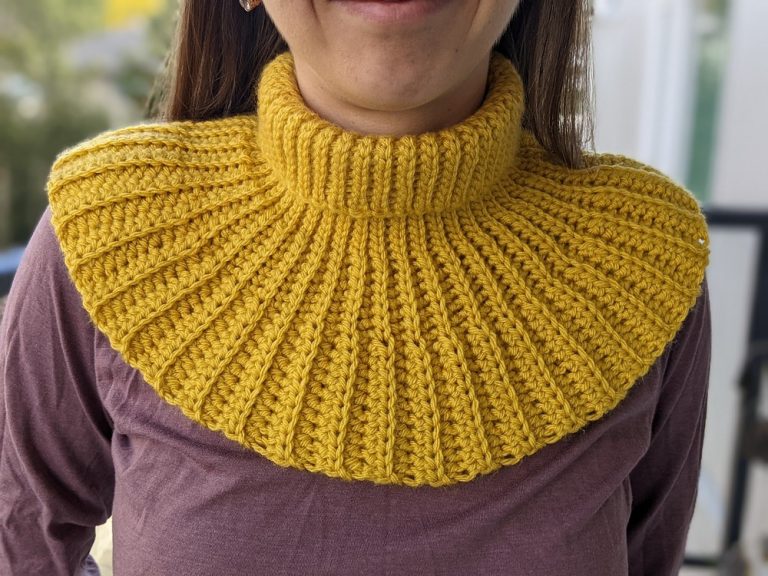
This Pattern is your ticket to creating a chic and cozy accessory perfect for those chilly days. Made with care, each stitch tells a story of comfort and warmth, inviting you to stay toasty no matter how cold it gets outside. With features like adjustable ties and a comfortable, breathable design, you can customize the fit to your preference.
Crochet Balaclava

Whether you’re heading out on a winter adventure or simply need a stylish addition to your wardrobe, this balaclava adds a unique touch to any outfit. Enjoy the satisfaction of making a practical yet fashionable winter essential.
Tip:
Use soft, warm yarn to ensure maximum comfort and insulation.
Materials Needed:
- 4mm crochet hook
- Measuring tape
- Stitch markers
- Yarn (specific type to be displayed on screen in the video)
- Scissors
Steps:

Measuring Your Head:
- Place the measuring tape at the top center of your head.
- Wrap around just before where your ear is and take the measurement from just before your jaw ends.
Making the Panels:
First Panel:
- Start with a slip knot and chain stitches to the length from your first measurement.
- Work a row of single crochets into the back loops.
- Chain one and turn your work.
- Continue with single crochet back loop only stitches. At each end, do one normal single crochet to keep the edges neat.
- Continue the process until you reach the length from your second measurement.
Decreasing for the Panel:
- Start decreasing two stitches per row on one side only, to form the panel shape.
- Use a pattern of single crochet back loop only all the way, including the decreases.
- Repeat this for multiple rows, as specified (about 11 rows).
Creating the Second Panel:
- Repeat all steps for the first panel to create an identical second panel.

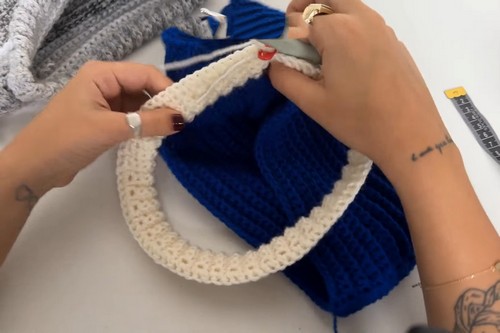
Joining the Panels:
- Lay the two panels together, ensuring they align perfectly.
- Join by single crocheting along the edges from one panel to the other.
- For a sharp angle, use no visible stitches just woven edges.
Adding Neck Ribbing:
- Chain 15 (plus one extra for turning) and half-double crochet back loop only across.
- Turn your work every row, repeating the half-double crochet back loop only process.
- Keep measuring this ribbing around your neck to ensure it fits as you connect it back to both panels.

Final Touches:
- Create facial ribbing by chaining and working in back loops, including space for pulling through a drawstring.
- Use a separate color or same yarn to create the drawstring by crocheting a long chain.
- Weave the drawstring through the ribbing.
Finishing:

- Secure all stitches, cut yarn, and weave in ends.
Tips:
- Always try on the balaclava as you crochet to ensure a comfortable fit.
- Make adjustments by adding or reducing stitches according to the measurements of your head.