
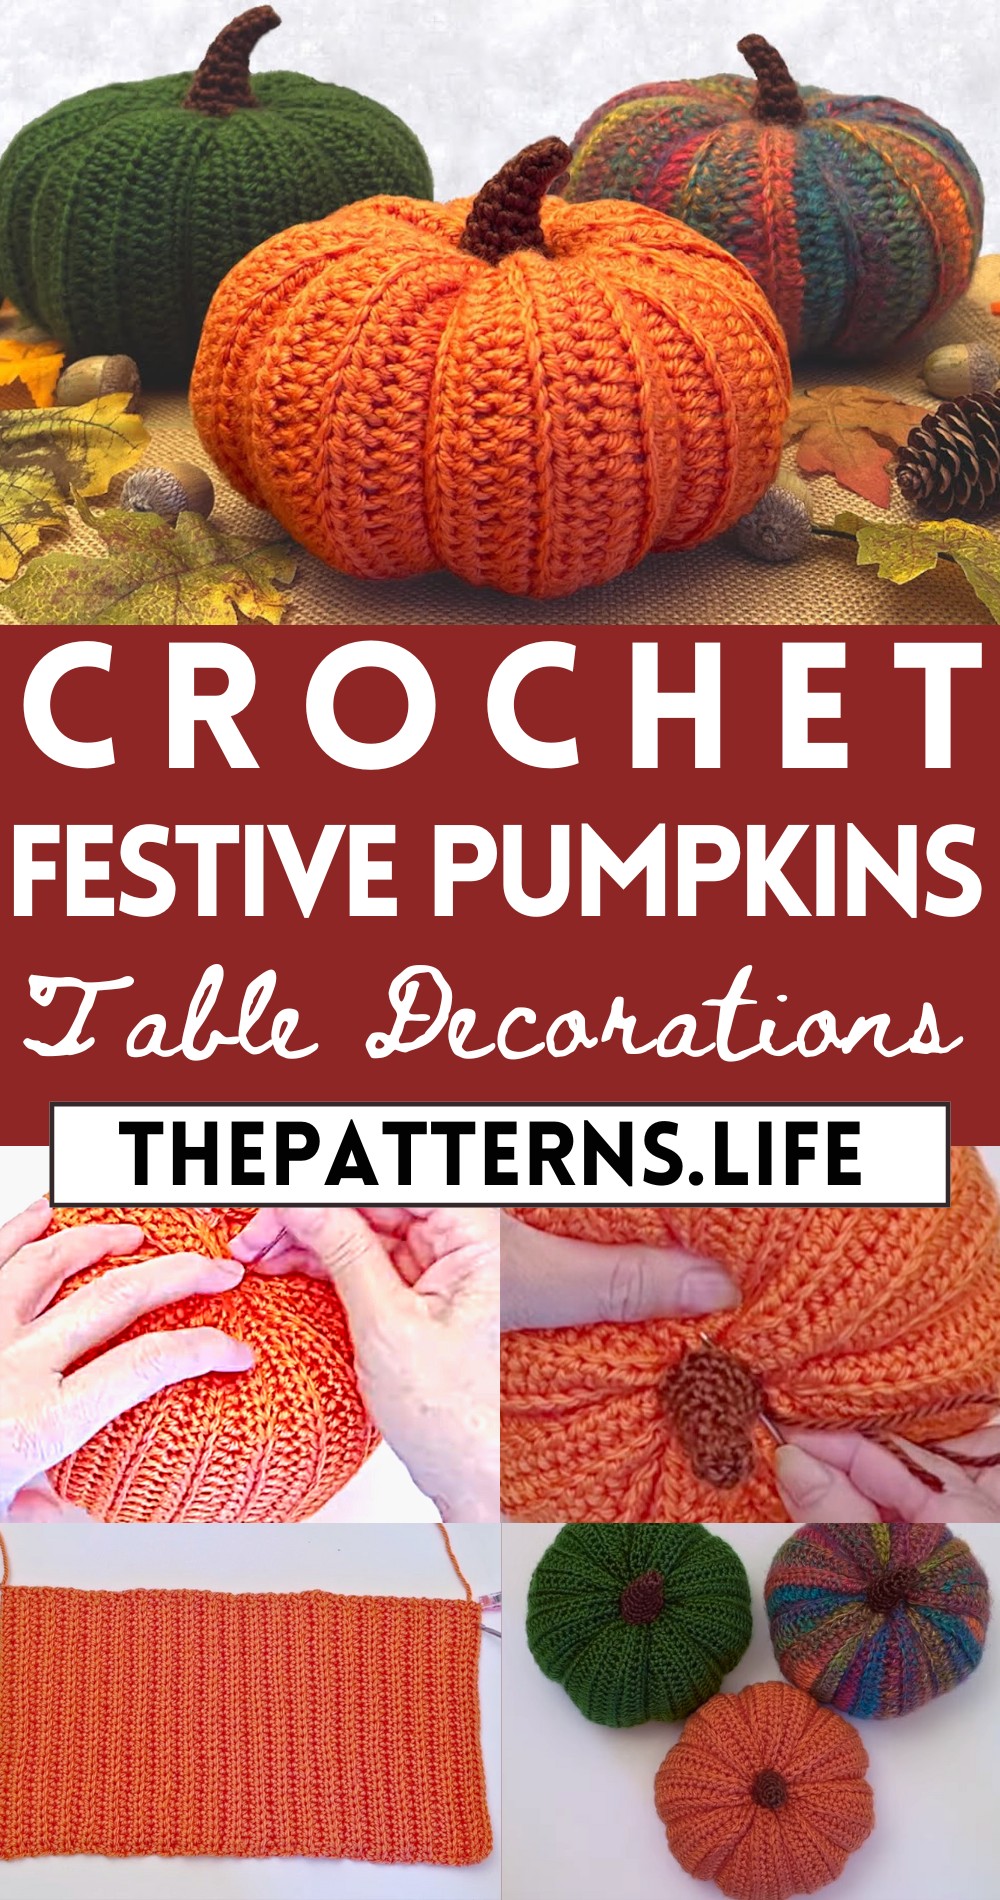
Clean And Easy Crochet Pumpkins Pattern For Table Decorations
Decorate your autumn setup with these free crochet pumpkin patterns, ideal for cozy seasonal accents and delightful handmade gifts.
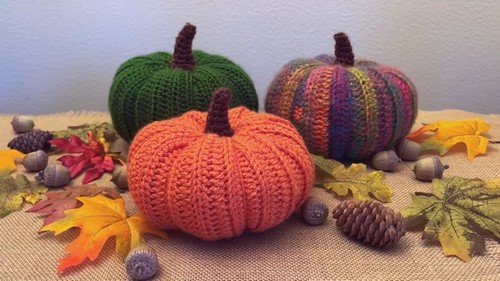
The pumpkins come in various sizes, allowing you to create a charming assortment that adds warmth to any room. These pumpkins are not only great for decorating your home, but they also make wonderful gifts for friends and family. Get ready to bring a touch of autumn to your table with these adorable crochet pumpkin patterns! Perfect for beginners and experienced crocheters alike, this pattern offers clear instructions and step-by-step photos to guide you through making your own cozy pumpkins.
Crochet Pumpkins
The pattern includes tips for choosing the right yarn, stuffing options, and even how to create those perfect pumpkin ridges for a realistic look.
Tip:
For an added touch of sophistication, consider using a combination of different textured yarns to make your pumpkins truly unique.
Materials:
- Size 4 acrylic yarn
- Size 4 mm hook
- Brown yarn for the stem
- Darning needle
- Regular needle
- Scissors
- Marker
- Fiberfill
Abbreviations:
- ch: chain
- hdc: half double crochet
- sl st: slip stitch
- sc: single crochet
- inc: increase (two single crochets in the same stitch)
Instructions:
Base:
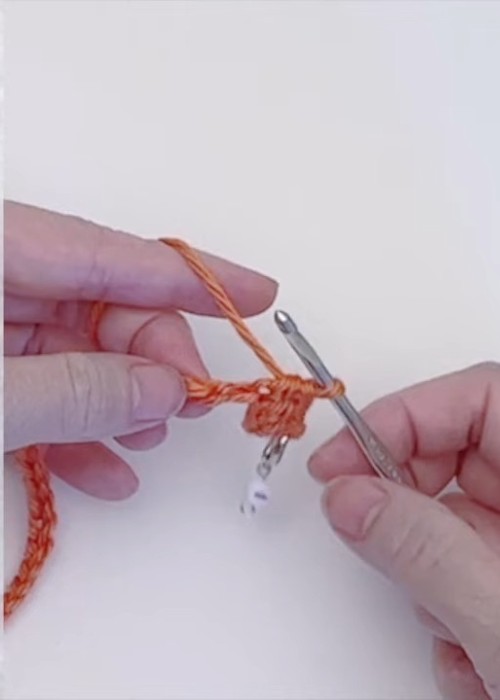
Ch 32.
- Ch 2 (counts as a hdc).
- Hdc in the 4th ch from the hook.
- Work hdc in the back bumps for base chains across.
- Mark the first stitch.
- Continue working hdc for the rest of the chains.
- Do a hdc in the last chain.
- Ch 2, turn, and work hdc in the back loop of each stitch across.
- Repeat rows 2 and 3 until you reach the desired height.
Join Ends:
Ch 1, turn, and fold the piece together with stitches lined up.
- Remove the hook from the back, insert it from the front, pull up a loop, and make a sl st.
- Insert the hook from the front, pick up the back loop only, and make a sc.
- Repeat sc pattern until you reach the end.
- Fasten off and turn the piece inside out.
Close Openings:
Run a running stitch around both openings.
- Pull and tighten, tie knots, and hide loose ends inside.
- Stuff the pumpkin with fiberfill.
- Close the opening with a running stitch and knots.
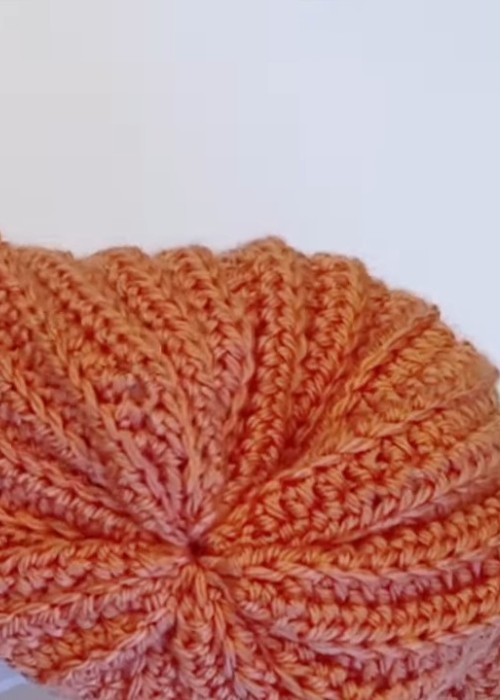
Indentations:
Use a darning needle with double strands of yarn.
- Thread the yarn, cut, and tie the four strings together.
- Repeat three more times for eight strands.
- Gently pull the strands to create indentations.
- Tie knots to secure and hide loose ends.
Stem:
- Ch 5 for the foundation.
- Ch 1, skip one chain, and sc in the next five chains.
- Ch 1, turn, and sc across.
- Sl st to join with the beginning stitch to form a tube.
- Ch 1, two sc in the first and second stitches, inc in the third stitch, sc in the next two stitches, and sl st to join (six sc in this round).
- Repeat the increase pattern for rounds four and five.
- For round six, repeat the same pattern but do not increase the middle stitch.
- For round seven, the final round, ch 1, two sc in the first and second stitches, inc in the next stitch, sc in the next two stitches, inc in the same stitch, repeat the pattern one more time (12 sc in this round).
- Close the top of the stem by sewing the sides together with invisible stitches and a slip knot.
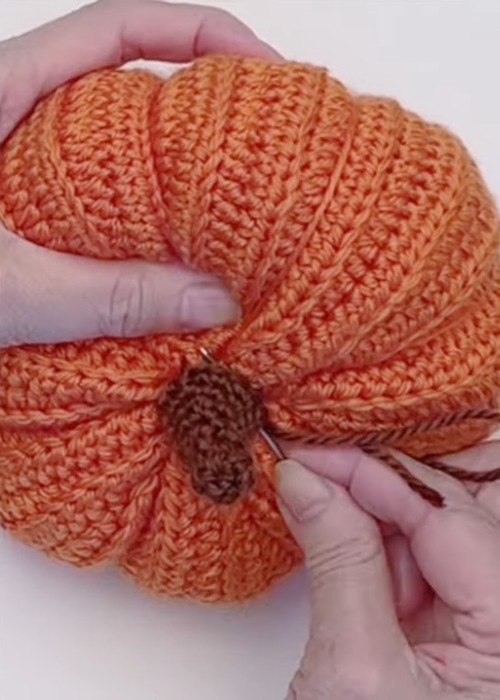
Attach Stem:
- Fill the stem with fiberfill.
- Position the stem on top of the pumpkin and secure it with pins.
- Sew the stem onto the pumpkin using a running stitch or overcast stitch.


