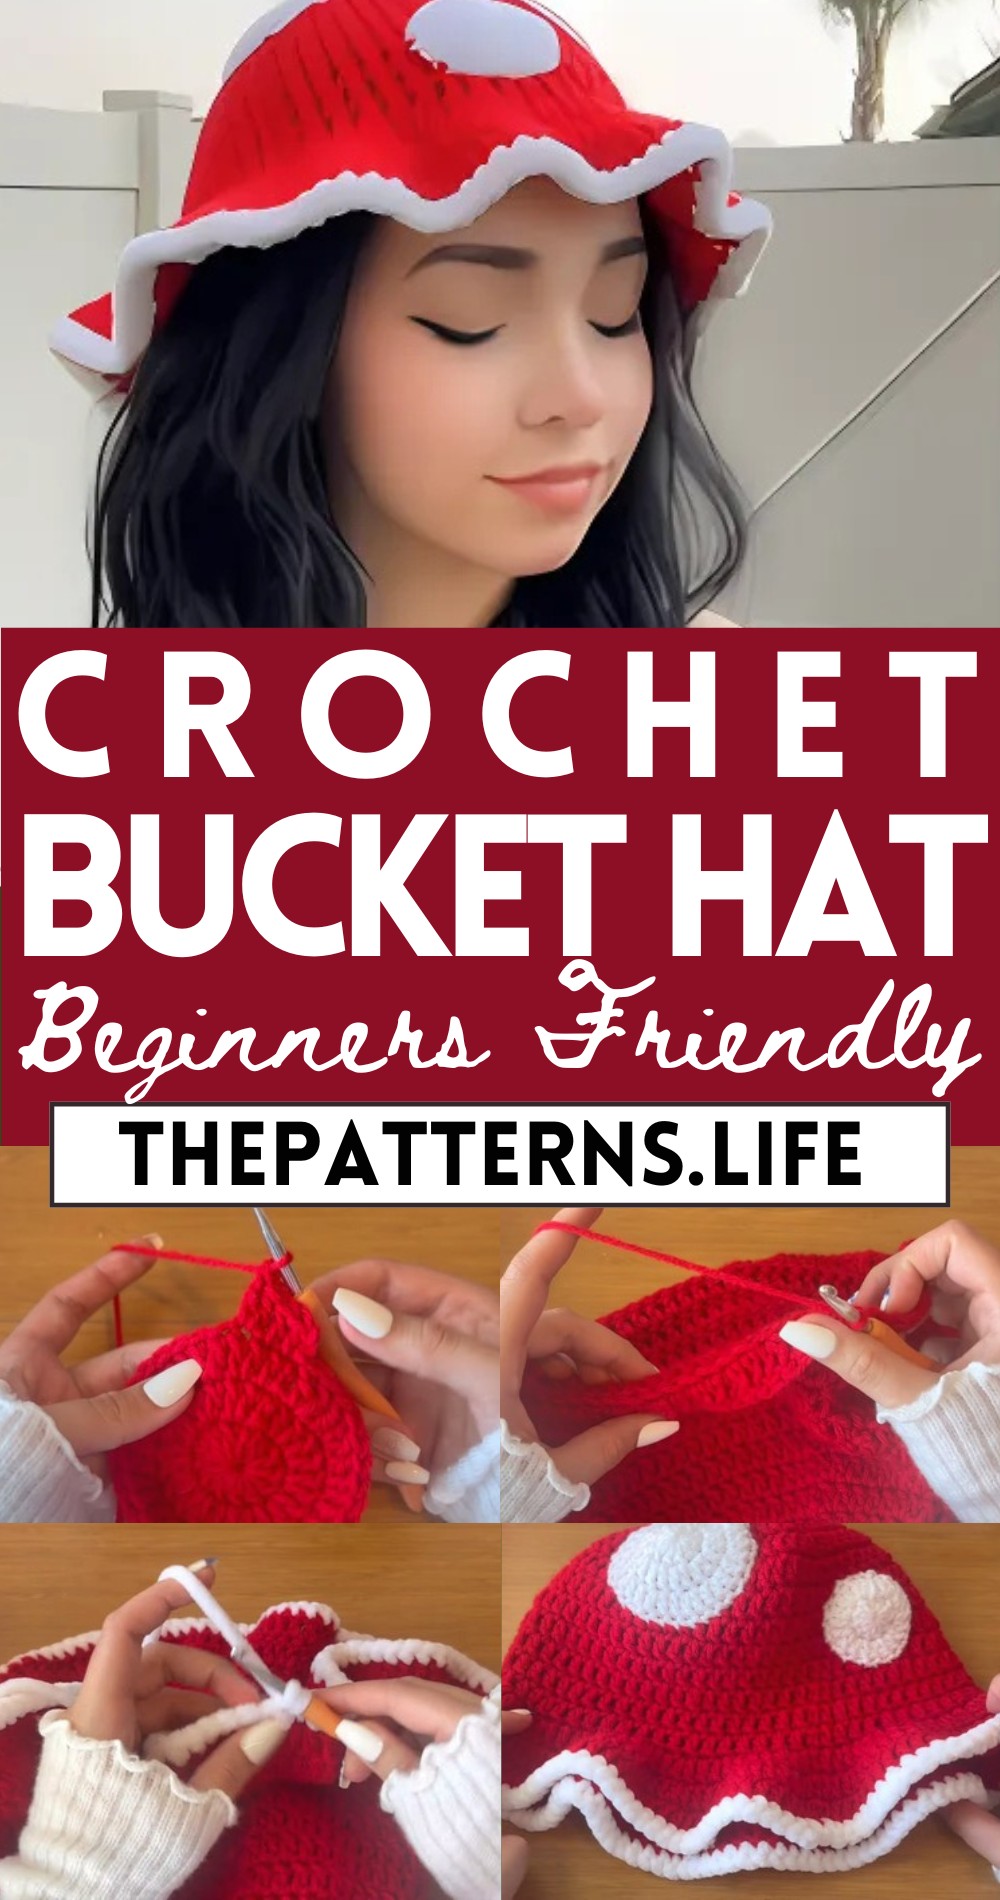
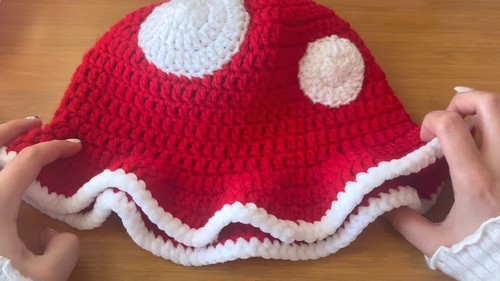
Beginners Friendly – Crochet Mushroom Bucket Hat Pattern
Sprout some fun with our Crochet Mushroom Bucket Hat Pattern! a quirky, enchanting hat that’s sure to turn heads and spread smiles.
This delightful project is perfect for both beginners and seasoned crocheters looking to create a fun and quirky accessory. Imagine shaping those iconic mushroom spots and cap design, all while enjoying a relaxing and creative experience. The end result? An adorable hat that’s both stylish and functional, offering sun protection and a unique flair to any outfit.
Crochet Mushroom Bucket Hat
Whether you’re making it for yourself or as a charming gift for a friend, this unique design promises loads of fun and satisfaction. Plus, you’ll reap the calming benefits of crochet with every joyful stitch.
Tip:
Play around with bold and bright yarn colors to make your mushroom hat truly stand out and spread cheer wherever you go!
Materials Needed:
- Red and white acrylic yarn (recommended brands include Red Heart Super Saver and I Love This Yarn from Hobby Lobby)
- White chenille yarn
- 5.5 mm crochet hook
- Scissors
- Yarn needle
Pattern Instructions
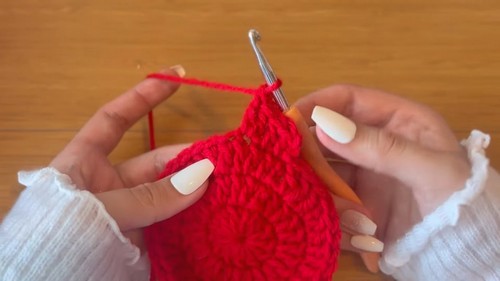
Base of Hat
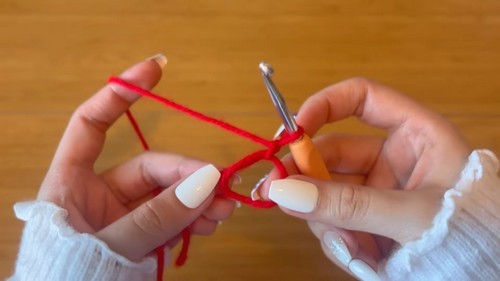
Starting Ring:
- Begin with a magic ring or chain 3 and join into the first chain with a slip stitch to create a ring.
Round 1:
- Chain 2 (does not count as a stitch).
- Work 12 double crochets into the ring.
- Join with a slip stitch to the first double crochet.
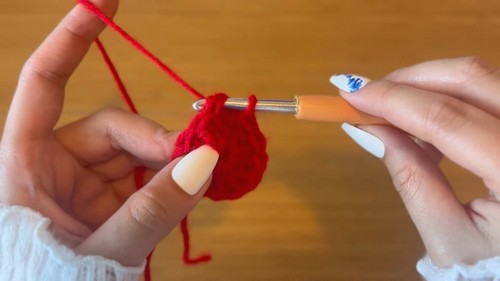
Round 2: Increase:
- Chain 2.
- Make 2 double crochets in each stitch around (24 stitches).
- Join with a slip stitch.
For Round 3: Increase Pattern:
- Chain 2.
- Double crochet in the first stitch, two double crochets in the next stitch – repeat around (36 stitches).
- Join with a slip stitch.
Round 4: Staggered Increase:
- Chain 2.
- Double crochet in the next two stitches, two double crochets in the third stitch – repeat around (48 stitches).
- Join with a slip stitch.
Round 5:
- Chain 2.
- Double crochet in the next three stitches, two double crochets in the fourth stitch – repeat around (60 stitches).
- Join with a slip stitch.
After Round 6:
- Chain 2.
- Make nine double crochets, then two double crochets in the tenth stitch – repeat this six times (66 stitches).
- Join with a slip stitch and this finishes the increasing rounds.
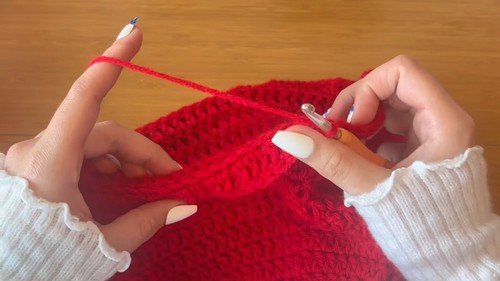
Rounds 7-13:
- Chain 2.
- Double crochet in each stitch around (66 stitches).
- Join with a slip stitch at the end of each round.
Brim of Hat
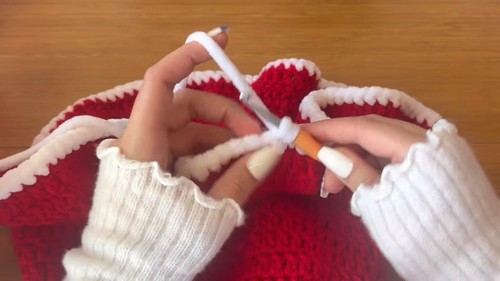
Front Loop Double Crochet:
- Chain 2.
- Double crochet in the front loop only of each stitch around.
- Join with a slip stitch.
Increase in Both Loops:
- Chain 2.
- Double crochet in the next two stitches, two double crochets in the third stitch – repeat around to create a wider brim.
- Join with a slip stitch.
Round 16:
- Chain 2.
- Double crochet in each stitch around in both loops for a flat edge.
- Join with a slip stitch and fasten off.
Finishing Touches:

Attach Chenille Yarn:
- Attach white chenille yarn to the brim and single crochet around.
- Join with a slip stitch and weave in ends.
Create and Attach Circles:
- Use white acrylic yarn to create small and large circles with the magic circle technique, increasing in each round.
- Sew these circles onto the hat using a yarn needle at desired locations for decoration.