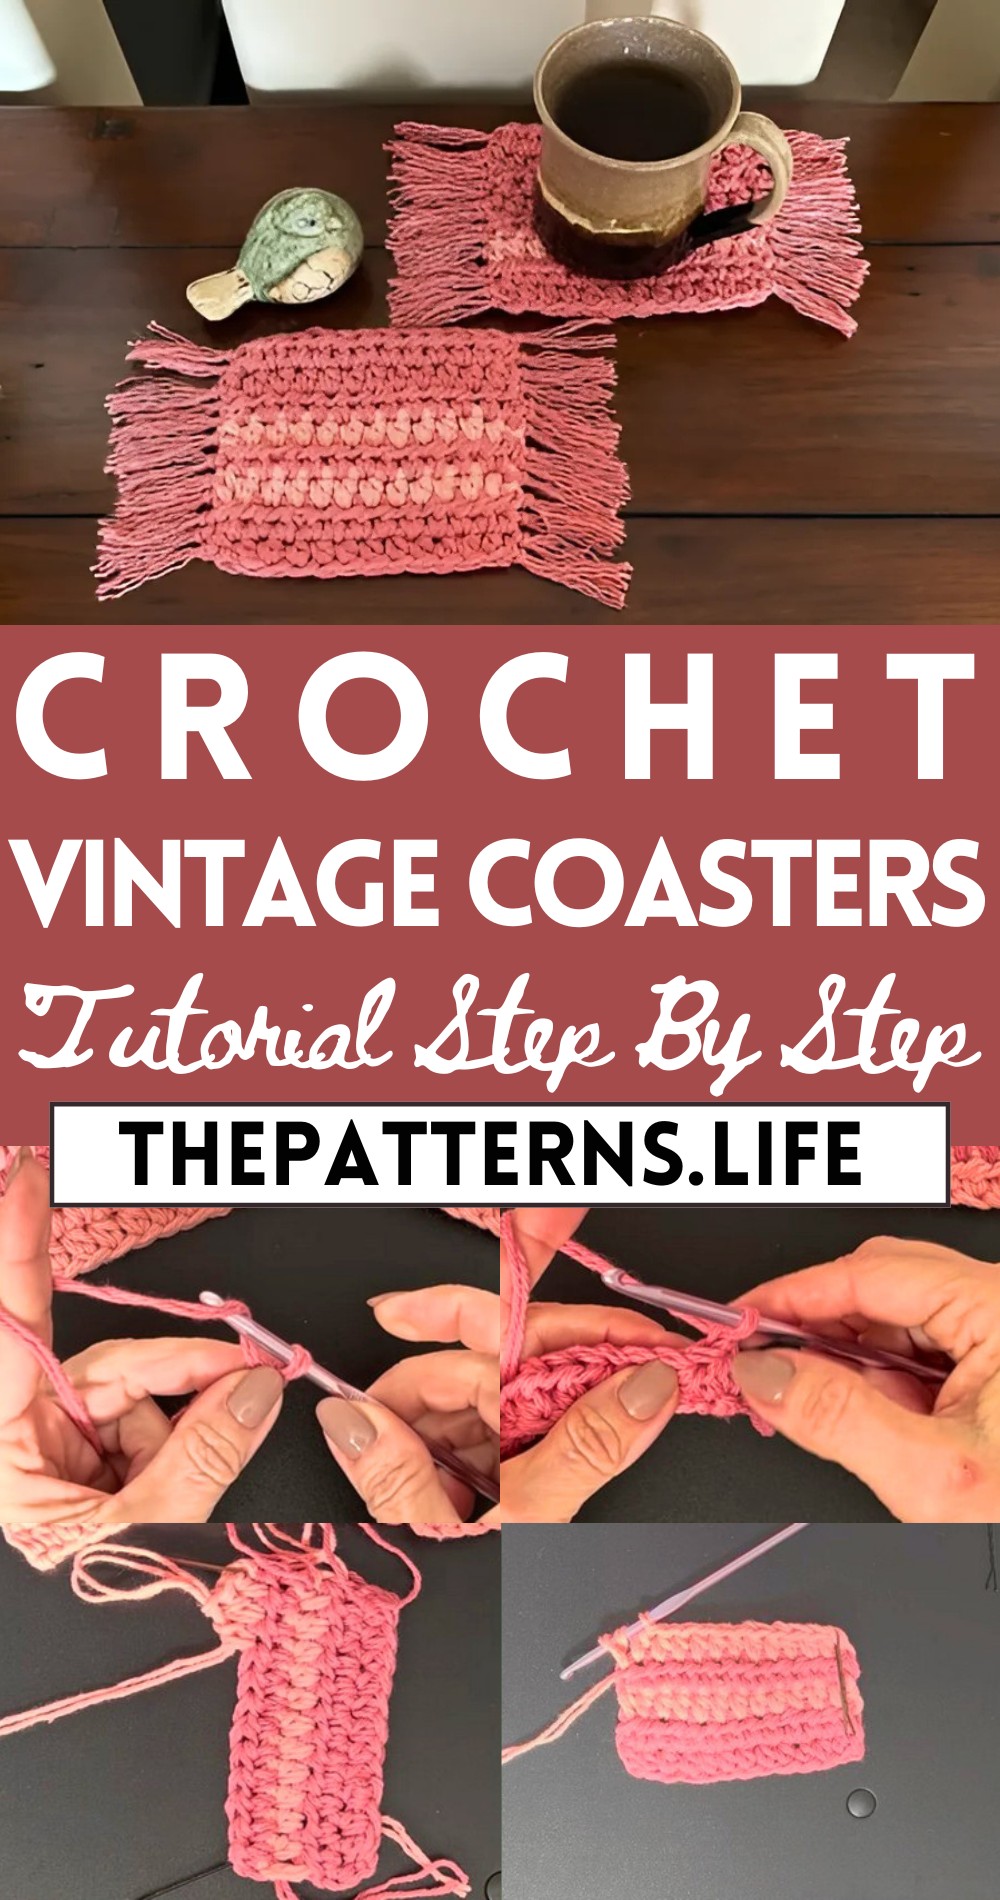
Crochet Moms Vintage Coasters Step By Step Pattern
Infuse timeless charm into your table setting with our Free Crochet Moms Vintage Coasters Pattern, perfect for chic and functional home decor.
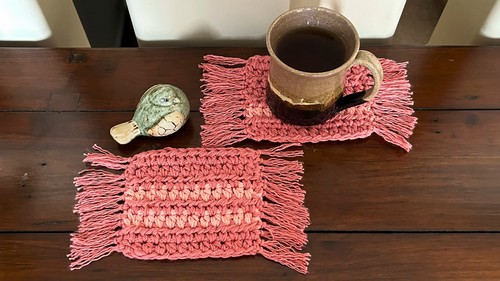
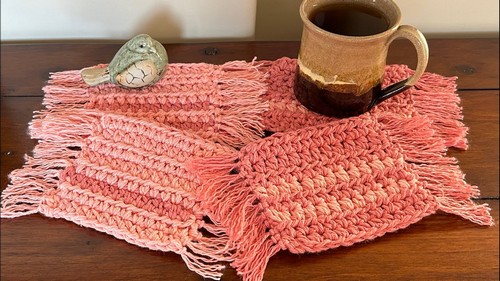
These coasters, with their intricate lace-like designs, evoke a sense of timeless beauty, reminiscent of classic heirlooms. Each coaster is meticulously designed, balancing both practicality and aesthetics, ensuring they serve as both a protective barrier for your surfaces and an eye-catching detail in your living space. Their vintage appeal makes them suitable for various settings, from a casual coffee break to a formal tea party, seamlessly enhancing the ambiance.
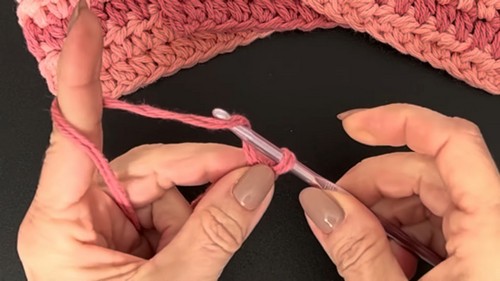
Crochet Moms Vintage Coasters Tutorial
The pattern allows for ample customization, presenting an opportunity to experiment with colors and textures to match your personal style or seasonal themes. Their lightweight nature makes them easy to store or gift, offering a thoughtful touch of nostalgia for loved ones.
Tip:
Use a mercerized cotton yarn to achieve a durable finish and maintain the coasters’ shape after multiple washes.
Materials Needed:
- Bernat Handicrafter Cotton Yarn (double stranded)
- 5 mm crochet hook
- Scissors
- Yarn needle
- Stitch markers
- Cardboard for making fringe (optional)
Abbreviations:
- ch – chain,
- hdc – half double crochet
Pattern:
Splitting Yarn:
- Split your 50 g balls of Bernat Handicrafter Cotton yarn into two to create double strands.
Starting Chain:
- Make a slip knot, ch 13. (The 13th ch is for turning, your working rows will consist of 12 sts).
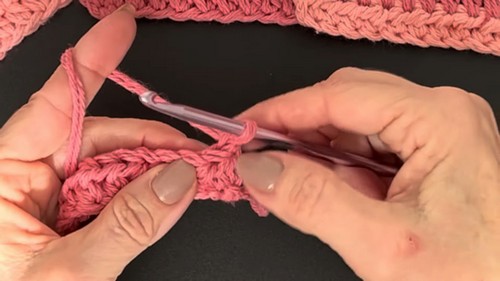
Foundation Row (Row 1):
- Start in the second ch from the hook.
- Work in the third loop of the chain (the horizontal bar at the back) to create a nicer edge.
- Hdc across for a total of 12 hdc.
Turning:
- Ch 1 at the end of the row (do this for every row), then turn your work like turning a page.
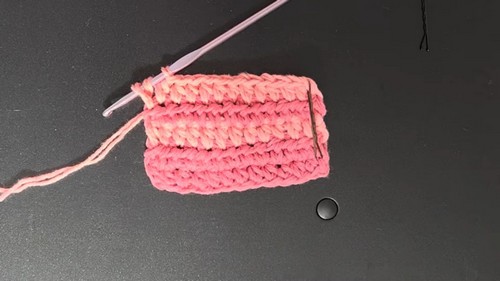
Rows 2-8:
- Hdc in each st across (12 sts), placing stitch markers at the end of each row to mark your work.
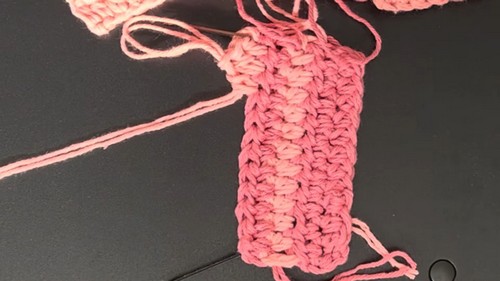
Color Changes:
- If you have finished a stripe and need to change colors, do so on the last yarn over of the last hdc of the row.
- Cut the yarn leaving a tail long enough for weaving in.
- Start the next color with a ch 1 and turn your work.
Fringe (Optional):
- Cut a piece of cardboard 2 inches tall. Wrap the yarn around it to create 4-inch long pieces (which become 2 inches when folded).
- Fold the yarn in half to form a loop, place your hook from back to front through an edge stitch of the coaster.
- Pull the loop through, then the yarn ends through the loop, and tighten to attach the fringe.
- Apply this technique evenly along the sides of the coaster using alternative colors as desired.
Finishing Fringe:
- Use a needle to separate the plies of the yarn in each fringe.
- Brush out each fringe with a fine-toothed comb, metal brush, or pet brush for a fluffy appearance.
- Trim the fringes evenly with scissors.
Finishing:
- Weave in the ends with a yarn needle.
- Shape the coaster gently by stretching and adjusting its form if necessary.
Enjoy Your Coasters:
- Admire your work and use these lovely coasters, or gift them to someone special.