Simple But Decent Crochet Bucket Hat Pattern For Sunny Weather
Stay stylish and protected in any season with our free crochet bucket hat pattern, featuring easy-to-follow instructions and a chic design.
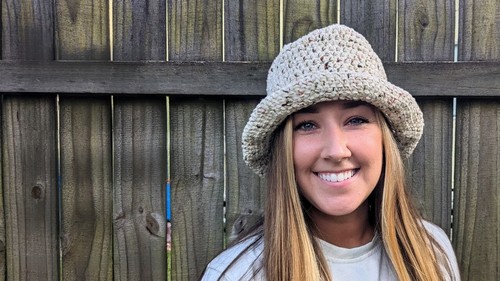
A stylish accessory that seamlessly blends fashion with function by using this simple pattern . With its versatile design, this pattern allows you to create a hat that not only shields you from the sun but also complements your personal style with a unique, handmade touch. The intricate stitches form a textured fabric that’s both breathable and lightweight, ensuring comfort during any season.
Crochet Bucket Hat Pattern
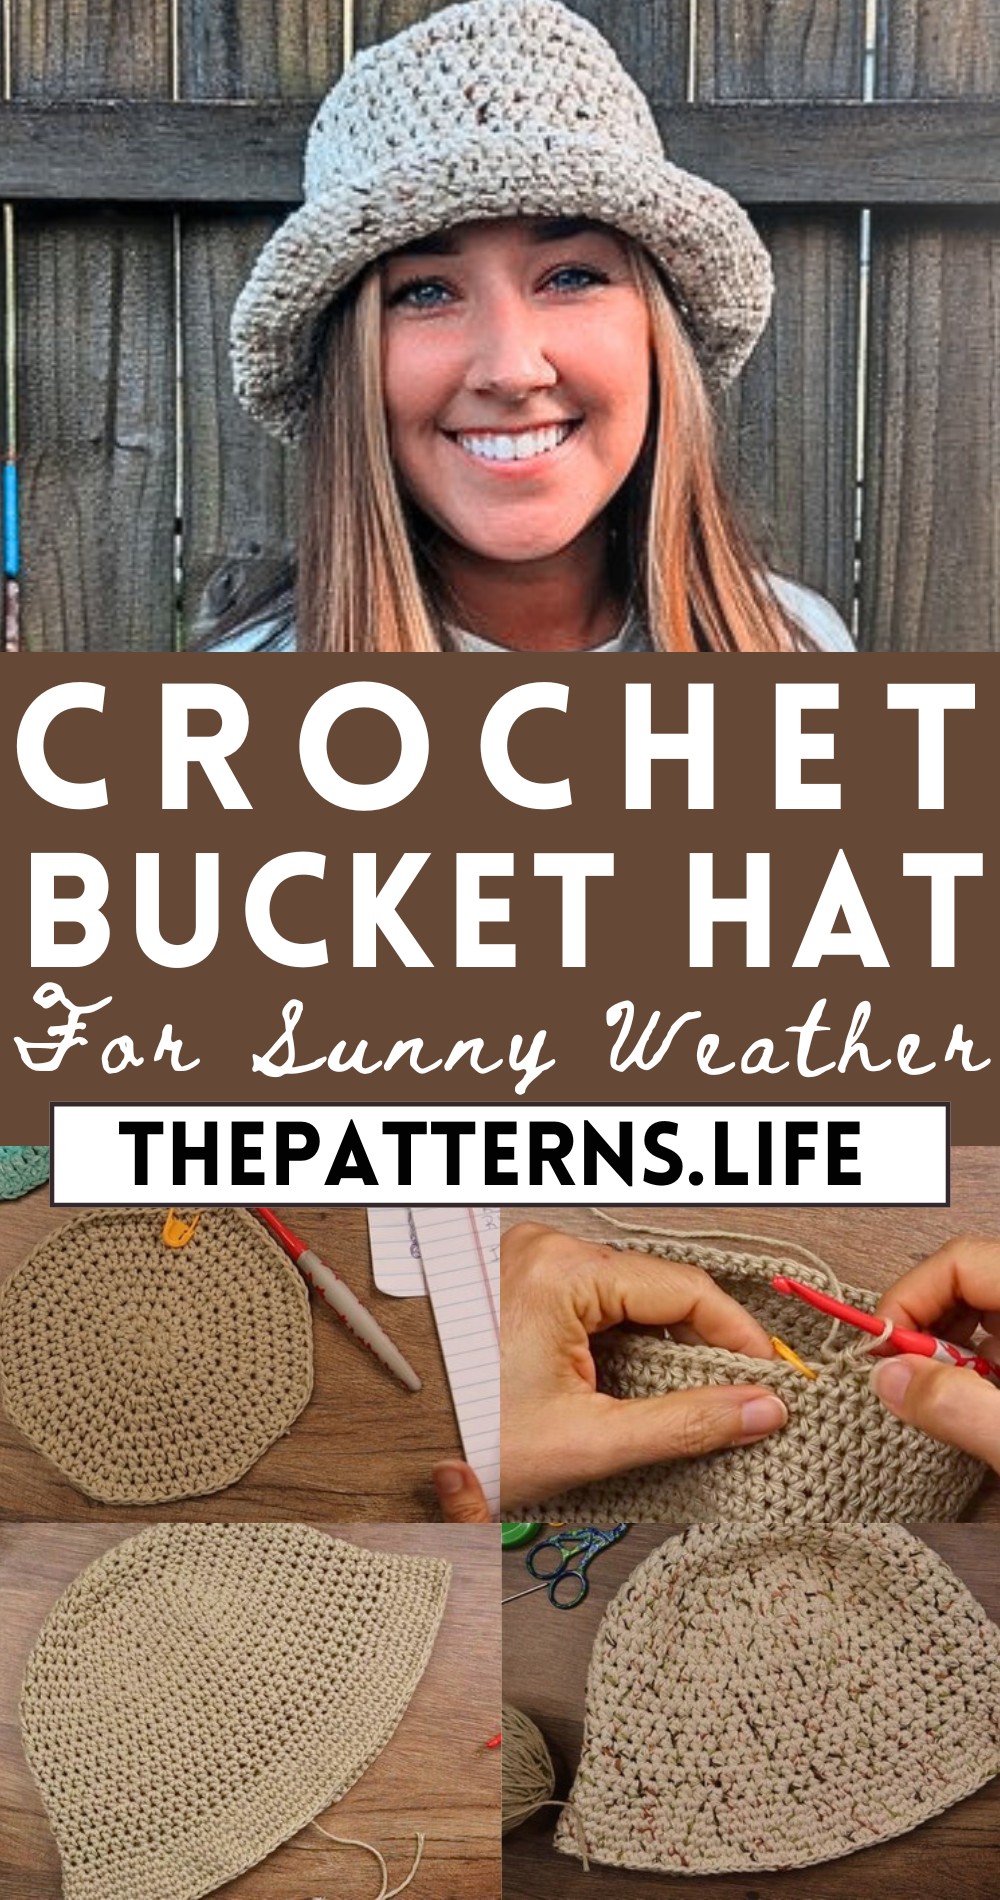
Available in a variety of colors, the pattern provides the flexibility to match your outfit or to stand out as a bold statement piece. Whether you prefer neutral tones or vibrant hues, this bucket hat offers endless possibilities for personalization. Equipped with step-by-step instructions, this pattern is accessible to both beginners and those with more experience, promising a rewarding and enjoyable journey to a fashionable finish.
Tip:
Opt for a cotton-blend yarn for a cool, breathable hat perfect for warmer weather.
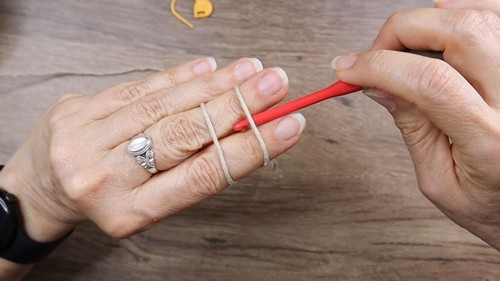
Materials Needed:
- Cotton Yarn (Lily Sugar ‘n Cream suggested)
- Crochet Hook (Size 5 for this particular yarn)
- Stitch Marker
- Tape Measure
- Yarn Needle
- Scissors
Starting the Hat:
Create a magic ring/circle.
- Chain one.
- Place eight half double crochets (HDC) into the ring.
- Pull the tail to close the ring and create a circle. Mark the first stitch with a stitch marker since you will be working in continuous rounds.
Increasing the Diameter:
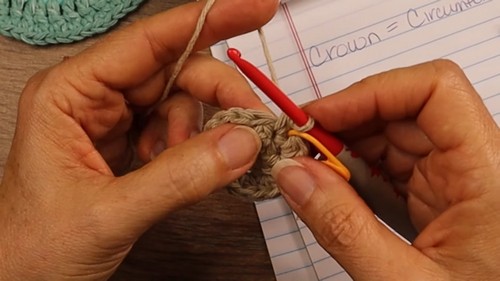
- To increase the diameter to match the head circumference (example given is 20″ divided by pi (3.14), rounding to 6.4 inches for the diameter), you’ll increase in a pattern:
Round 1:
- 8 HDC inside the magic ring.
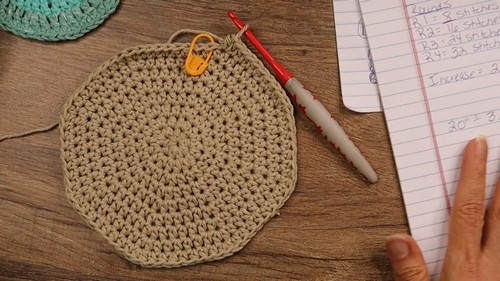
In Round 2:
- Increase by making two HDC in each stitch around (16 HDC total).
Round 3:
- 2 HDC, then 1 increase repeat around (24 HDC total).
- Continue the increase pattern for each round, increasing by 8 stitches each round until you reach the desired diameter (6.4 inches for the example).
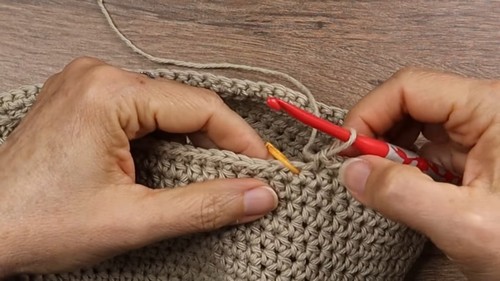
Building the Side of the Hat:
- Once you reach the desired diameter, you’ll work on building the height of the hat.
- Crochet around the edge without increasing until you reach the desired height. This typically ranges from 6.5-7 inches from the crown to start the brim or to just above the eyebrow/top of the ears.
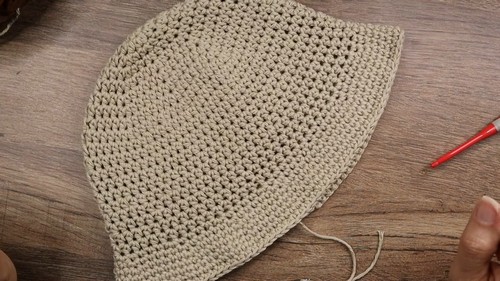
Creating the Brim:
- Start by doing an increase pattern similar to the crown, but switch to single crochet stitches.
- Round 1: 4 single crochets (SC) then 1 increase. Repeat around.
- Round 2: 5 SC then 1 increase.
- Round 3: 6 SC then 1 increase.
Continue the brim until you’ve done 4 rounds of SC without increasing, or until the brim is as wide as you’d like.
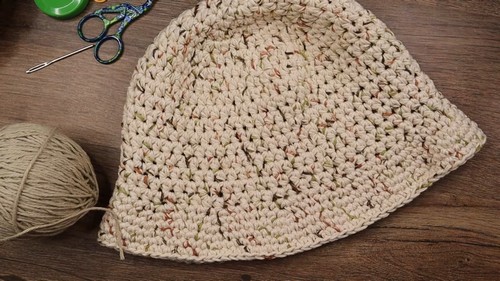
Finishing the Hat:
- Once the brim is completed, use slip stitches to blend the pattern into a smooth finish.
- Cut a long tail of yarn, pull through to secure it, and weave the tail back into your work with a yarn needle for an invisible join, making sure it doesn’t show on the front side.
Final Touches:
- Tidy up any loose ends by weaving them in with your yarn needle to prevent any unraveling.