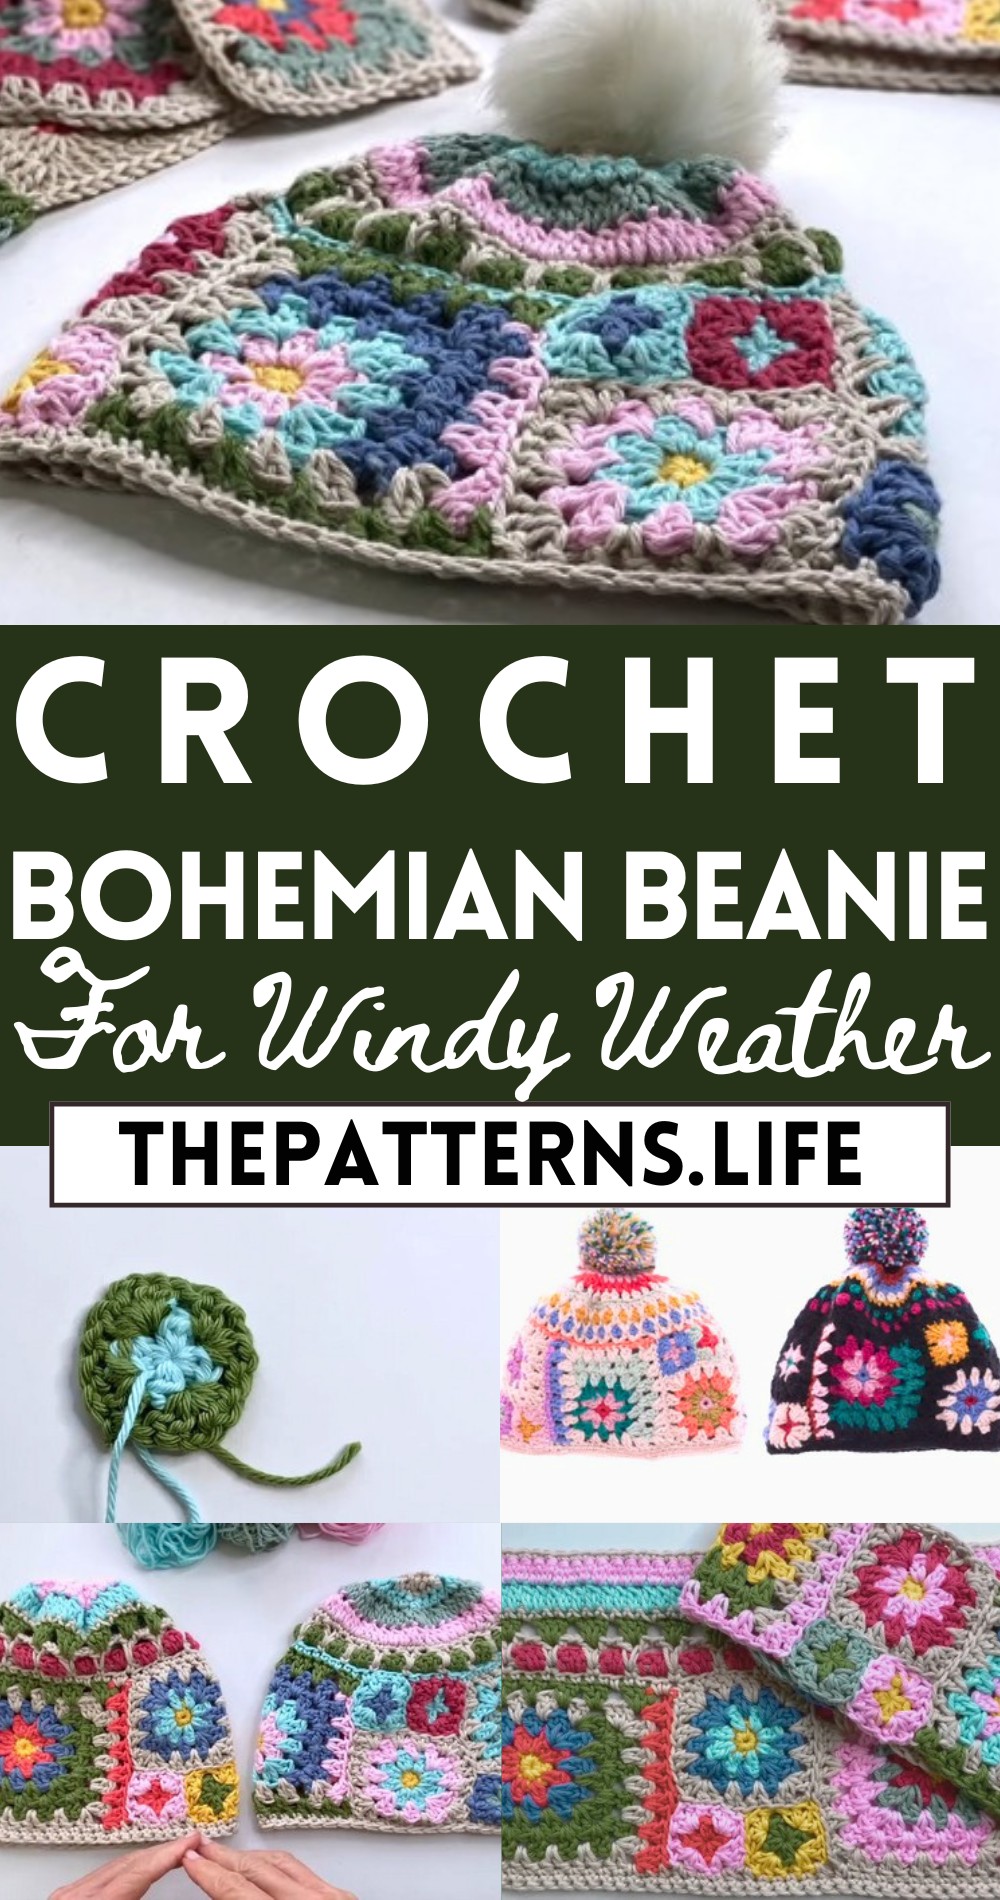
Snuggly Crochet Bohemian Beanie Pattern For Windy Weather
Here’s the free bohemian beanie pattern and crochet a stylish, cozy hat that’s perfect for adding a touch of boho chic to your wardrobe.
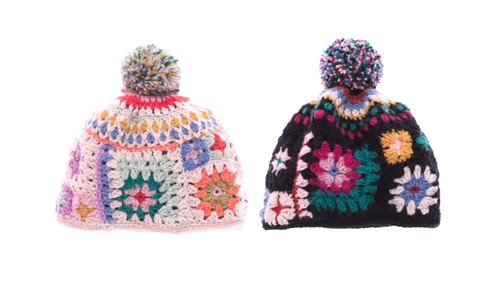
This beautiful pattern features unique textures and intricate stitch work, resulting in a beanie that’s as eye-catching as it is warm. The relaxed fit and soft yarn make it an ideal choice for chilly days, whether you’re exploring a local market or enjoying a crisp morning walk. The pattern’s thoughtful design highlights the beauty of crochet with its use of vibrant colors and delicate detailing, ensuring your beanie will stand out in any crowd.
Crochet Bohemian Beanie Pattern
Embrace your inner free spirit with the Crochet Bohemian Beanie Pattern, a stylish accessory that combines comfort and a laid-back boho vibe. Perfect for those who love to infuse their wardrobe with a touch of bohemian flair, this beanie is both fashionable and functional.
Tip:
Embrace your inner free spirit with the Crochet Bohemian Beanie Pattern, a stylish accessory that combines comfort and a laid-back boho vibe.
Materials Needed:
- Yarn (Type recommended depends on the desired stretch. Cotton for less stretch, wool or acrylic for more)
- Crochet hook (Size not specified; choose based on your yarn’s recommendations)
- Tape measure
- Scissors
- Needle for weaving in ends
Measurements:
Circumference (Head Width):
- Measure around the forehead above the eyebrows. Common measurements are around 20-22 inches.
Height:
- Measure from one ear over the top of the head to the other ear, then divide by 2. For example, 16″ ear to ear becomes 8″ for the height.
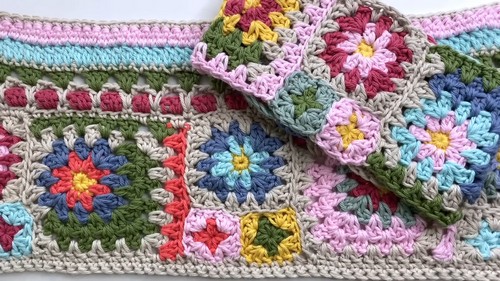
Making the Granny Squares:
Mini Granny Squares Dimensions:
- Approximately 2×2 inches (4×4 cm).
Pattern for Mini Granny Squares:
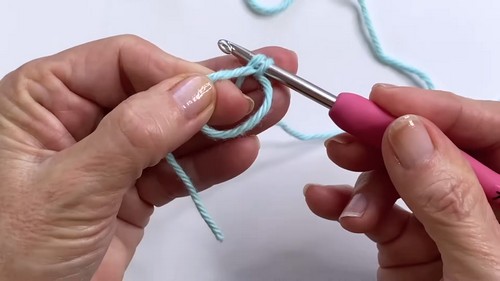
- Start with a magic ring or chain 4 loop.
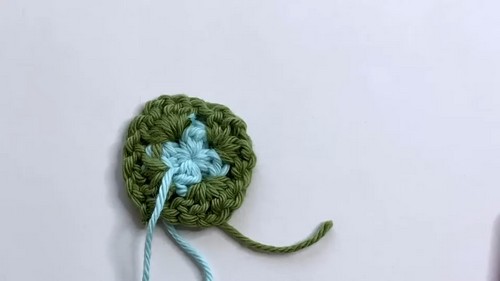
Round 1:
- Chain 2 (counts as first half double crochet), 8 half double crochets in the ring with a chain 1 space between pairs (2 hdc, ch 1), join with slip stitch.
Round 2:
- Attach new yarn in any ch-1 space, chain 2 or 3 (counts as first double crochet), in the same space work another dc, ch 1, and 2 more dcs (corner made). Repeat in each ch-1 space around, slip stitch to join.
Joining Granny Squares:
- Use your preferred method for joining granny squares. Reference was made to an ‘invisible seam’ taught in part three of a related sampler scarf series.
- Create a strip of joined squares to match the head’s circumference measured earlier.
Working the Beanie Body:
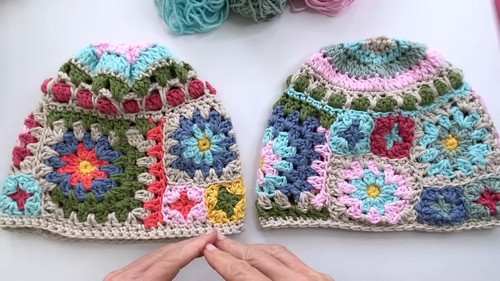
Option 1: Working Flat:
- Work in desired stitches until you reach the intended height for your beanie.
- Example stitch pattern mentioned is Moroccan tile stitch followed by double crochets two together.
- Close the seam once the body is done.
Option 2: Working in the Round:
Ensure the initial circle of granny squares matches your head’s circumference.
- Transition to rounds of Moroccan tile stitches or any preferred stitch, keeping decrease rounds in mind.
- A multiple of eight stitches for decreases was suggested.
- Continue decreasing towards the top.
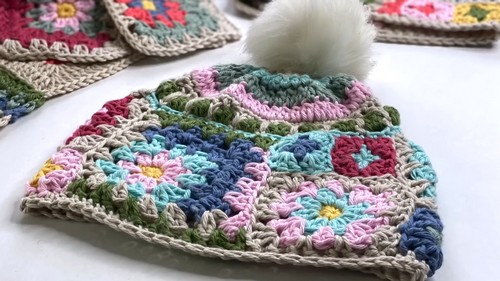
Finishing the Beanie:
- Once the beanie reaches the desired height, perform a series of decrease rounds to shape the top.
- For rounds leading to the top, adjust your stitch type to ensure a smooth decrease (suggested switch to half double crochet, then single crochet for tight decreases).
- Finish by weaving the yarn through the last round’s stitches and pulling tight to close the top. Weave in all ends.
Optional: Adding a Pom Pom:
- Attach a fluffy pom-pom to the hat’s top for an extra touch.