Fluffy & Cute Crochet Hello Kitty Plushie Step By Step Pattern
Charming and sophisticated, our free pattern for a Hello Kitty plushie allows you to create an enchanting collectible that’s perfect for enthusiasts and fans.
A delightful and precise way to bring this beloved character to life through the art of crochet. With clear instructions and attention to detail, this pattern ensures a smooth and enjoyable experience even for those relatively new to crocheting. The final product is a charming Hello Kitty plushie that captures every intricate detail, from her iconic bow to her expressive eyes, making it an ideal gift for fans of all ages. The pattern is designed to be both engaging and rewarding, allowing you to create a unique toy that stands out in any collection.
Crochet Hello Kitty Plushie

By following each step carefully, the result is a cute character plushie that is equally adorable and a testament to your dedication and skill. Bring joy and a touch of classic charm to anyone’s day with this meticulously designed pattern.
Tip:
For a polished finish, use a fine yarn and a smaller hook size to achieve precise details.
Materials Needed:
- Cotton milk yarn
- Crochet hook
- Stitch marker
- Polyfill (stuffing)
- Tapestry needle
Head:
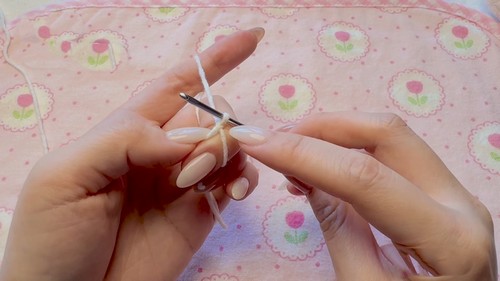
Start with a Magic Ring:
- Wrap yarn around your fingers to create a loop, insert the hook, yarn over, and pull through to create a slip knot. This doesn’t count as a stitch.
Round 1:
- 8 single crochets (sc) into the magic ring. Use a stitch marker to mark the beginning of the round. You should see 8 “V” shapes when done.
Round 2:
- Increase (inc) in each stitch around by making 2 sc in each of the 8 stitches from the previous round (16 sc total).
For Round 3:
- 1 sc, then 1 inc repeat around (24 stitches total).
Round 4:
- 2 sc, then 1 inc repeat around (32 stitches total).

Round 5:
- 3 sc, then 1 inc repeat around (40 stitches total).
In Round 6 to 12:
- 40 sc in each round.
Round 13:
- 3 sc, followed by 1 invisible decrease (dec) repeat 8 times (32 stitches total).
- Invisible dec: Insert hook into the front loops of the next two stitches, yarn over, pull through two loops, yarn over, pull through two loops.
Round 14:
- 2 sc, followed by 1 invisible dec repeat 8 times (24 stitches total).
After Round 15:
- 1 sc, followed by 1 invisible dec repeat 8 times (16 stitches total).
Round 16:
- 8 invisible decreases.
- Finish by chaining one and cutting the yarn, leaving a long tail for sewing.
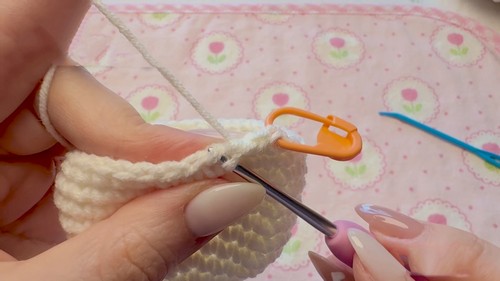
Closing the Head:
- Use a tapestry needle to weave through the front loops of each remaining stitch and pull tight to close. Secure the end.
Ears (Make 2)

Start with a Magic Ring:
- 5 sc into the ring.
Round 2:
- Increase in each stitch around (10 sc total).
Round 3:
- 2 sc, 1 inc repeat two times (14 stitches total).
Finishing the Ears:
- After the last round, chain one, cut the yarn leaving a long tail if you wish to sew the ears onto the head, or a short tail if using glue.
Bow Tie
Start with a Magic Ring:
- Chain 2, then make 2 double crochets (dc), chain 2, and slip stitch into the ring to form the first half of the bow tie.
Repeat the Steps:
- Chain 2, 2 dc into the ring, chain 2, and slip stitch to complete the second half of the bow tie.
Finishing the Bow:

- Cut the yarn, leaving a length to tighten the magic ring and to wrap around the center of the bow tie to form its shape. Secure with a knot.
Assembly:
- Attach the ears to the head using the yarn ends or glue.
- Attach the bow tie in a similar manner.
- Optionally, add features like eyes, a nose, and whiskers using felt, embroidery, or safety eyes according to preference.
Additional Details

Yarn and Hook:
- The demonstration uses cotton milk yarn and an appropriate hook size for the yarn selected.
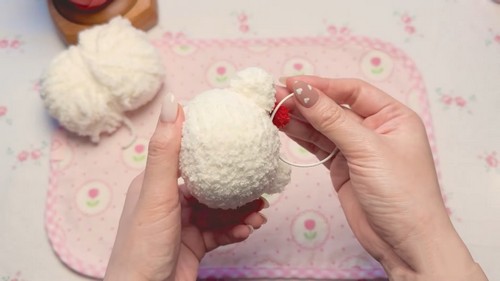
Stuffing:
- Add polyfill to the head before closing it completely.