Crochet Granny Square Halloween Bag Pattern – Spooky Chic
Spook up your style with Crochet Granny Square Halloween Bag Pattern—perfect for trick-or-treating or adding a festive touch to your outfit!
This unique pattern merges the classic charm of granny squares with spooky themes to create a stylish and functional accessory. Perfect for Perfect for Halloween, trick-or-treating, party favors, or even as a festive décor piece, this bag is as versatile as it is eye-catching.
Crochet Granny Square Halloween Bag
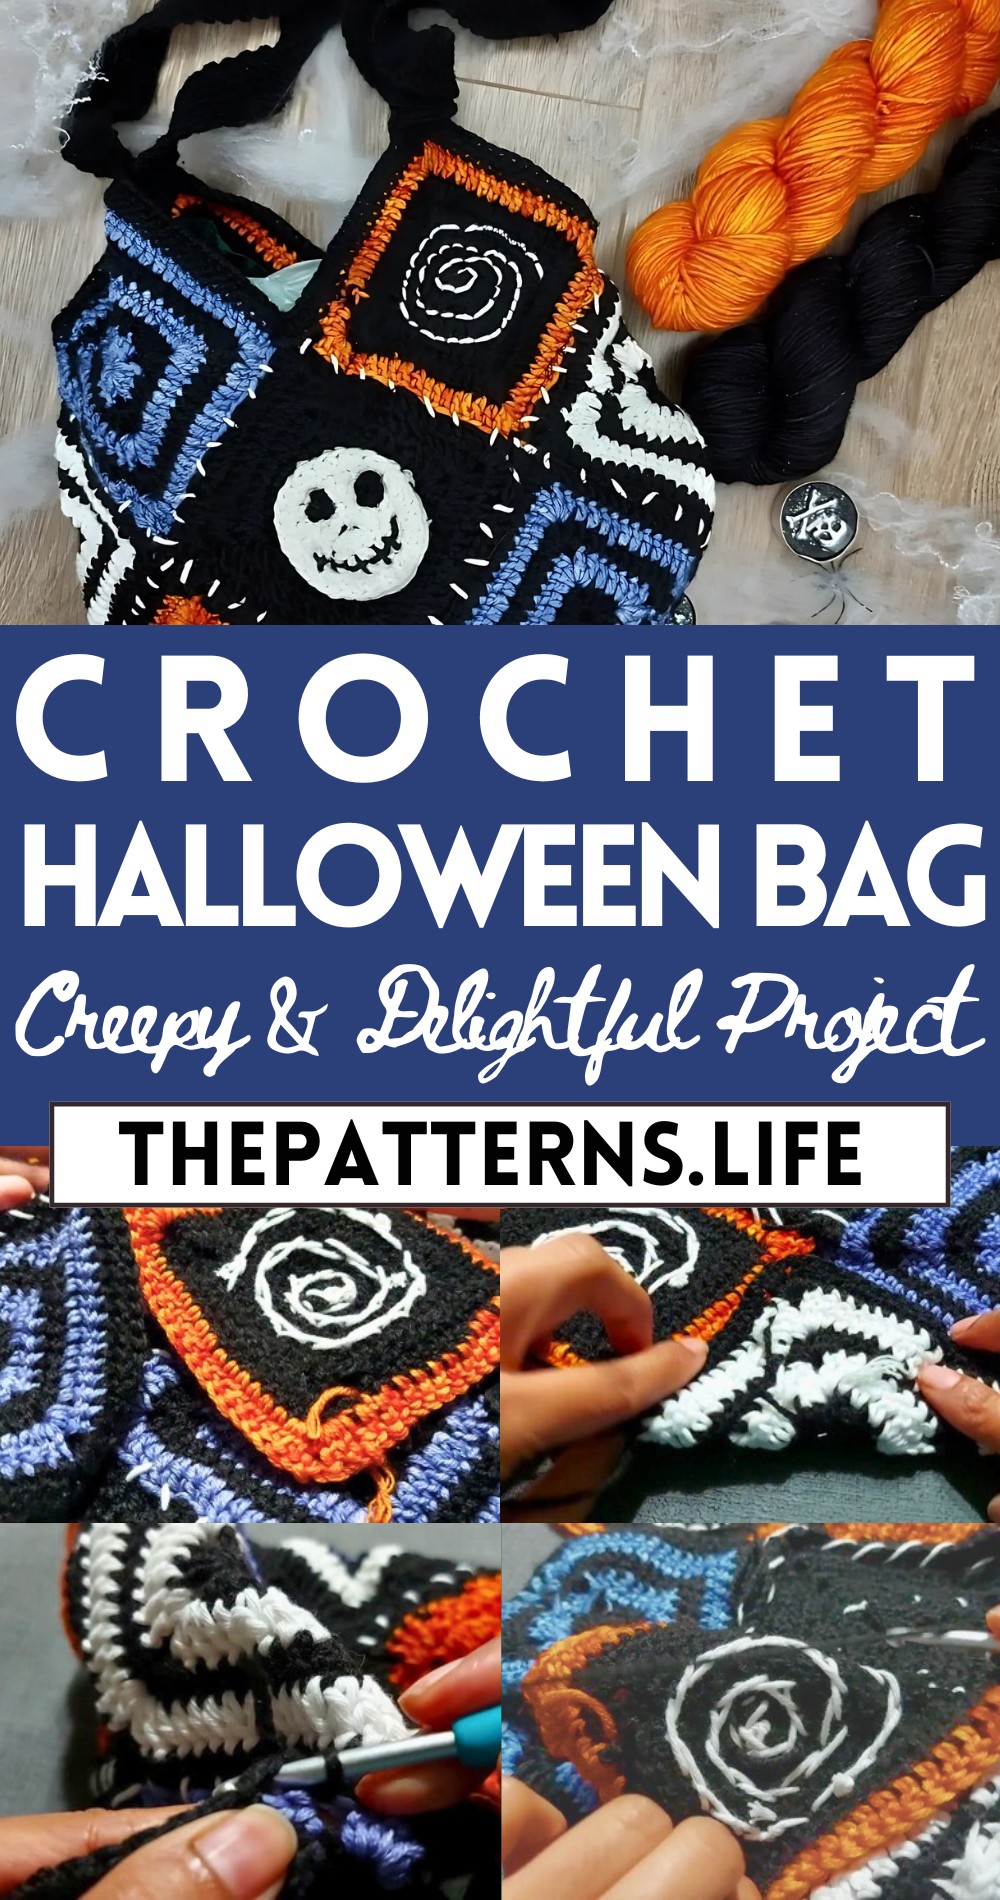
The pattern guides you through creating intricate designs using a blend of seasonal colors and motifs, resulting in a standout piece that embodies the spirit of Halloween. Whether crocheted for yourself or as a thoughtful handmade gift, this bag promises to add a touch of whimsy and sophistication to your October celebrations.
Tip:
Incorporate glow-in-the-dark yarn for an extra eerie effect when out at night.
Materials Required:
- Yarn: Colors of your choice, black and white recommended for Halloween theme
- Crochet Hook: 4.5 mm suggested
- Scissors: For cutting yarn and fabric
- Fabric: A fat quarter or piece of material (e.g., dark green velvet suggested) for lining the bag
- Needle and Thread: For sewing fabric lining and adding decorative stitches to the squares
- Tapestry Needle: For weaving yarn ends
Steps:
Preparing the Squares:
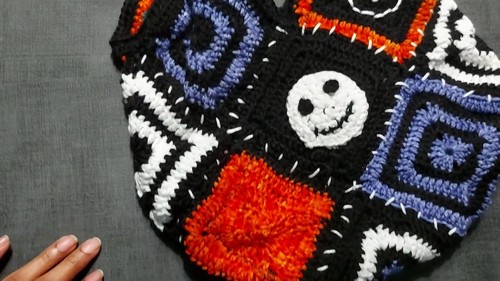
Make 13 Crochet Squares:
- Follow the video tutorial linked in the description for making the squares.
- These include skull motif squares and regular squares, which can be customized in color.
Square Layout:
- Arrange the squares in a pattern where one side mirrors the other, ensuring that motifs like skulls face the correct direction when the bag is assembled.
Joining Squares:
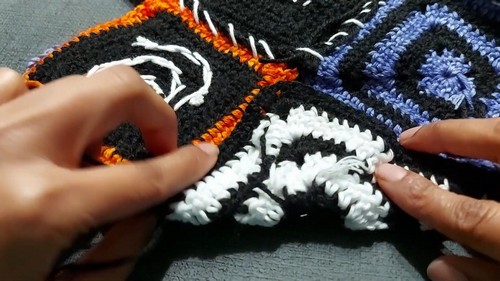
Stitch Squares Together:
- Place the squares inside out and use the crochet hook and yarn to join them. This process will involve single crochet stitches.
Corner Stitches:
- In each corner of the squares, you will do 2 single crochets. The goal is to have 19 stitches along each side, not including the corner stitches.
Front and Back Loops:
- For a tight join, crochet through the front loop of the front square and the back loop of the back square.
Complete the Joining:
- Go around each square until they are all joined, creating the bag’s body.
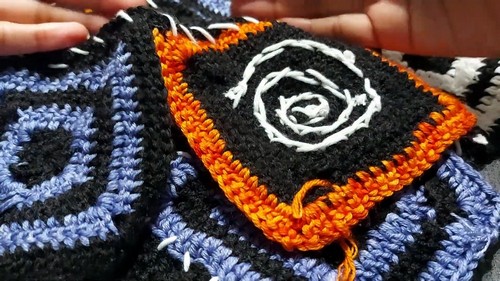
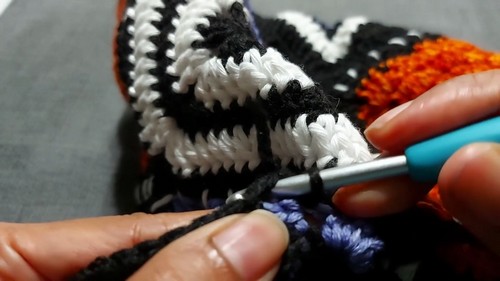
Adding Decorative Stitches:
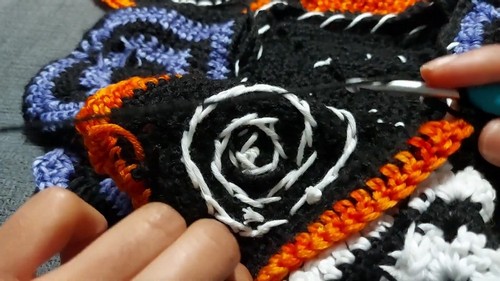
Frankenstein Stitches:
- Use white yarn to add decorative stitches over the seams of the squares to give a Halloween aesthetic. Aim for about 7 stitches on each side of a square.
Adding the Lining:
Prepare the Fabric:
- Cut your fabric slightly larger than the crochet piece for ease of sewing.
Sew the Fabric:
- Attach the fabric to the inside of the crocheted bag. This can be done by hand or with a sewing machine. Ensure the fabric is secured, especially around the edges.
Finishing Touches:
Seal Edges:
- Fold the bag into shape. Stitch any open sides closed, ensuring the fabric lining is properly enclosed.
Top Edge:
- Crochet around the top edge of the bag for a neat finish. Optionally, add a row of half double crochets for thickness.
Straps:
- Create straps by counting stitches from the edge, ensuring symmetry. Crochet a strap to desired length and securely attach it to the bag.
Final Assembly:
- Weave in any loose ends.
- Ensure the fabric lining is properly secure, and the straps are firmly attach.