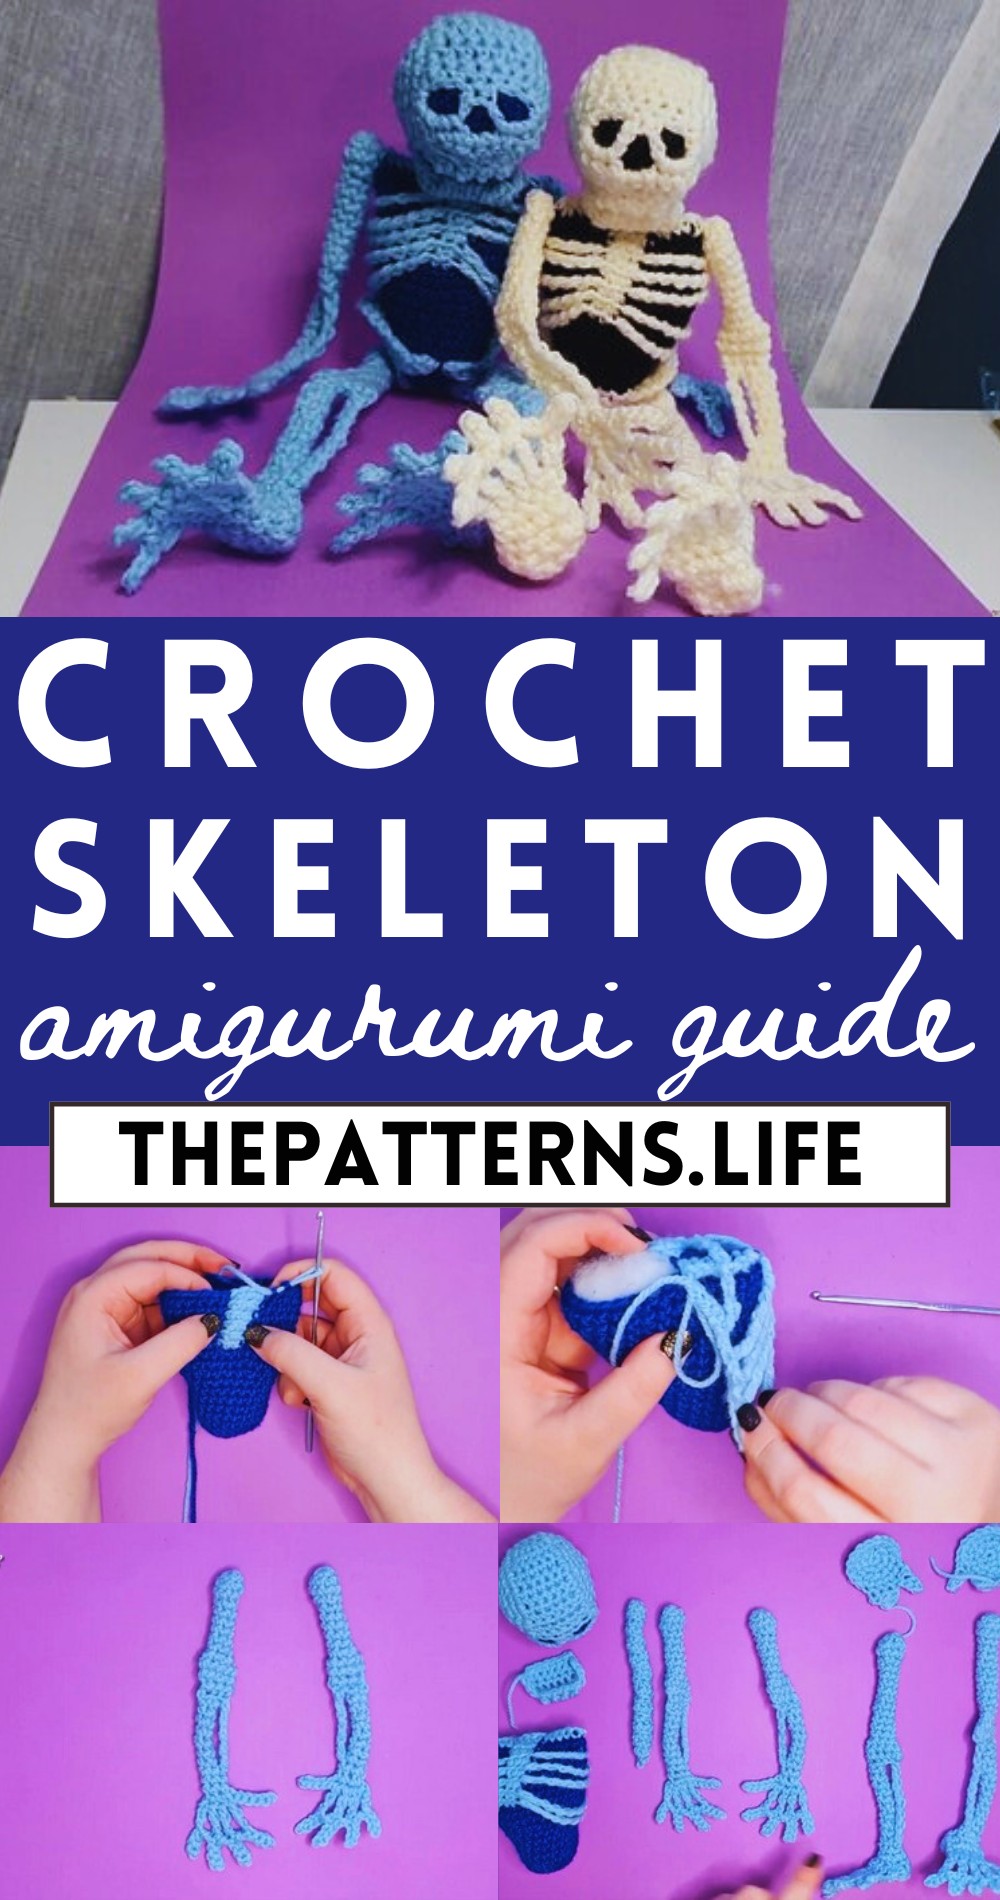
Crochet Scary Skeleton Pattern For Spooky Home
Disclosed the thrill of Halloween with crochet Scary Skeleton pattern—perfect for adding a spooky, handmade touch to your holiday decor.
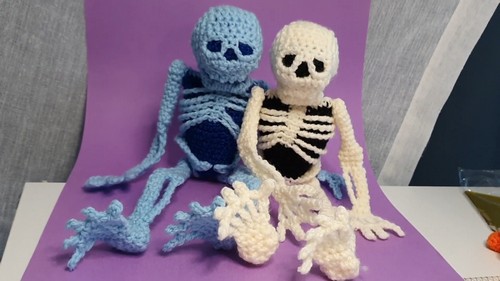
This unique design guides you through making a delightfully spooky skeleton, featuring realistic bone details and a movable jaw give it a real look of skeleton. With its intricate appearance, this skeleton brings a touch of ghostly charm to any Halloween decor or themed party.
Crochet Skeleton
The pattern is detailed, yet simple enough for both beginners and seasoned crocheters to enjoy, requiring just common materials and a bit of patience. Completing this project offers more than just a new decoration—it’s a satisfying way to sharpen your crochet skills while creating something festive. The finished skeleton is perfect for dangling from doorways or lurking on mantelpieces, adding a playful but horrible atmosphere to your space.
Materials Needed:
- 8 ply 100% acrylic yarn (light color for bones, dark color for background)
- 3.5 mm crochet hook
- Scissors
- Stitch markers
- Pins and needles
- Weight (like a small rock or glass beads)
- Stuffing material
Pattern Steps & Instructions:
Skull:
- Follow the detailed skull tutorial linked in the video’s description.
- Start the first four rows in the dark yarn for mouth contrast then switch to light yarn.
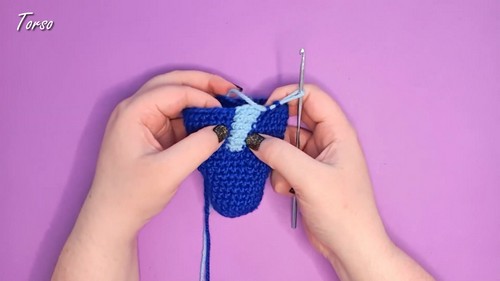
Torso and Rib Cage:
- Begin with dark yarn, crochet 13 rows to form the lower torso.
- Introduce light yarn in row 14 for sternum details.
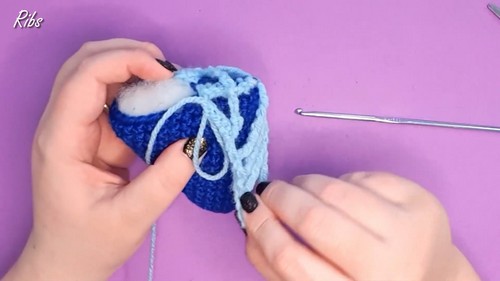
- Crochet ribs using strand work in light yarn, following specific stitch instructions (e.g., sextuple treble crochet for more extended ribs).
Spinal Column:
- Crochet a long piece using alternating rounds of back loop only stitches and regular stitches.
- Insert a wire or pipe cleaner for support if desired.
Pelvis:
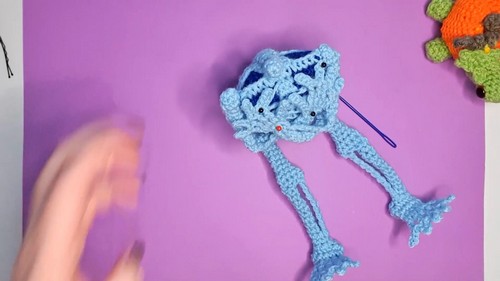
- Crochet two pieces resembling elephant ears, each starting with a magic circle.
- Differentiate between the right and left pieces by varying the stitch patterns slightly.
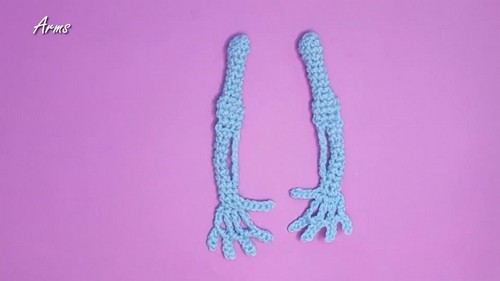
Arms:
- Start each arm with a magic circle in the lighter yarn.
- Create elbow joints by decreasing and then extend the forearms.
- Construct hands and fingers, using techniques for small details like fingernails.
Legs:
- Similar to arms, start with a magic circle.
- Form knee joints with decreasing stitches and extend the lower legs.
- Crochet feet, paying attention to the distinction between left and right for proper anatomical alignment.
Assembly:
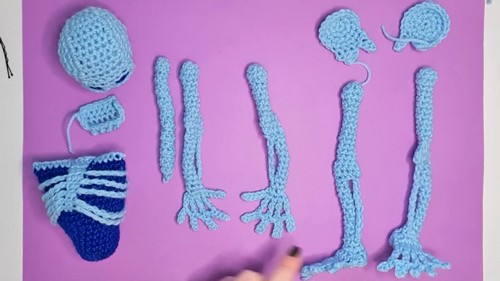
Attach all body parts starting from the skull, attaching the jaw, then moving downwards.
- Ensure the spinal column aligns and connects all parts smoothly.
- Use stitch markers and pins to position each part, adjust for proportion and posture before final sewing.
Finishing Touches:
- Ensure all parts are securely attached.
- Hide yarn tails and add any final adjustments to posturing.
- Optionally add accessories like hats or scarfs.
Tips:
- Adjust the size by changing yarn weights and hook sizes.
- Use washes or other weights within the lower torso for stability.
- Feel free to customize the skeleton with additional details like color patterns or crochet clothing.