
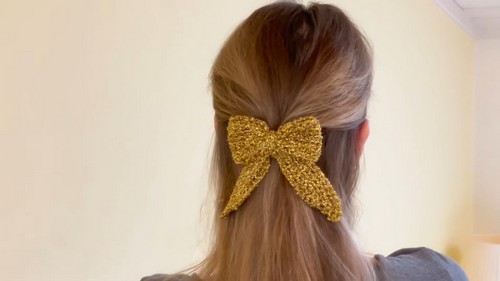
Make A Charming & Unique Crochet Vibrant Hair Bow Pattern
“Charm any outfit or hairstyle with a burst of vivid color and stylish flair using the free Crochet Vibrant Hair Bow Pattern. Simple and fun for all skill levels!”
A delightful and sophisticated accessory that adds a pop of color and elegance to any ensemble. This pattern presents beautifully textured stitches and an intricate design that yields a bow with both structure and softness. Ideal for those who appreciate unique handmade pieces, it’s perfect for accentuating your hairstyle, whether it’s a chic updo or free-flowing locks.
Crochet Hair Bow

The vibrant hues bring a playful yet polished touch, making it suitable for any occasion—from casual outings to more formal events. The combination of vivid colors and meticulous crocheting elevates this hair bow from a simple accessory to a stunning statement piece.
Tip:
For added durability, consider using mercerized cotton yarn to give your hair bow a refined, long-lasting sheen.
Materials Needed:
- Yarn of your choice (glittery metallic 100% polyester yarn was used in the example for a festive look)
- Darning needle
- Scissors
- Hook appropriate for your yarn size (4mm hook was used in the example)
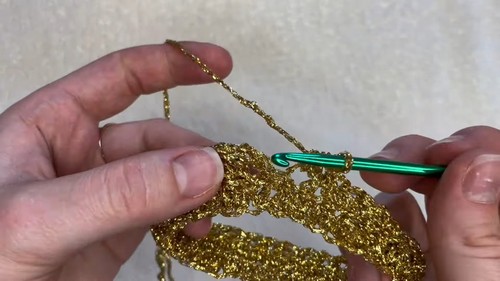
Main Body Part:
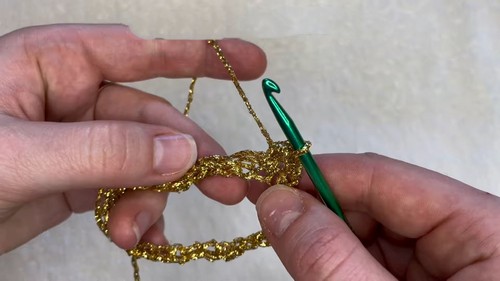
Start with a slip knot, then chain 30.
- Slip stitch in the first chain to form a ring, making sure the chain is not twisted.
- Chain 2 (counts as the first half double crochet).
- Make 29 half double crochets into the ring for a total of 30 half double crochets.
- Slip stitch to join the round by inserting into the second chain from the beginning.
- Repeat steps 3-5 for rounds 2 through 5, working into the back loops only.
Tails Parts:
Begin with a slip knot and chain 20.
- Chain one more for the turning chain.
- In the second chain from the hook, do 2 single crochets.
- Do one single crochet in the next 18 stitches.
- Do 2 single crochets in the last stitch.
- Chain one and turn the work.
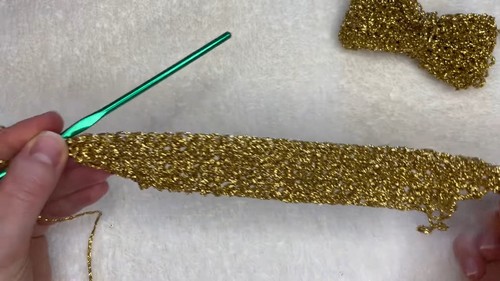
- Repeat the pattern of increasing by doing 2 single crochets in the first and last stitches for each row, until you have 6 rows in total.
- This will create a diagonally shaped tail for the bow.
Center Part:

Start with a slip knot and chain 8.
- Chain one more for the turning chain.
- Make 8 single crochets in each chain across.
- Chain one, turn the work, and make 8 single crochets back along the row.
- Cut the yarn, leaving a tail for sewing.
Assembly:
Thread the darning needle with the yarn tail from the main body and sew to create the desired bow shape.
- Go around a few times and tie knots to secure.
- For the tail parts, thread the yarn tail onto a darning needle and pull the middle to create an ‘M’ shape.
- Sew to secure the shape, going through the stitches and tying knots.
- Combine the bow body and tails by sewing them together, middle to middle.
- Take the center part, wrap it around the middle of the combined bow and tails, and sew the ends on the back.
- Make sure to tie knots and secure the center part neatly.
- Use a steamer or iron lightly over the project if any part curls or needs shaping.
Finishing Touches:

Attach the bow to a hair tie or hair clip as desired.
- For a hair clip, you can use all-purpose glue or super glue (test to ensure it doesn’t damage the yarn).
- Apply the glue to the clip and press the bow onto it until the glue is dry.
- Ensure the bow is centered and secure before wearing.


