
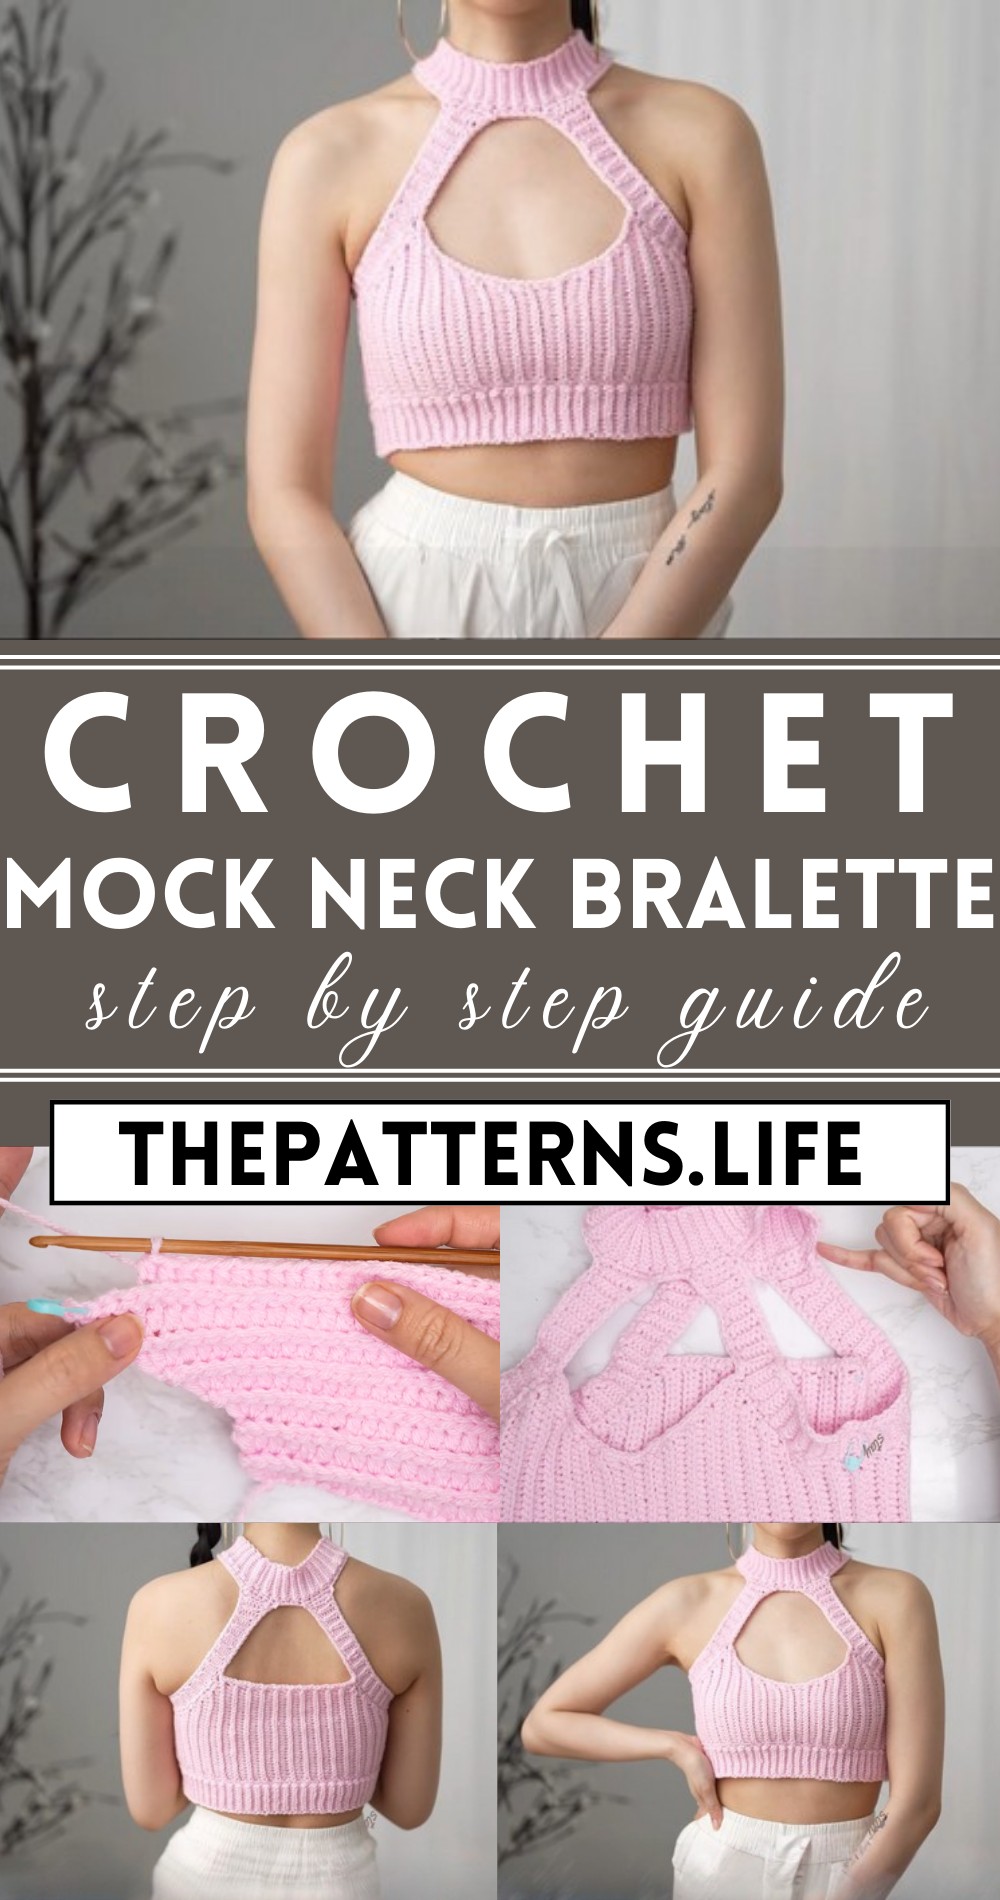
Crochet Mock Neck Bralette Easy & Free Pattern
A funky and cozy handmade with our Free Crochet Mock Neck Bralette Pattern: top that’s perfect for adding a playful twist to your wardrobe!
It is a stunning fusion of classic design and contemporary flair, perfect for those looking to add a touch of elegance to their wardrobe. This versatile pattern offers a seamless fit with its delicate mock neck and flattering bralette shape, making it a timeless piece that can be styled in various ways. Crafted with a range of colors from soft pastels to bold, vibrant hues, this bralette brings out the beauty of any yarn. Its intricate crochet stitches create a delicate texture that emphasizes the craftsmanship behind this handmade marvel.
How To Crochet Mock Neck Bralette
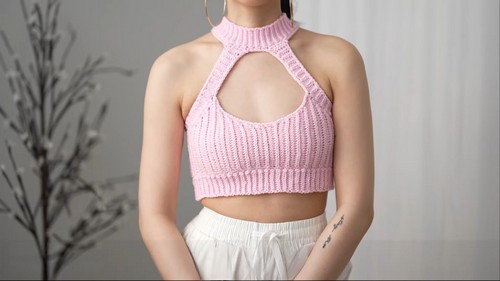
The bralette’s harmonious blend of comfort and style ensures that it will become a staple piece in any fashion-forward wardrobe. Whether you pair it with high-waisted jeans, a flowy skirt, or layer it under a chic blazer, this crochet bralette is sure to make a statement.
Tip:
Block your finished piece for the most polished look.
Foundation:
- Start by chaining 15.
Row 1:
- Chain 2 (note: this does not count as a stitch).
- Half double crochet into the third chain from your hook, half double crochet into every chain until the last chain.
- Make an increase of 2 half double crochets into the last chain.
Row 2:
- Chain 1 (note: this does not count as a stitch).
- Perform a back loop slip stitch into every stitch.
- Repeat Rows 1 and 2 until you have a portion that can stretch from mid underarm to the corner of your underarm, achieving a total of 4 rows. Your width should be approximately 1.5 inches or 4 cm unstretched.
Underarm Rows:
- Chain 2, back loop half double crochet into every stitch, leaving the last one.
- Increase by making 3 back loop half double crochets into the last stitch.
- Chain 2 (here, the first chain counts as a stitch), then do a back loop slip stitch into every stitch.
- Repeat the last 2 rows until you have a section that stretches from mid underarm to the front of your body, roughly aligning with where a bra strap or tank top strap would be.
Neckline:
- Insert a stitch marker into the second stitch from the top.
- Chain 2, then back loop half double crochet into every stitch, leaving 3 stitches.
- Make a decrease of 3 back loop half double crochets into the third to last back loop.
- Chain 1, then perform a back loop slip stitch into every stitch.
- Continue with the last 2 rows, adding a decrease of 2 at the end of the first half double crochet row, until the piece stretches from mid underarm to mid chest.
Middle Row:
- Execute a back loop slip stitch row with no increases or decreases.
Neckline (Other Side):
- Chain 2, back loop half double crochet into every stitch leaving the last one.
- Increase with 2 back loop half double crochets in the last stitch.
- Chain 2 (the first chain counts as a stitch), then back loop slip stitch into every stitch.
Mock Neck:
- After slip stitching into the chain space, make a chain to your desired length for the mock neck (for example, 10 chains for a 2-inch length).
- Perform back loop slip stitch rows to connect the mock neck to the base, following the same procedure you used for the underarm and neckline sections.

Side Seam:
- Use an outside loop slip stitch seam to connect the side of the bralette.
Bottom Band:
- Insert your hook into any one of the side rows along the bottom of your piece.
- Place 2 single crochets into every side half double and 1 single crochet into every side slip stitch row all the way around.
- Try on the bralette to ensure proper fit, adjusting stitches if necessary.
Back Loop Slip Stitch Rows for Bottom Band:
- Make a chain to your desired length for the bottom band (e.g., 10 chains for a 2-inch length).
- Connect the bottom band to the base with back loop slip stitch rows.
Bottom Seam:
- Join the bottom of the bralette with an outside loop slip stitch seam.
Finishing Touches:
- Single crochet along the armholes, neckline, and back.
- Weave in all your ends to complete your project.


