
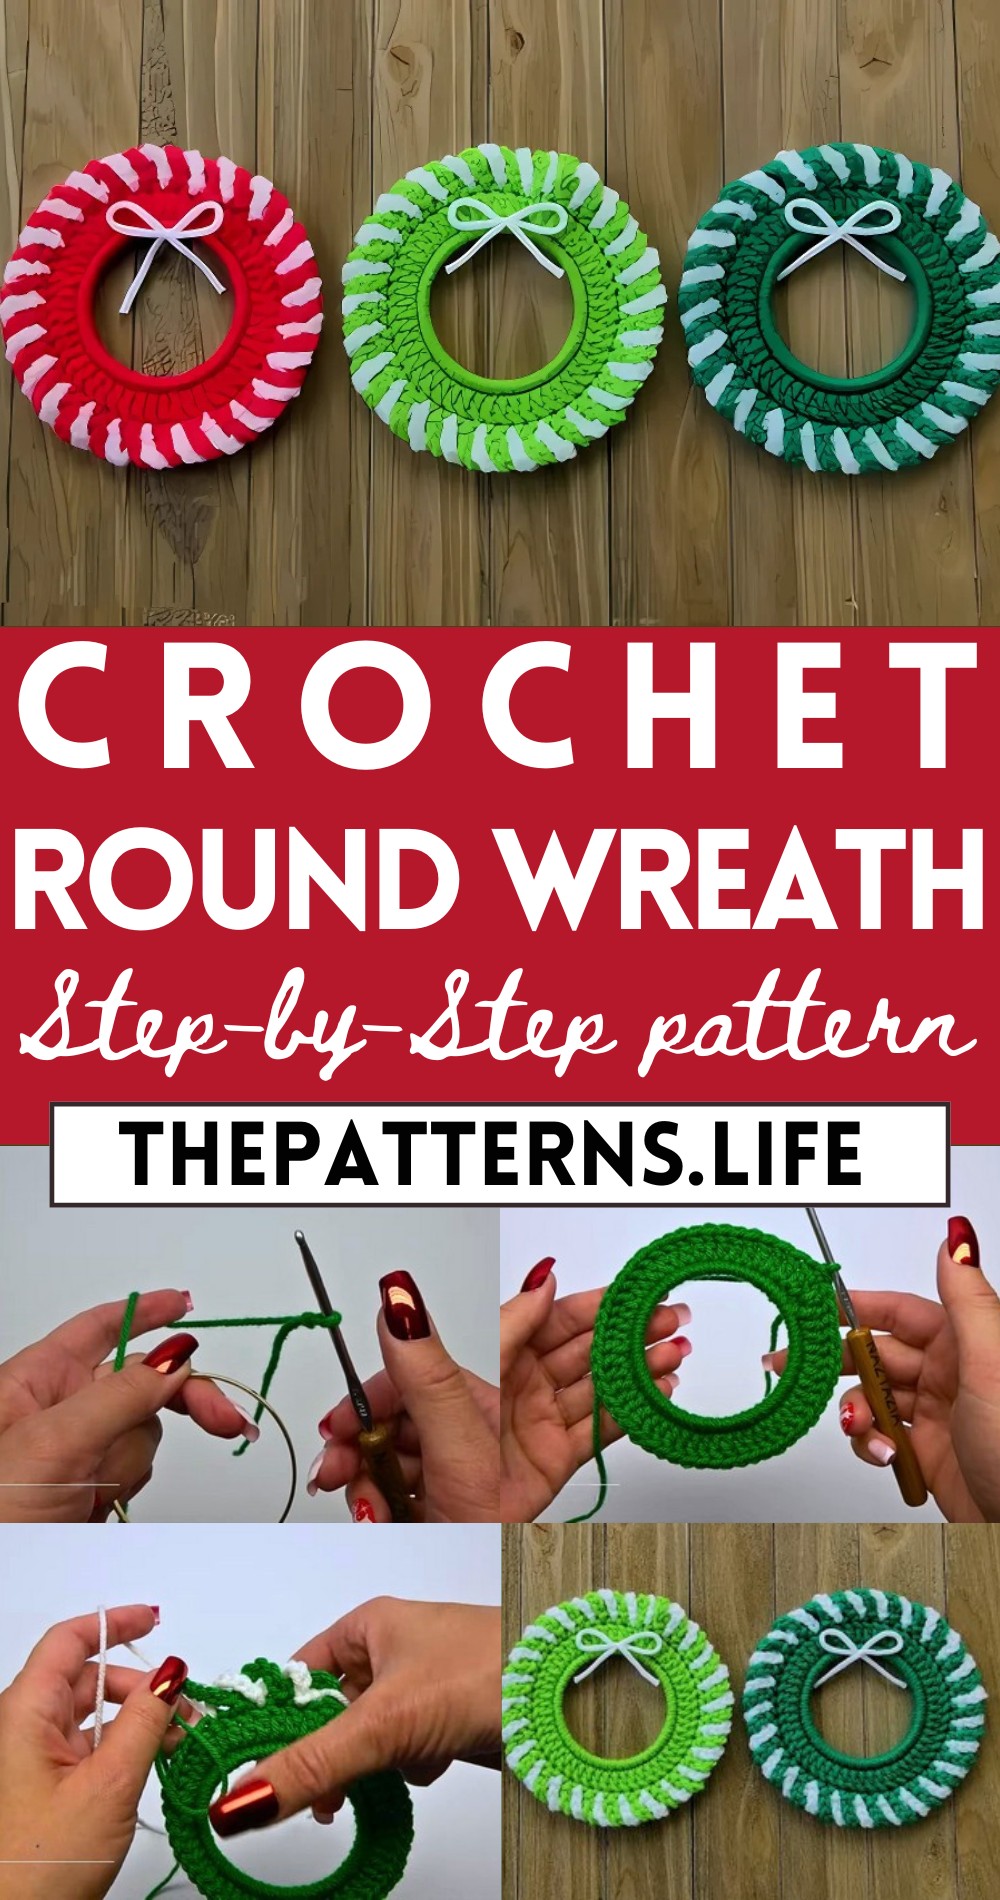
Charm & Colorful Crochet Christmas Round Wreath Pattern
“Delight in the free Crochet Christmas Round Wreath pattern, perfect for adding festive charm and handmade warmth to your holiday decor.”
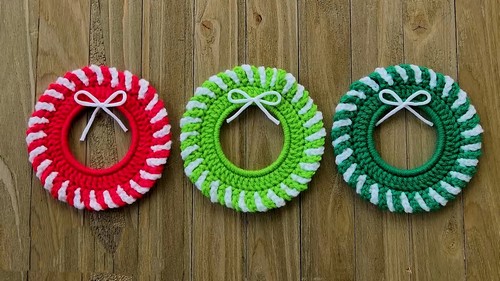
It is a festive project that brings the holiday spirit to any home. This pattern provides detailed, step-by-step instructions, making it suitable for both beginners and experienced enthusiasts. The round wreath, with its intricate stitches and cheerful decorations, adds a handmade touch to your holiday decor. Whether displayed on your front door, above the fireplace, or as a centerpiece on your table, this wreath is sure to spread holiday cheer.
Crochet Christmas Round Wreath
Its versatility allows you to customize the colors and embellishments to match your style and theme. This guide walks you through a delightful round wreath pattern that will add a personal and cozy touch to your festive decorations.
Tip:
For a more vibrant and sturdy wreath, opt for high-quality, colorful yarn and consider adding festive ornaments or ribbons to elevate the overall look.
Materials:
- 30 yards of worsted weight yarn
- Size F crochet hook
- Metal ring bracelet or other suitable base
- Yarn needle
- Scissors
Abbreviations:
- SC: single crochet
- DC: double crochet
- Ch: chain
- St: stitch
- SL St: slip stitch
- H: hook
- RL: ring loop
- FO: fasten off
- WT: weave tail
Pattern:
Round 1:
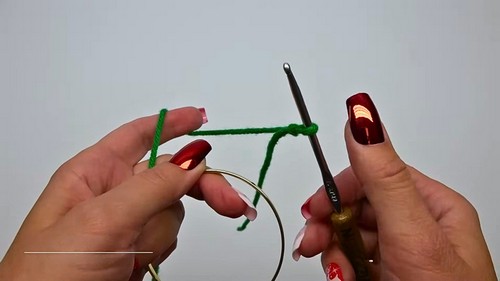
Place a slip knot on your hook.
- Make a SC in the ring.
- Repeat SC around the ring until you have an even number of stitches.
- SL St to the first SC to close the round.
For Round 2:
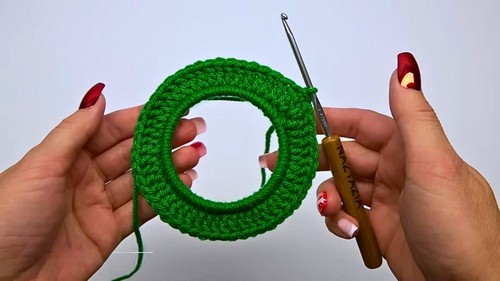
Ch 3 (counts as the first DC).
- DC in each st around.
- SL St to the first DC to close the round.
Round 3 (RL edging):
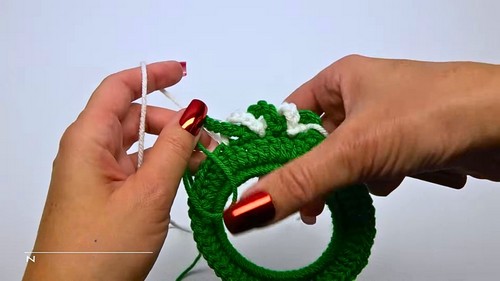
Ch 6.
- Skip the next st.
- DC in the next st.
- Ch 6.
- Skip the next st.
- DC in the next st.
- Repeat around until you have made RLs in between all the DCs from Round 2.
- FO the last RL and leave a longer tail for sewing.
- WT the tail end through the back of the RL to secure it.
Continue…
- Repeat Round 3 with the second color of yarn, alternating between the two colors until you have gone all the way around the wreath.
- FO the last RL and leave a longer tail for sewing.
- WT the tail end through the back of the RL to secure it.
- Decorate your wreath as desired.


