
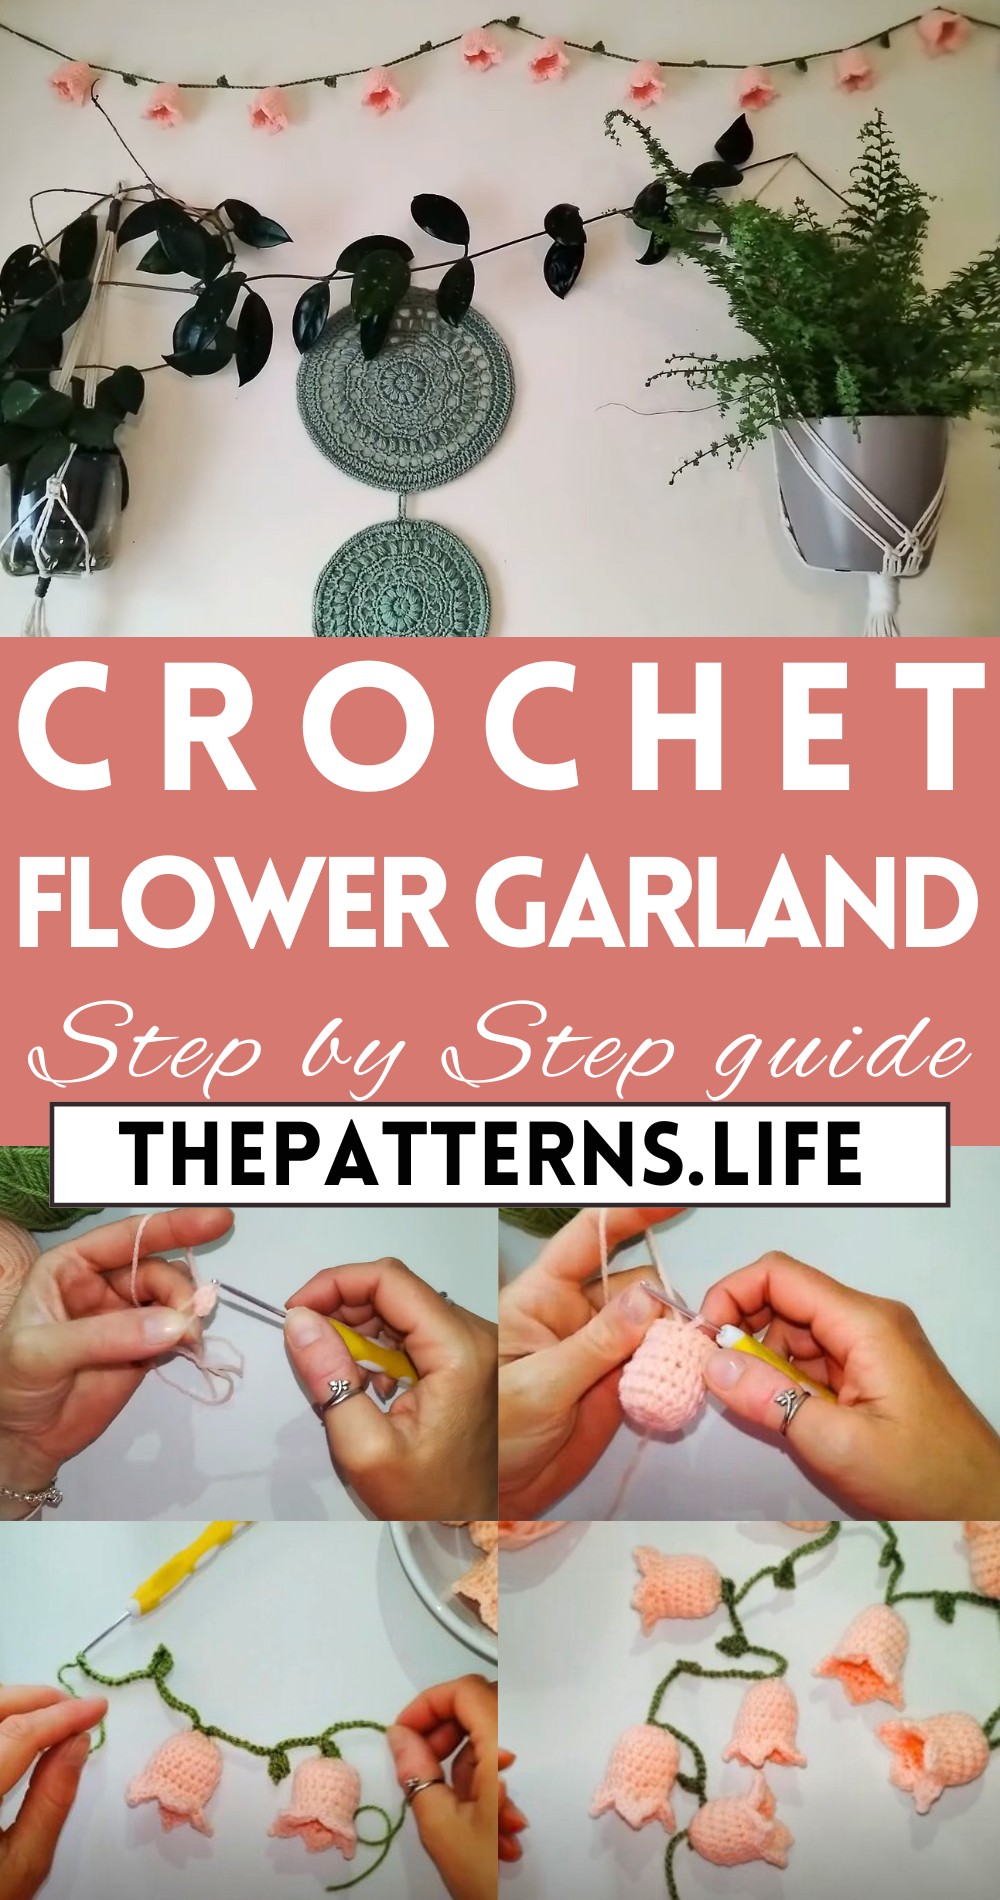
Cute & Easy Crochet Flower Garland Step By Step Pattern
“With our Free Crochet Flower Garland Pattern, turn any space into a sophisticated haven adorned with timeless, handmade floral beauty.”
This pattern enables you to create stunning floral garlands that can effortlessly enhance any space, providing a touch of whimsy and grace. Each flower in the garland showcases intricate details and thoughtful design, ensuring that your garland is as unique as it is beautiful. Perfect for sprucing up any nook or cheering up your favorite spot, this project is a burst of sunshine no matter the weather.
Crochet Flower Garland
Our Crochet Flower Garland Pattern offers you the opportunity to bring charm and elegance into your home. Whether adorning a window, mantle, or special event, the crochet flower garland serves as a testament to your attention to detail and artistic ability. Delicate and durable, these garlands are perfect for both seasonal decorations and year-round beauty, embodying the perfect blend of style and function.
Tip:
Use a variety of yarn textures and colors to give your garland a more dynamic and visually appealing look.
Materials Needed:
- Peach and green yarn (no specific brand mentioned)
- 2.5 mm crochet hook
- Tapestry needle
- Scissors
Steps:
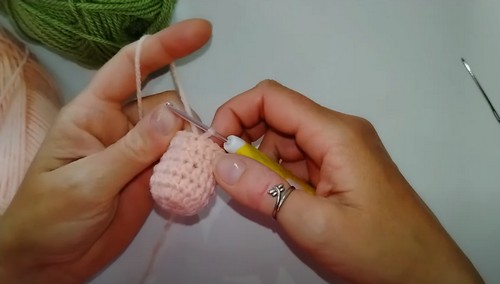
Flower Base
Start with Peach Yarn
- Make a magic ring.
- Chain 1.
- Place 10 half double crochets (hdc) into the magic ring.
- Pull on the tail to close the ring.
- Slip stitch into the first stitch to complete the circle.
Round 2:
- Chain 1.
- Place two hdc in each stitch around (20 stitches total).
- Slip stitch into the first stitch of this round.
Rounds 3 to 6:
- Repeat the pattern: Chain 1, one hdc in each stitch around (keep total stitches at 20).
- Slip stitch to close each round.
Flower Petals:
Next Steps for Petals:
- Chain 1. Do NOT work into the slip stitch spot but the next stitch.
- For pointy petals:
- Place 3 hdc, chain 2, slip stitch into the second chain from the hook, and then 3 more hdc into the same stitch.
- Skip a stitch, then slip stitch into the next stitch.
- Repeat around to create each petal, ensuring to slip stitch between each petal set.
Finishing the Flower:
- Complete the round by skipping a stitch after the last petal and slip stitching into the last stitch.
- Optionally, add an additional slip stitch where the first petal starts.
- Tie off and weave in ends.
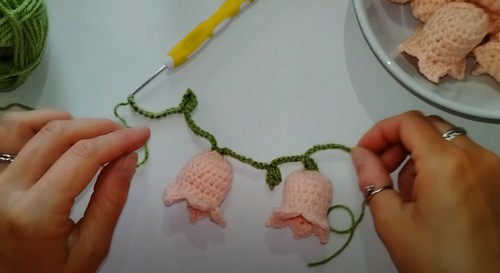
Garland Assembly:
Starting the Garland:
- With a new piece of yarn, create a sliding loop and chain 20 to begin.
- Attach the first flower to the chain by single crocheting into one of the stitches of the flower, then single crochet directly opposite to secure it.
Creating Leaves and Adding Flowers:
- Chain 10, then create a partial double crochet leaf:
- Chain 3, partial double crochet into the third chain (yarn over, pull through two loops, yarn over, pull through all three loops).
- Chain two, then slip stitch into the second chain from the hook.
- Slip stitch into the chain side stitches to form the leaf base.
- Chain 10, and attach the next flower the same way as the first. Repeat as desired.
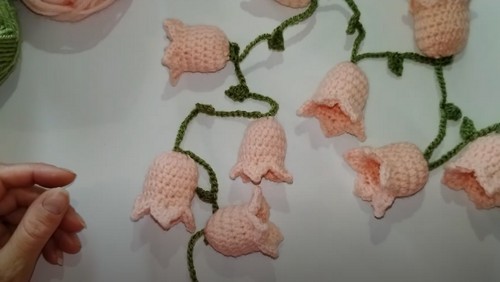
Finishing Touches:
- After the last flower, chain 20.
- Pull the yarn through, cut the yarn, and create a loop for hanging.
- Secure by tying off and trimming excess yarn.


