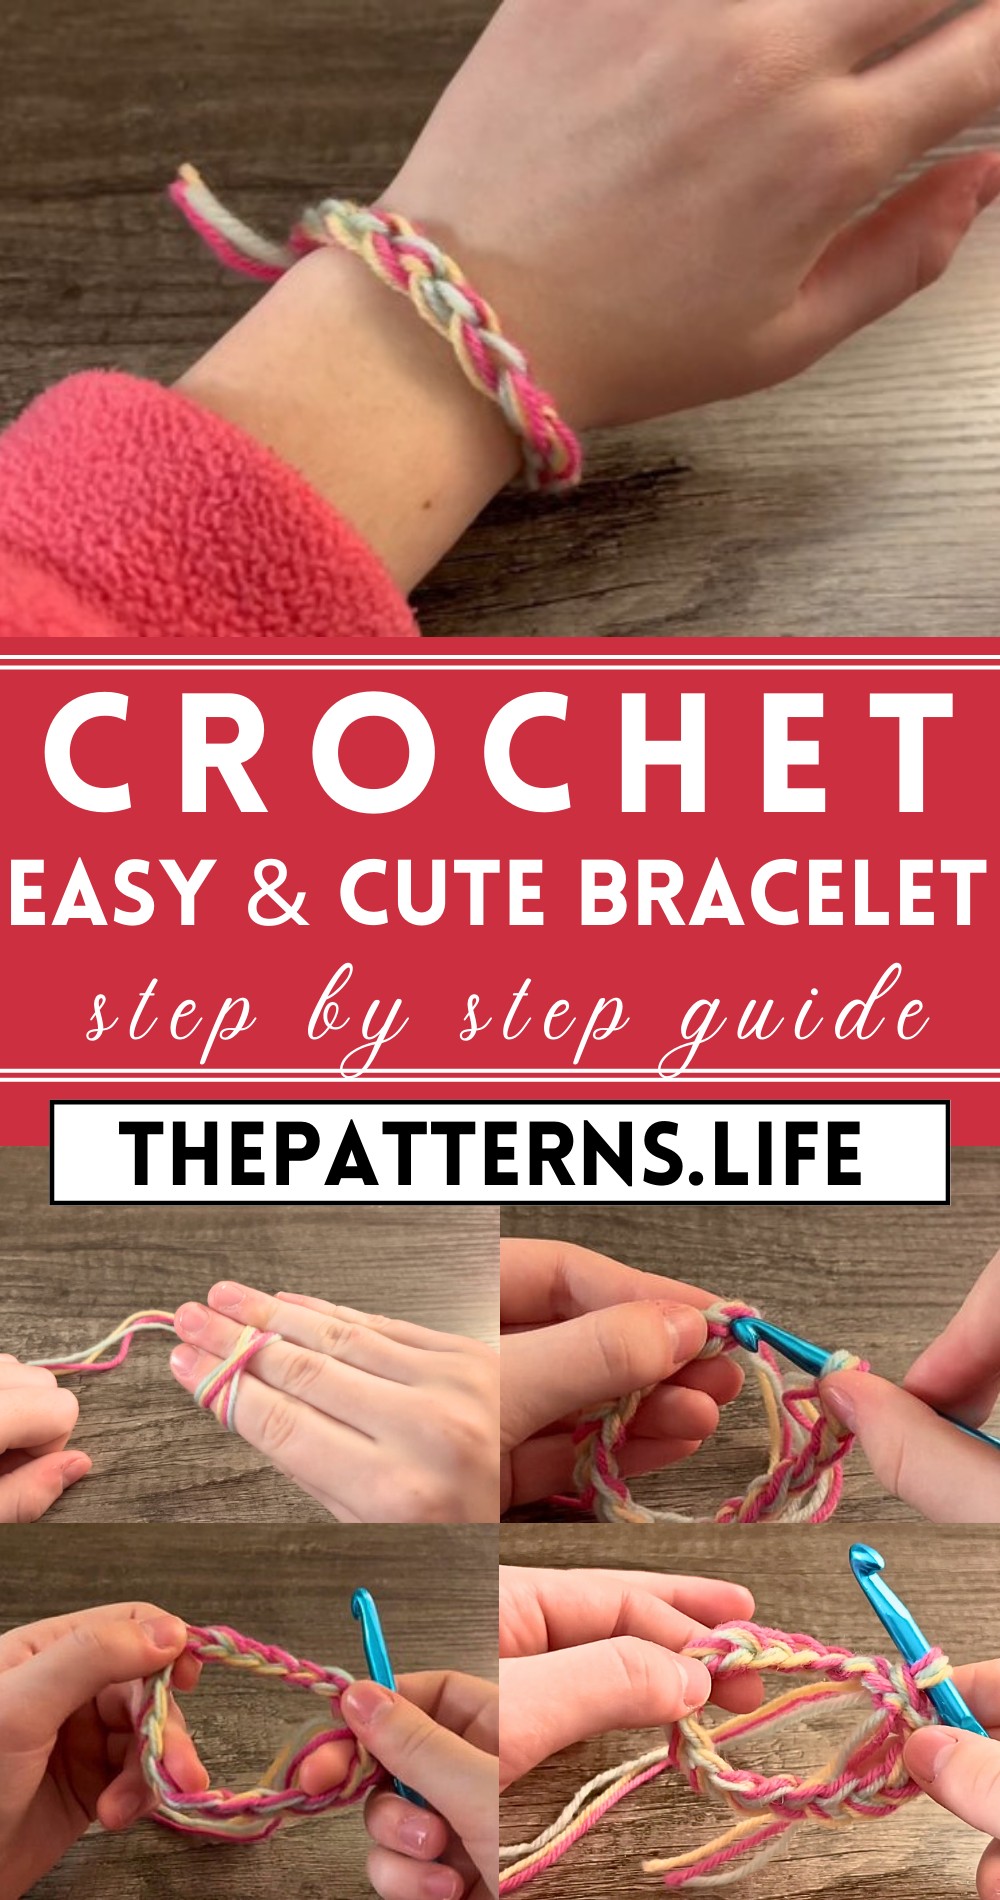
So Cute And Simple Crochet Bracelet Step By Step Pattern
Jazz up your style with cute and simple Crochet Bracelet Pattern, a playful and chic accessory that adds a touch of fun to any outfit!
This pattern captivates with intricate designs and versatile uses, allowing you to crochet a charming statement piece that resonates with your personal style. Perfect for gifts, personal wear, or adding a handmade touch to your jewelry collection, this bracelet adapts seamlessly to various looks. The pattern combines classic crochet techniques with a modern flair, offering endless possibilities for customization in color, texture, and embellishment.
Crochet Bracelet Pattern
Discover the allure of elegance with the Crochet Bracelet Pattern, where creativity meets sophistication in an accessory that elevates any ensemble. Ideal for both seasoned crocheters and enthusiastic beginners, this project promises enjoyment and satisfaction.
Tip:
Use high-quality thread or yarn for a more refined and durable finish.
Materials Needed:
- Yarn: Three different colors (but a small amount of each is sufficient). Alexia uses Mirror Handcrafts yarn, but any yarn is acceptable.
- Crochet Hook: 7 mm (size may vary if more colors or different yarn thicknesses are used).
- Scissors.
Pattern Steps:

Start with a Slip Knot:
- Place your hand palm up and lay the yarn across your hand.
- Wrap the yarn around your two fingers, making an X.
- Take your top three strands and tuck them underneath the bottom three strands as if you’re tying a balloon. This forms a loop.
- Remove everything from your fingers and adjust the loop to form a slip knot.
- Insert your crochet hook into the slip knot and adjust so it’s snug, but not too tight.
Chain Stitches:
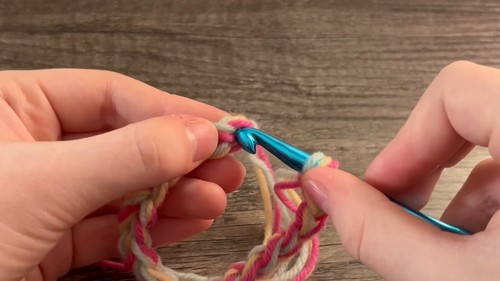
- Chain 18 to 20 stitches, adjusting for the size of your wrist. This forms the bracelet’s length.
- For smaller wrists, 18 stitches may suffice. It’s recommended to measure it by wrapping it around your wrist to ensure a snug fit.
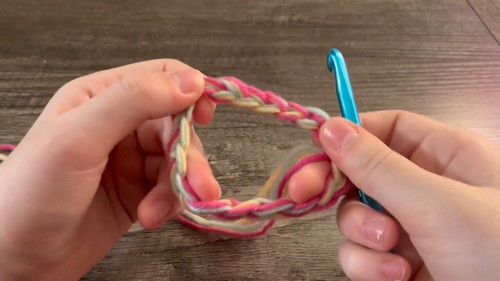
Forming the Bracelet:
- After reaching the desired chain length, loop it into a circle mimicking a bracelet’s shape.
- Connect the ends by inserting the hook into the first chain made.
- Wrap the yarn around and pull through the first loop, then through the second loop. This secures the circle.
Securing the End:
- Make one additional chain, then cut the yarn leaving a small tail.
- Pull the loop gently and then tighten to create a knot ensuring the bracelet’s end is secure.
- For added security, it’s suggested to knot the two tails (from the beginning and end) together.
Finishing Touches:
- Trim the tails to a reasonable length but not too short, as these can be adjusted based on preference.
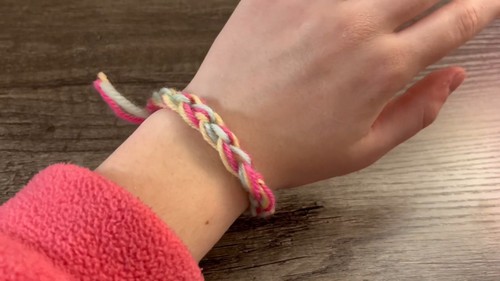
Final Look:
- The completed bracelet should fit nicely around your wrist and feature the colorful yarns chosen for this project.