
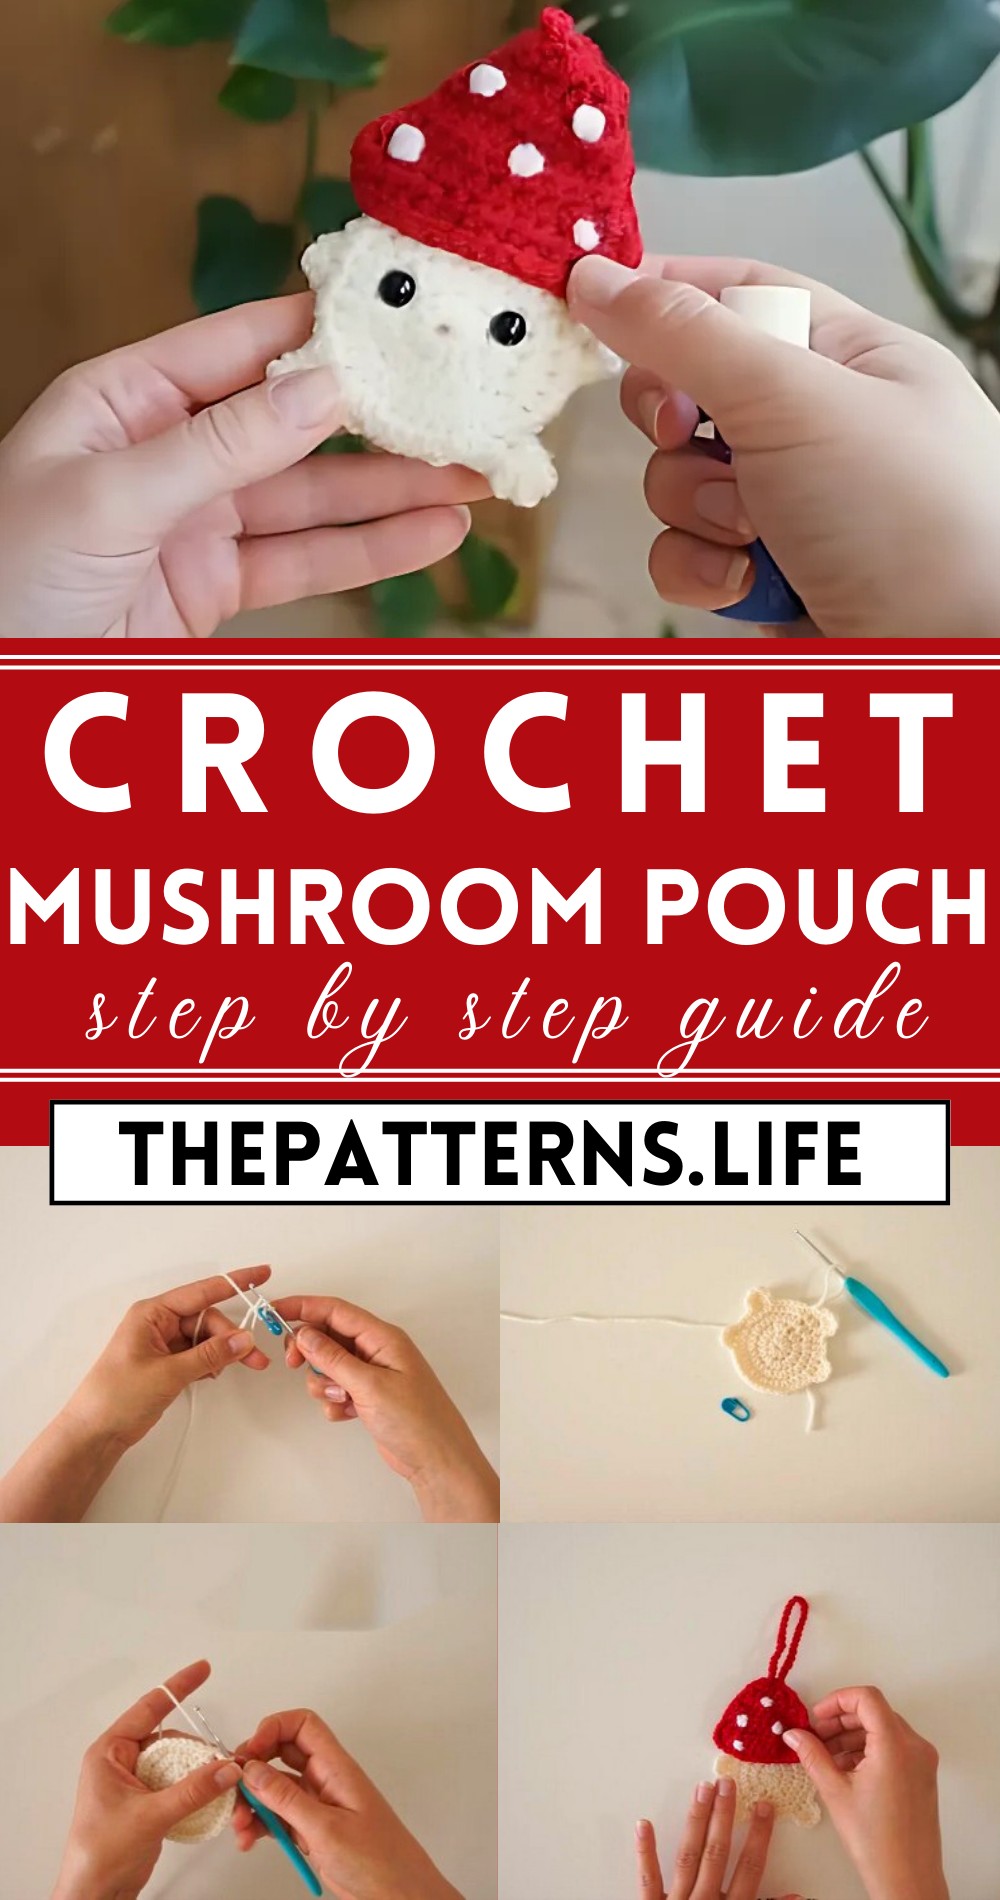
Crochet Mushroom Pouch Tutorial For Christmas & Festive Time
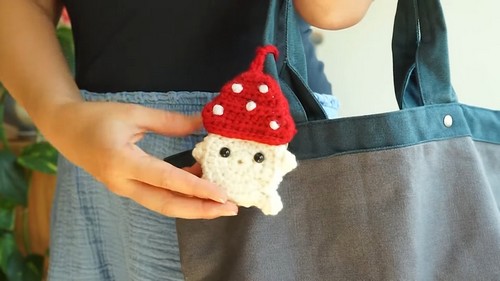
Picture yourself whipping up a cute little crochet mushroom pouch, perfect for keeping your treasures like coins or lip balm snug and secure. With some yarn, a hook, and a sprinkle of imagination, you’ll stitch together not just a functional piece but a pocket-sized buddy.
Crochet Mushroom Pouch
Materials Needed:
- Yarn (acrylic recommended) in cream or white, and red
- 2.5 mm crochet hook
- Scissors
- Tapestry needle
- Stitch marker
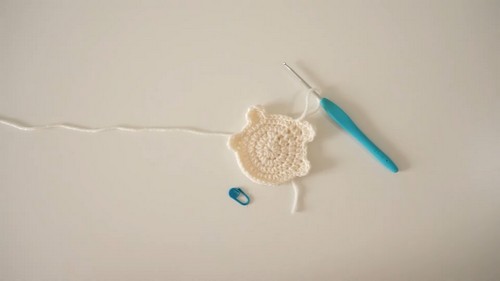
Mushroom Body:
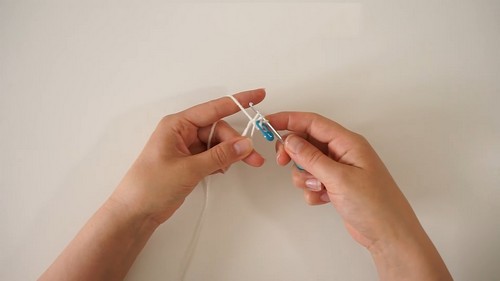
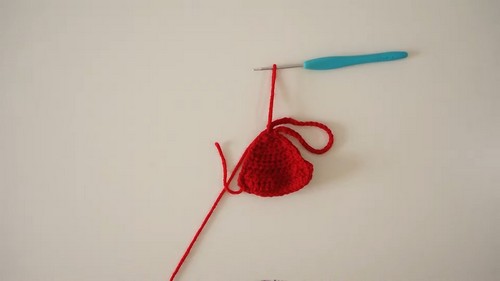
Magic Circle:
- Start by making a magic circle.
- Chain two. Into the second chain, place your stitch marker.
- Perform 10 half-double crochets (HDC) into the magic circle.
- Pull the circle close and slip stitch to the chain where you placed the marker.
Row 2:
- Chain two and mark with a stitch marker.
- Make increases (2 HDC in each stitch) around. You should have 20 stitches.
For Row 3:
- Chain two and mark it.
- Alternate between one HDC and an increase all around.
Row 4:
- Chain two and place your stitch marker.
- Alternate two HDC with an increase around.
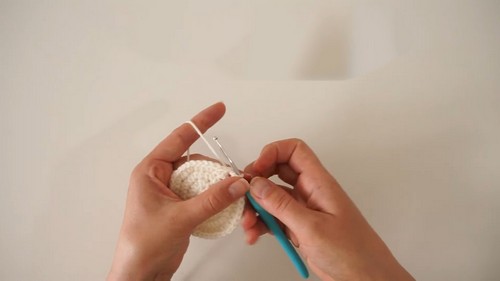
Row 5 (Arms and Feet):
- Start with eight slip stitches.
- Make a foot: HDC, double crochet (DC), two triple crochets (TC), DC, HDC in the same stitch.
- Five slip stitches, then an arm: HDC, two DC, HDC in the same stitch.
- Repeat the steps for another arm and foot on the opposite side.
Mushroom Hat:
Starting Chain:
- With red yarn, create a slip knot.
- Chain 19.
Row 1:
- HDC decrease in the second and third chains.
- HDC in the next 10 chains.
- Perform two decreases in the last four chains.
Row 2:
- Start with two decreases.
- HDC in the next six stitches.
- End with two decreases.
For Row 3:
- 10 HDC to the end.
Row 4-5:
- Repeat 10 HDC.
Row 6:
- Start with a decrease, then 6 HDC, ending with a decrease.
In Row 7:
- Decrease, 4 HDC, decrease.
Row 8:
- Decrease, 2 HDC, decrease.
Row 9:
- Do two decreases.
- Slip stitch around the hat’s edge for a neat finish.
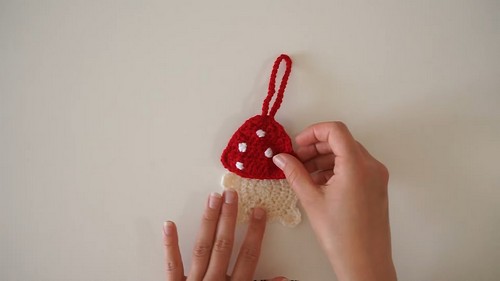
Assembly:
- Sew white spots onto the red hat.
- Sew the hat to the body of the mushroom.
- Place the front and back pieces of the mushroom body together, right sides facing each other, and sew almost all the way around. Leave an opening to turn it right-side out and fill.
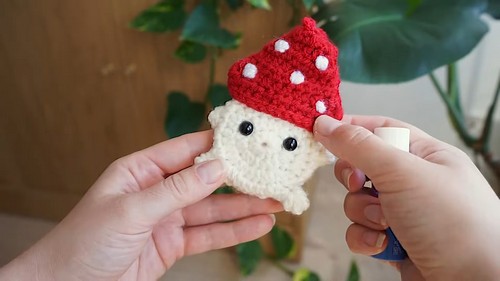
- Add safety eyes if desired.
- Turn the mushroom right-side out and close the opening, securing the thread.


