
Crochet Lamp Shade & Granny Square Jar Free Pattern
Give your space a homemade, cozy touch with the Free Crochet Lamp Shade & Granny Square Jar Pattern, perfect for personalizing your home decor.
This pattern brings an artisanal charm to any home, combining functionality with aesthetic beauty. It can enables you to crochet a delicate lampshade that casts a warm, inviting glow, paired with a charming granny square jar cover that adds a pop of color to your decor. The intricate stitches and patterns highlight the classic crochet techniques, while the choice of yarn and colors allow for a personalized touch that can match any room’s theme.
Crochet Lamp Shade & Granny Square Jar
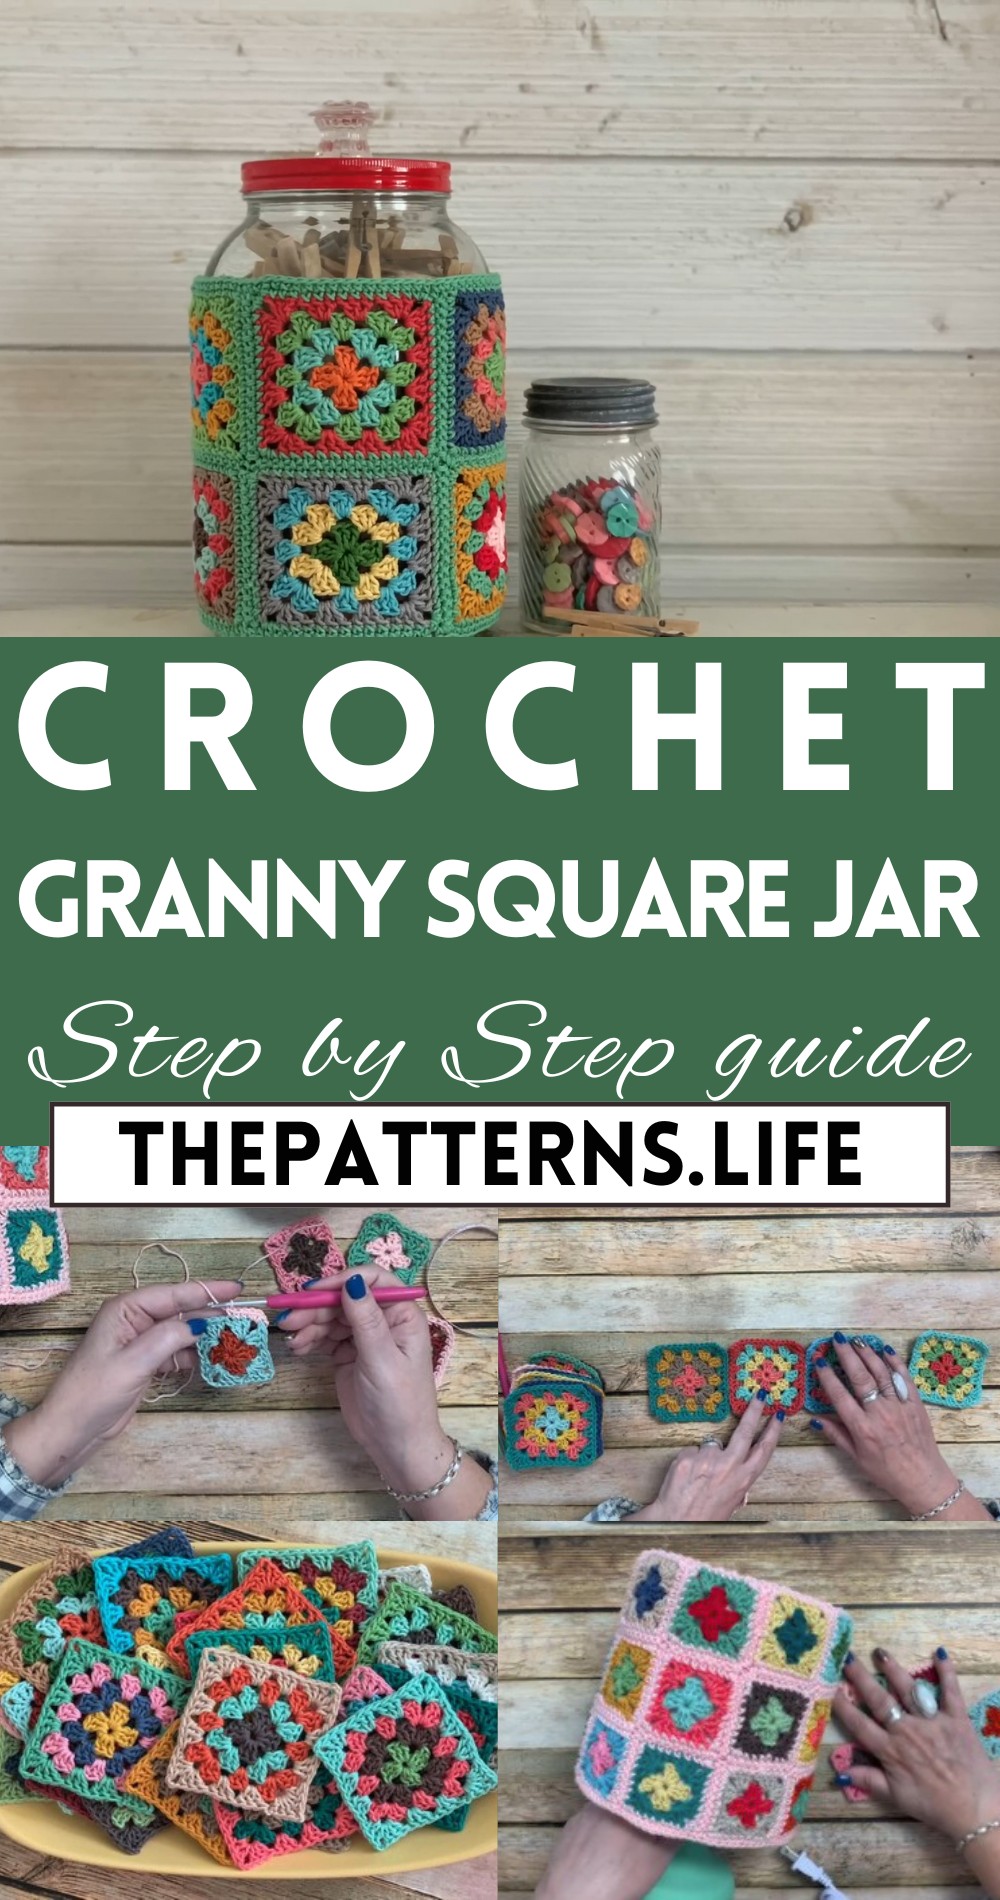
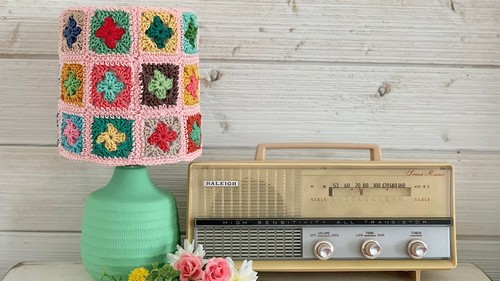
The newfound radiance from the lampshade creates an intimate atmosphere, making any space feel like a cozy retreat. The granny square jar, with its vibrant yet harmonious colors, serves as a versatile accessory—perfect for storing small trinkets or as a standalone piece of decor that showcases your crochet skills.
Tip:
Use high-quality, contrasting yarns to make the patterns on your lampshade and jar pop and truly stand out.
Material Needed:
- Yarn
- Crochet Hook
- Scissors
- Yarn Needle
- Plain Lampshade
- Jars
- Stitch Markers (Optional)
- Measuring Tape (Optional)
- Blocking Materials (Optional)
General Granny Square Pattern (Basic Concept):

Start the Granny Square:
- Begin with a magic ring or chain 4 and slip stitch into the first chain to form a ring.
- Chain 3 (counts as the first double crochet), then make 2 double crochets into the ring. This starts your first ‘shell’.
Creating the Corner Spaces:
- Chain 2 for the corner space, then make 3 double crochets into the ring (forming the second shell).
- Repeat the process of chaining 2 and making 3 double crochets into the ring until you have four shells separated by chain-2 spaces.

Closing the Square:
- After your last chain-2 corner space, join with a slip stitch to the top of the initial chain-3.
Subsequent Rounds:
- Slip stitch over to the first corner space.
- For each corner: Chain 3 (first double crochet), make 2 double crochets, chain 2, and make 3 more double crochets in the same space.
- For each side: Chain 1, then work the corner sequence again in the next corner space.
- Close the round with a slip stitch to the initial chain-3, just like in the first round.

Final Round Color Change Concept:
- For a color change in the final round, tie off your initial color and join the new color in any corner space.
- Complete the final round as described above using the new color.
Applying Granny Squares to Projects:

For a Lampshade:
- Measure your lampshade to determine the number of granny squares needed.
- Create enough squares to cover the circumference and height of your lampshade.
- Join the squares side-by-side and in rows to match the dimensions of your lampshade, using single crochet stitches for joining.
- Wrap the connected granny square piece around the lampshade, securing it in place with additional stitches or adhesive as needed.
For a Jar Cover:
- Measure the circumference and height of your jar.
- Create granny squares or a continuous granny square piece that matches these dimensions.
- For the jar, you might need to create a longer piece that wraps horizontally or smaller pieces to stack vertically.
- Join and wrap around the jar, using single crochets to seam the project if it’s made from multiple pieces.
Tips and Tricks:
- Blocking your squares before assembling projects can help align edges and make joining easier.
- Varying the number of rounds and colors in your granny squares can lead to unique and creative projects.
- Always ensure the final piece fits snugly over the object you’re decorating, adjusting the size of your crochet hook or the number of rounds as necessary for a perfect fit.


