Easy Crochet Chain Loop Stitch For Beginners
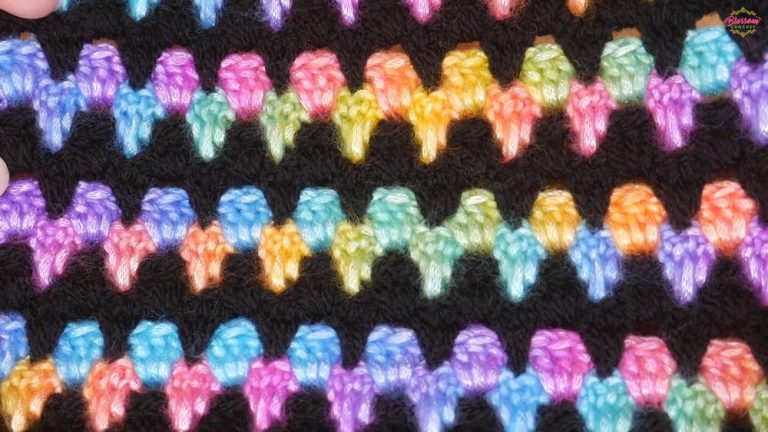
The magic of the Crochet Chain Loop Stitch Pattern, adding whimsical loops and captivating texture to elevate all your crochet projects!
A fun and whimsical technique that’s sure to catch the eye by adding some flair to your crochet creations! This pattern involves creating loops with chains, adding playful texture and dimension to your projects. Perfect for blankets, scarves, stylish bags or even home decor, this stitch brings a unique twist to your crochet repertoire.
Crochet Chain Loop Stitch

The loops create a delicate, airy effect while also providing a sturdy and durable finish. Easy to learn and quick to master, it’s suitable for all skill levels, ensuring everyone can enjoy this delightful pattern.
Tip:
For the best results, use a slightly larger hook size to keep your loops loose and uniform, enhancing the overall look and feel!
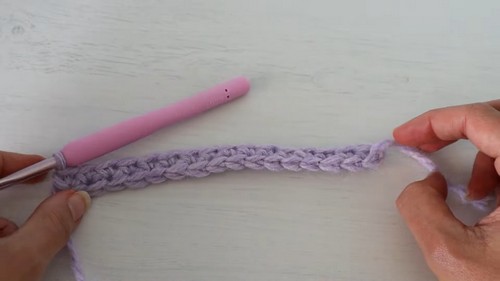
Preparing Your Yarn
- Begin by measuring a yarn tail that is three times the desired length of your project.
- Create a slip knot at this measurement point.
Positioning the Slip Knot and Yarn
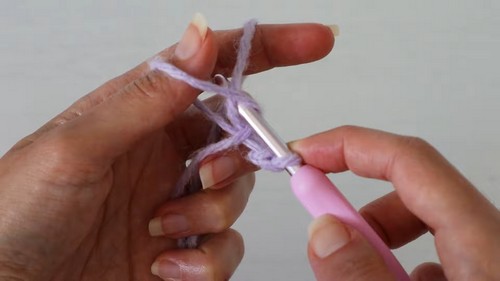
- Place the slip knot on your crochet hook.
- Ensure the yarn tail is on the outside (towards you) and the working yarn (the yarn leading to the skein or ball) is on the inside (away from you).
Separating the Yarn Strands
- Hold the yarn strands separately with your index finger and thumb, preparing to work the yarn.
The Slingshot Position
- Position your hand so that it resembles a slingshot.
- Work your hook under the yarn strand in front of your thumb and over the strand behind your thumb.
Yarning Over
- Yarn over with the strand that is coming from your index finger.
- Pull this yarn through the loop that’s around your thumb.
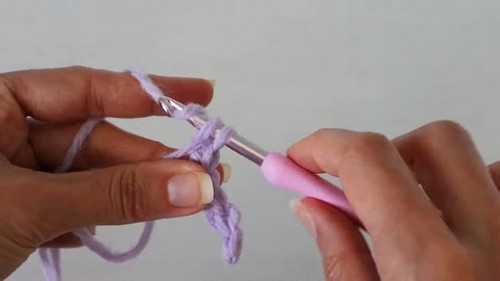
Completing the Stitch
- Once the yarn is pulled through, release the loop from your thumb and tighten it up to secure the stitch; you should now have two loops on your hook.
- Yarn over with the back strand (the one that was behind your thumb) and pull through the two loops on your hook.
Repeating the Process
- Repeat these steps (Steps 4 to 6) for each stitch to continue building your foundation row.
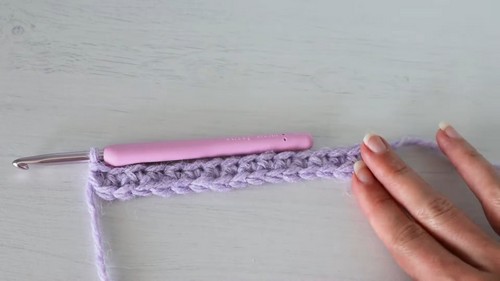
Perfecting the Foundation
- Continue working until you’ve reached your desired stitch count or until your tail runs out.
- This method results in a stretchy and sturdy foundation chain with clear, V-shaped stitches on top, ready for you to work into.
Usage Tips
- For Future Rows: Just like a row of crochet, chain one and turn to begin working into the stitches as you normally would.
- For Circular Projects: Instead of chaining and turning, chain and tilt to work along the bottom for projects that start circularly, like the bottom of a bag or shoe sole.
Final Thoughts
This technique serves as an innovative method to start crochet projects, addressing common issues like too-tight. Or too loose foundation chains, and provides a sturdy, stretchy base with a clean, structured edge.