
Comfy Lace Crochet Top Pattern & Tutorial For Beginners
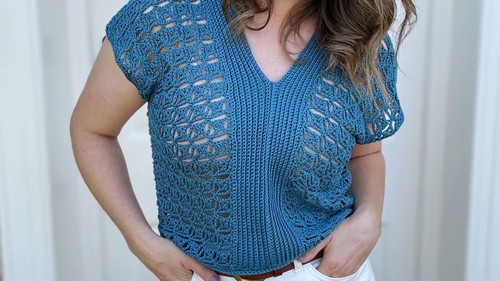
Blending style and comfort with a stunning Crochet Comfy Lace Top Pattern, featuring wavey ocean colors for a breezy and vibrant sunny day look!
This exquisite pattern is perfect for those warm, sunny days when you want to look chic yet feel relaxed. Featuring delicate lace details and designed with wavey ocean colors, this wearable lace top is both visually appealing and versatile. Whether you’re heading to the beach or a casual outing, this top can be easily dressed up or down.
Comfy Lace Crochet Top Pattern & Tutorial

Crocheted with lightweight yarn, it ensures breathability and comfort, making it an ideal choice for summer wear. The pattern is suitable for intermediate crocheters and includes step-by-step instructions that are easy to follow. Plus, the customizable sizing options mean you can create the perfect fit for any body shape.
Tip:
For a more vibrant finish, consider using multi-colored yarn to highlight the lace patterns and add a playful touch.
Materials Needed:
- Comfy fingering weight yarn, 218 yards in 50 gr, 75% Pima cotton and 25% acrylic
- 3.5 mm crochet hook (or hook to meet gauge)
- Needle (for weaving in ends)
- Scissors
- Stitch markers
Pattern Sizes:
- Available in adult sizes XS to 5XL
Pattern Steps:
Foundation and Set Up
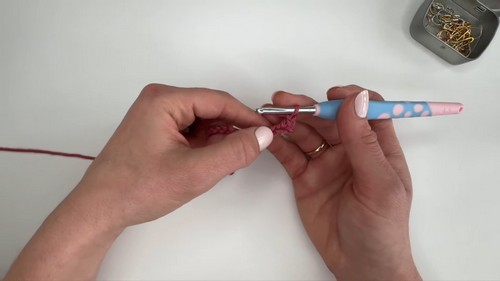
Start with a slip knot on your hook.
- Crochet a foundation chain to the desired length, multiples of 6 + 2. For a size medium, start with 44 chains.
Working the First Row
Begin in the second chain from the hook; make a single crochet.
Chain six; within these chains:
- Single crochet in the second chain from the hook.
- Chain one.
- Skip the next chain, then double crochet in the next chain.
- Chain one.
- Skip the next chain, then work a double treble crochet stitch in the last chain.
Skip five chains on the foundation chain, then single crochet into the next chain.
Repeat the pattern across the chain.
Working the Second Row
Chain five to turn.
- Single crochet into the single crochet from the previous six-chains loop.
- Repeat the stitches across; mirror the first row’s stitches.
- End the row with a double treble crochet stitch, two together into the last and next to last stitches.
Repeat Rows
- Create additional sets of rows, chaining one and working a single crochet into the first stitch for the beginning of new lace wedges.
- Continue the established pattern across, adapting for the stitches from the previous rows.
Making the Ribbing for Neckband
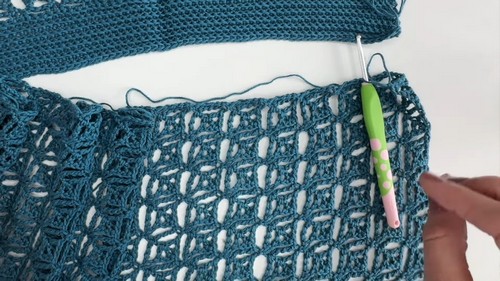
Once the lace panels are completed, block them to desired measurements.
- Working along the long edges of the panels:
- Start by inserting six single crochets per wedge stitch along the edge.
- Turn and work single crochets in the back loops only to create a ribbing effect.
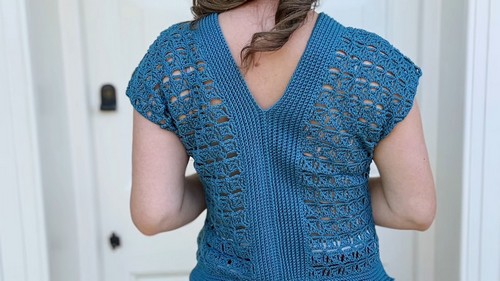
Step 6: Construction
Make two matching lace panels.
- Block the pieces and add neck ribbing.
- Fold panels lengthwise, determine the ‘wrong’ and ‘right’ sides.
- Seam along the back and front V-necks and the sides using a slip stitch or preferred seaming method.
- Try on the garment to optimize placement and fit.
Step 7: Adding the Bottom Band
- Optionally add a bottom band in rows, mirroring the method used for the neckband for balanced visual appeal.
- Work single crochet stitches into each side of the stitches from the bottom edges of the panels.
- Continue to achieve the desired length, adding side split details if preferred.
Completion:
Finish by weaving in all ends and blocking the final garment to the desired dimensions. Try on your new comfy lace crochet top and adjust it as needed for fit!


