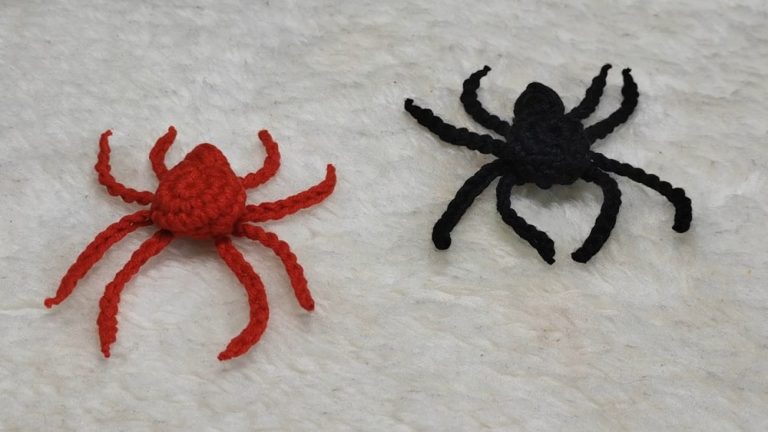
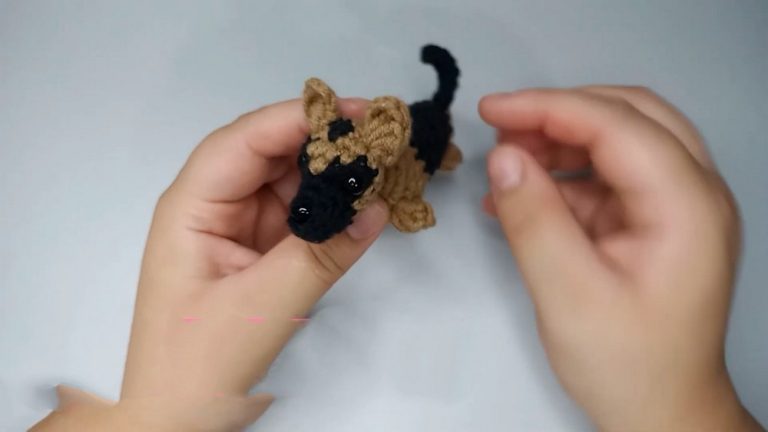
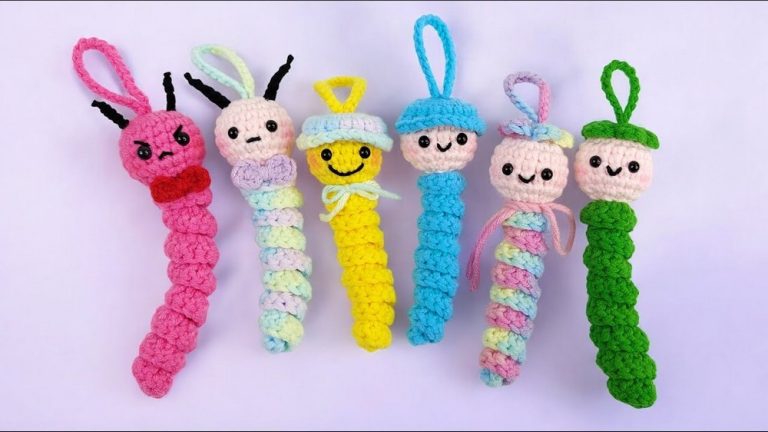
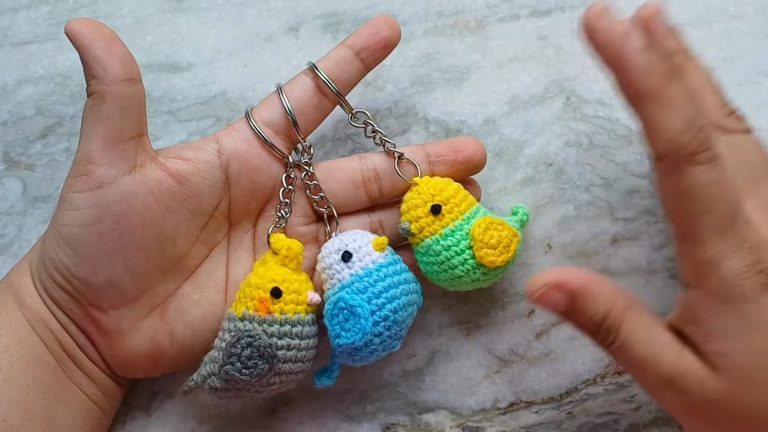
Crochet Amigurumi Bubu & Dudu Tutorial For baby Nursery
Unlock your inner artist with the free crochet Amigurumi Bubu & Dudu Pattern—perfect for creating irresistibly charming characters you’ll love
The Pattern is a delightful and engaging way to create your own charming and lovable crochet characters. Designed by expert crocheters, this pattern features clear instructions, detailed illustrations, and a list of necessary materials to ensure a smooth crocheting experience.
Crochet Amigurumi Bubu & Dudu
This pattern guides you through the process of crocheting two adorable buddies—Bubu and Dudu—using simple, easy-to-follow steps. These amigurumi creations are perfect as unique gifts, delightful décor items, or even as playful companions for children. The benefits of this pattern include honing your crochet skills, fostering creativity, and experiencing the joy of making handmade treasures. Moreover, working with crochet patterns can be a therapeutic and relaxing activity, providing a sense of accomplishment upon completion.
Crochet Tip:
To achieve the best results with the Bubu & Dudu Pattern, use high-quality yarn and a proper-sized hook to ensure your amigurumi figures have the ideal texture and durability. Happy crocheting!
Materials Required:
- Sport weight cotton yarn
- 3mm crochet hook
- Stuffing tool
- Scissors
- Needle
Body and Legs:
Legs (Make 2):
- Start with a magic ring.
- Make 6 single crochets (sc) into the magic ring.
- Close each round with a slip stitch.
Round 1:
- (1 sc, increase) repeat 3 times using X stitch. Total 9 stitches.
- Start with black yarn for Dudu, and switch to white yarn in the next round.
- To switch colors, yarn over with the new color and pull through the loop on the hook, then make a chain stitch.
Round 2:
- 1 sc in each stitch around. Total 9 stitches.
Joining the Legs:
- Make 4 chains, then slip stitch into the other leg to join both legs together.
Body:
Round 3:
- Chain 1, then make 4 sc, 1 increase, and 4 sc on the first leg. Work 4 sc into the back bumps of the chain (to avoid gaps), then repeat the 4 sc, 1 increase, and 4 sc on the second leg. Finish with 4 sc in both loops of the chain and slip stitch to the first stitch. Total 28 stitches.
Round 4:
- 1 sc in each stitch around.
In Round 5:
- (6 sc, increase) repeat 4 times. Total 32 stitches.
Rounds 6-9:
- 1 sc in each stitch around.
Round 10:
- (6 sc, decrease) repeat 4 times using an invisible decrease method. Total 28 stitches.
- Continue following the pattern provided for the body.
Head:
- Start by making 6 chains.
After Round 1:
- Chain 1, work into back bumps of the chain: 1 increase, 4 sc, then 4 sc in the last chain, turn your work around, do 4 sc and finish with an increase in the first bump. Slip stitch to close. Total 16 stitches.
Round 2:
- 1 increase, 5 sc, then (1 increase in next 3 stitches) 3 times, followed by 5 sc and finish with 2 increases. Slip stitch to close.
Round 3:
- (1 sc, 1 increase, 5 sc) repeat process, inserting increases as specified, ending with 28 stitches.
Assembling:
Joining Parts:
- Sew or glue the ears, inner ears, blush, and tail as instructed in your pattern, paying attention to the specific rounds mentioned for each part.
Stuffing:
- Fill the body, head, and hands with polyester fiber.
Finishing Touches:
- Sew the head to the body and attach the hands on each side.


