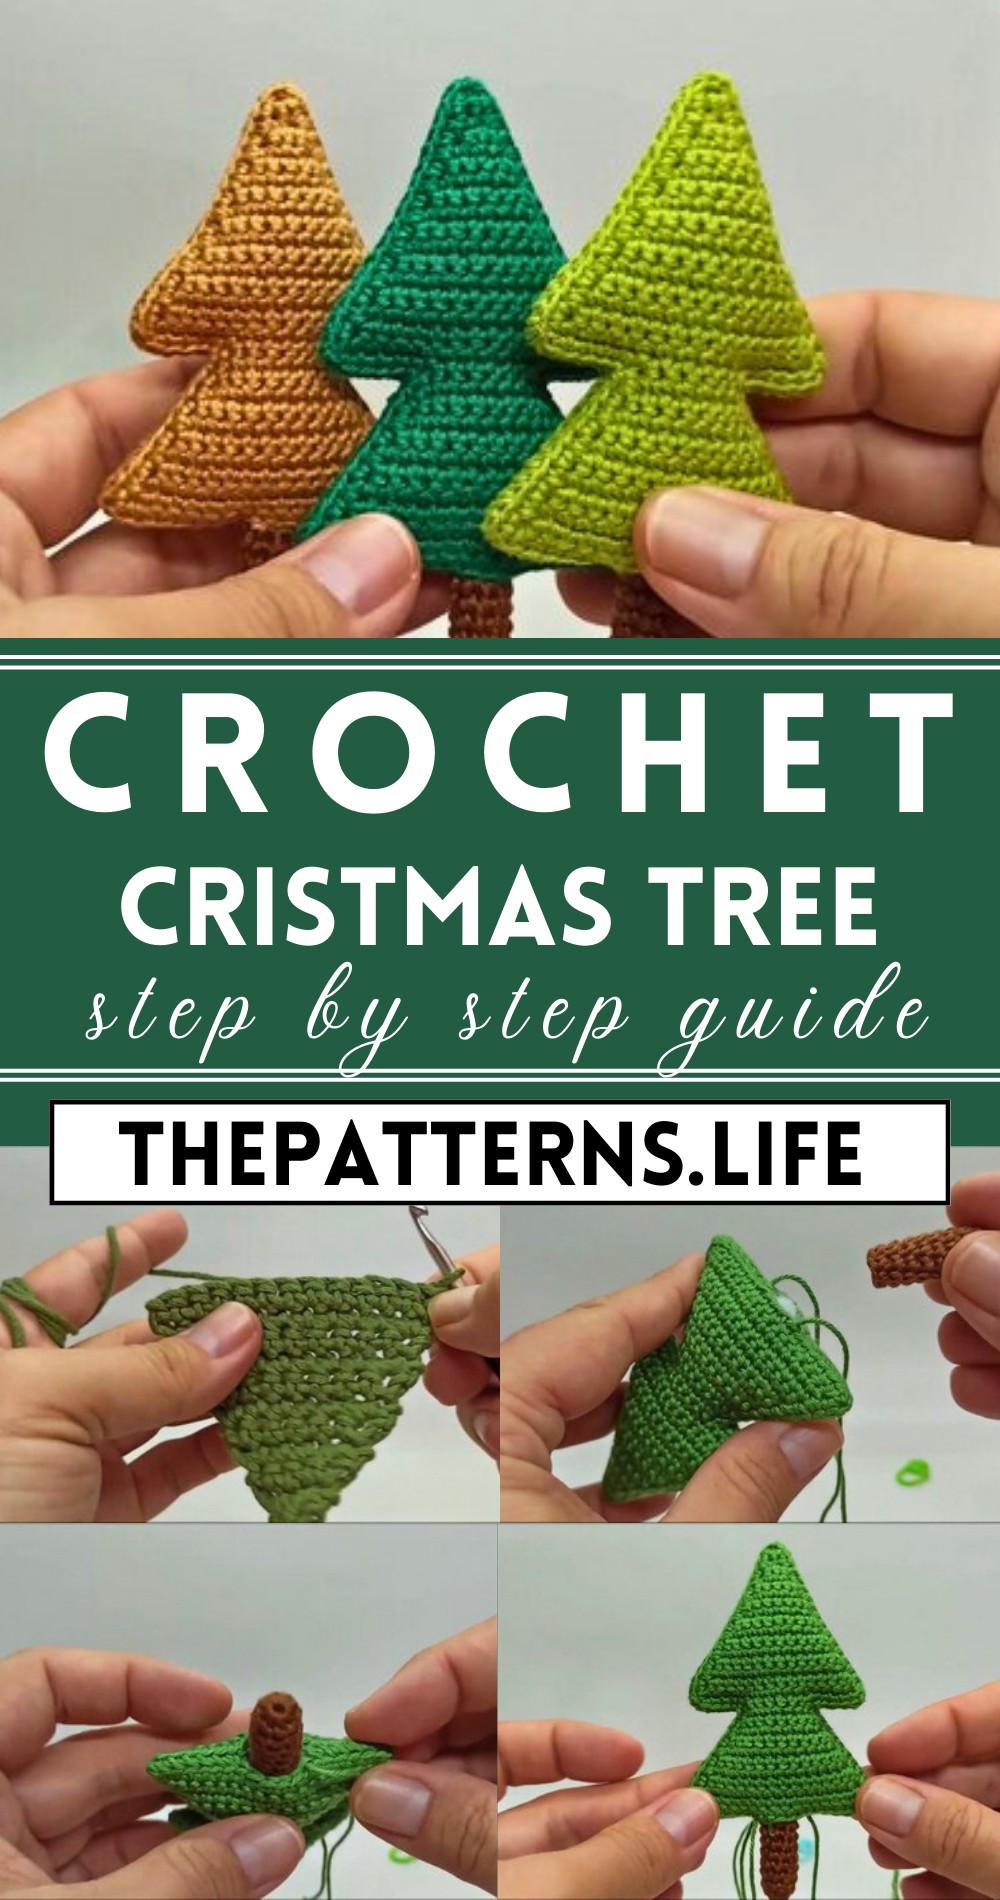
Adorable Crochet Tree Pattern For Christmas Decoration
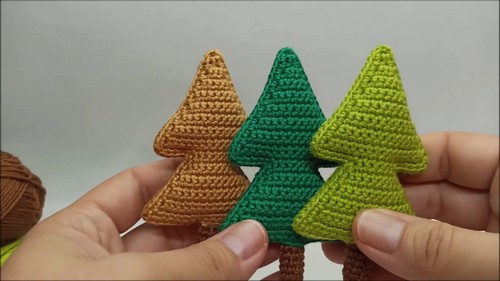
Bring the holiday spirit into your home with a charming crochet Christmas tree that you can make yourself! With a hook and yarn, you can stitch up this adorable decoration that adds warmth and cheer to any space. Perfect for placing on your mantel, desk, or as a festive centerpiece, each little tree is a unique touch of handmade joy.
Crochet Tree
Materials Needed:
- Cotton yarn (Catania from Schachenmayr recommended for the example)
- Crochet hook (2 mm for the example, adjust as needed for different yarn thickness)
- Stitch markers
- Scissors
- Sewing needle
- Toy stuffing
Pattern:
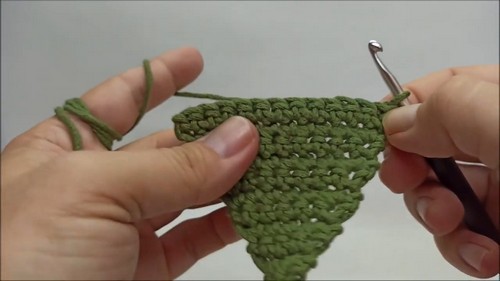
Part 1: Main Body of the Tree
Magic Ring:
- Start with a magic ring.
Row 1:
- 2 single crochets in the ring.
For Row 2:
- Chain 1, turn. 1 single crochet in the first stitch and 1 single crochet in the last stitch.
Row 3:
- Chain 1, turn. 2 single crochets in the first stitch, 2 single crochets in the last stitch. Close ring.
Row 4:
- Chain 1, turn. 1 single crochet in every stitch.
For Row 5:
- Chain 1, turn. 2 single crochets in the first stitch, 1 single crochet in the next two stitches, 2 single crochets in the last stitch.
Row 6:
- Chain 1, turn. 1 single crochet in every stitch.
Row 7:
- Chain 1, turn. 2 single crochets in the first stitch, 1 single crochet in the next four stitches, 2 single crochets in the last stitch.
- Continue in this pattern, increasing at the first and last stitch every other row until you reach 16 stitches. End with 1 single crochet in every stitch for the last row. Cut yarn and tie off.
Part 2: Second Section of the Tree
- Mark 5 stitches from the right and 5 stitches from the left. Work the next section in these 6 stitches.
Row 17:
- Single crochet in each of the 6 marked stitches, starting with a chain one. You’ll have 8 stitches due to increases at the ends.
Row 18 – 27:
- Continue as with the first part, increasing every other row until you reach 18 stitches in row 27.
Border and Finishing Touches:
- Crochet a border starting from the point where both parts are joined, single crochet evenly around the entire piece. Include 1 chain and 1 single crochet at each corner to maintain the shape.
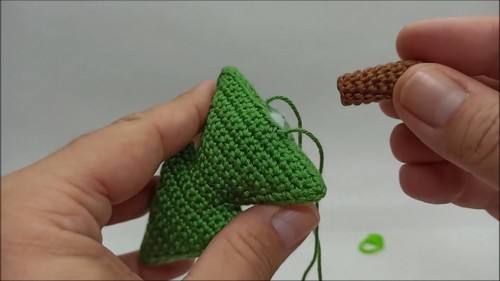
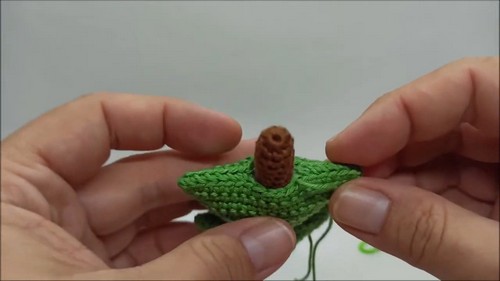
- For the steam, start with a magic ring and crochet 8 single crochets into the ring. Then, make 7 or 8 rounds of 1 single crochet in every stitch. Apply stuffing as needed.
- Sew the steam onto the top of the tree, ensuring to align and fasten securely.
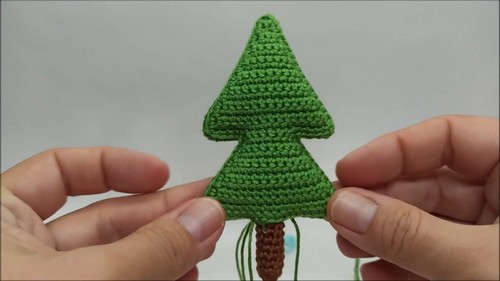
Assembly:
- Stitch both parts of the tree together, focusing on sewing through the back loops (or middle loops) for a seamless join. Gradually stuff the tree as you close the gap, ensuring a balanced shape.