Quick & Easy Crochet Baby Ladybug Amigurumi Pattern
Hit some cuteness via Crochet Baby Ladybug Amigurumi Pattern—because everyone needs a little bug buddy that’s cute, not creepy!
Ever thought bugs could be adorable? Meet your new best friend, with fun and easy-to-follow pattern guides you through crocheting the cutest, least creepy critters you’ll ever see. Perfect for all crocheters, the pattern includes step-by-step instructions on stitching, stuffing, and piecing together your little ladybugs.
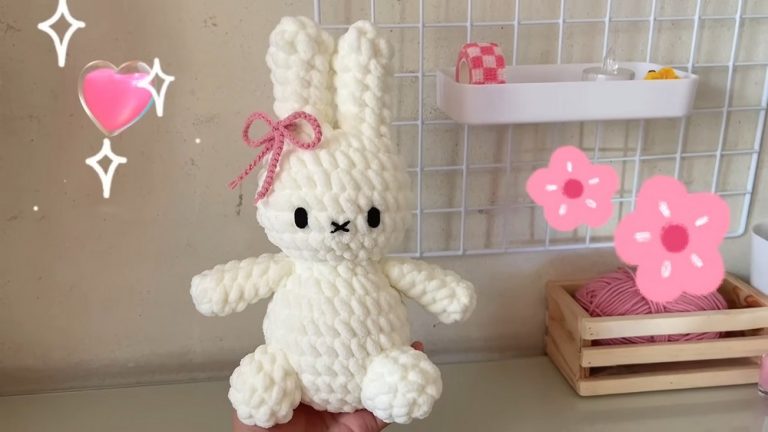
Crochet Baby Ladybug Amigurumi

These versatile little bugs can be used as keychains, nursery decorations, or even charming gifts that’ll bring a smile to anyone’s face. Get ready to spread some love, one stitch at a time!
Tip:
Use a smaller hook size for tighter stitches, which helps your ladybug amigurumi keep its shape better.
Materials:
- Chunky yarn (e.g., Amigo Chunky by Hobbii) but feel free to use any yarn you prefer
- Yarn needle
- Stitch marker
- 40mm safety eyes
- 4.5mm crochet hook (adjust based on yarn choice)
- Scissors
- Stuffing material
Head Pattern:

Start with Black Yarn:
- Make a magic ring. If unfamiliar, check a tutorial online or create a slip knot as shown in the video.
Round 1:
- 6 single crochet (sc) in the ring. (6)
Round 2:
- Increase (inc) in each stitch around. (12)
For Round 3:
- [1 sc, 1 inc] repeat around. (18)

Rounds 4-5:
- 1 sc in each stitch around. (18)
Change to Red Yarn:
- Do slip stitches in the back loops only around for a more defined edge.
Body:

After Round 6:
- Slip stitch around in back loops only. (18)
- Add safety eyes between Rounds 3 and 4.
Round 7:
- In back loops of Round 6’s slip stitches, work 3 sc, then an inc. Repeat pattern around. (24)
Rounds 8-11:
- 1 sc in each stitch around. (24)
- Before closing, attach two antennas made from black yarn (chain 3, slip stitch in second chain from hook, repeat for the second antenna) between Rounds 4 and 5.
Finishing Head:

Round 12:
- Alternate between 2 sc and a decrease to reduce the number of stitches.
- Stuff the head firmly.
Final Rounds and Closing:
- Round 13: Work only decreases around until the opening is small enough to close. Stuff the body firmly.
- Close the opening using the tail end of the yarn, weaving through the front loops of the remaining stitches and pulling tight.
- Secure the tail end with a few stitches inside the body before cutting off any excess yarn.
Embroidery (Optional Cheeks and Details):

Cheeks:
- Use pink yarn to embroider cheeks just under the eyes.
Antennas:
- Added as described earlier in the pattern.
Ladybug Dots:
- You can use sewing pins as removable dots or embroider French knots with black yarn around the red part of the body for a child-safe option.

Additional Tips:
- Remember to adjust the size of the safety eyes, hook size, and yarn thickness based on your preference or to alter the size of the baby ladybug.
- Adjust video speed if needed to follow along more comfortably.
- Always count your stitches and use a stitch marker for the first stitch of each round for easier tracking.